Deckingman's new printer
-
This post is deleted! -
awesome build. i'm always interested in the electronics, specifically what type of DIN mounted contactors and components people use. i see the 24v and 12v power supply. but hard to see the details on other components.
-
@RogerPodacter What details would you like to know that aren't clear from the pictures in the YT video? I only mentioned the new parts I bought as everything else is carried over from my old build which I have previously documented. I'm happy to provide more info if you tell me what you want to know.
-
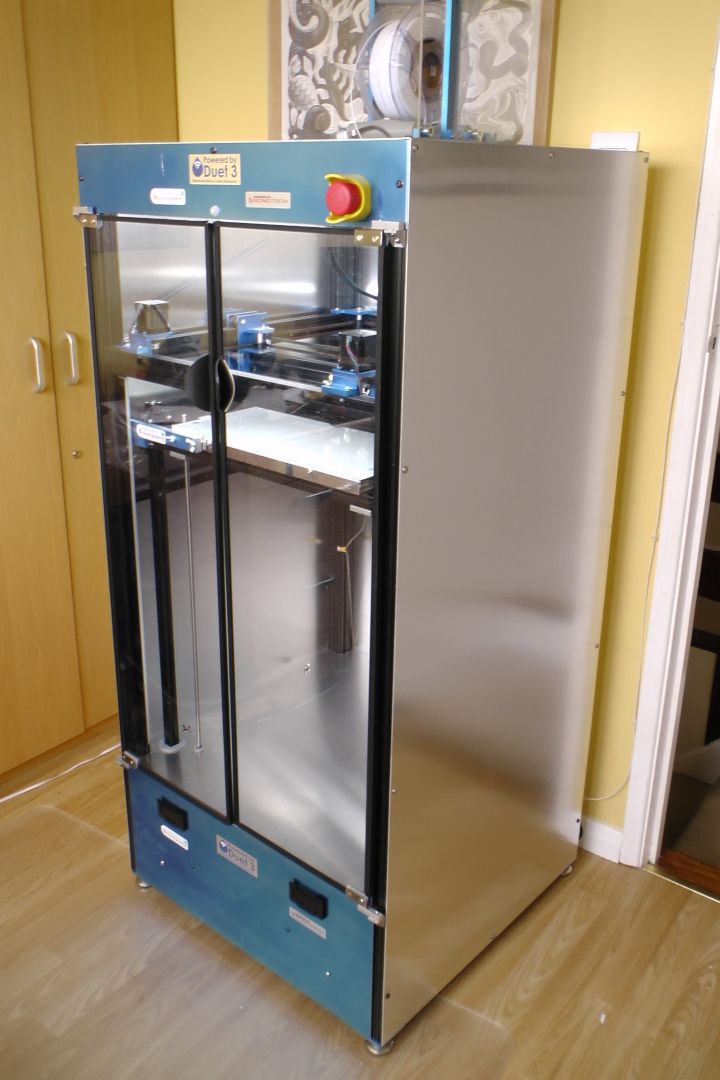
It's nearly finished.
-
@deckingman very professional looking
-
-
@jens55 said in Deckingman's new printer:
OMG !!!! A thing of beauty!
Thank you kind sir!. The panels certainly give it the Wife Acceptance Factor. They are just 1.5mm aluminium which was the cheapest thing I could find that wouldn't look too bad. They do rattle a bit though, so I've ordered some self adhesive "ant-rattle" tape (essentially a sort of adhesive backed foam strip about 1.5mm thick). I'll take the panels off, stick that tape around the frame, then bolt them back on. I've also ordered some sound deadening material - the sort of stuff used on motor homes and vans, so I'll stick that to the inside of the panels too.
I've documented the build on my YT channel. If you haven't already been following along, here is a link to the playlist https://www.youtube.com/playlist?list=PLMt2DqJCk4V95a5sZzkpzvL-vM4G_JMxI
There will be more pics in part 13 which I'll upload when I've finished putting it all together.
-
@deckingman
Flasher than a rat with a gold tooth!
-
This looks amazing. Well thought out and neat.
I'm very interested in your electronics/wiring, as I'm just about to start my mod's to my Tronxy X5SA pro (corexy).
Your DC Distrubution panel. Are each sections all connected with a busbar or something, ie the 5 x Red 24v terminals all connected together?
Can you remember what these terminals blocks are (make and model)?
Dizzwold.
-
@Dizzwold The terminal blocks are just standard DIN rail blocks. I can't remember the make and model but they weren't anything special - just some cheap ones off Amazon I think. I figured they would be OK for this low voltage/low current application. Yes each set of blocks are connected together using bus bars. But I ran out of bus bars so the last block of 0V ones on the right are connected together using link wires on the rear terminals. I've edited the picture that you likely saw on my YT video with labels to show the bus bars and link wires. Here you go.......
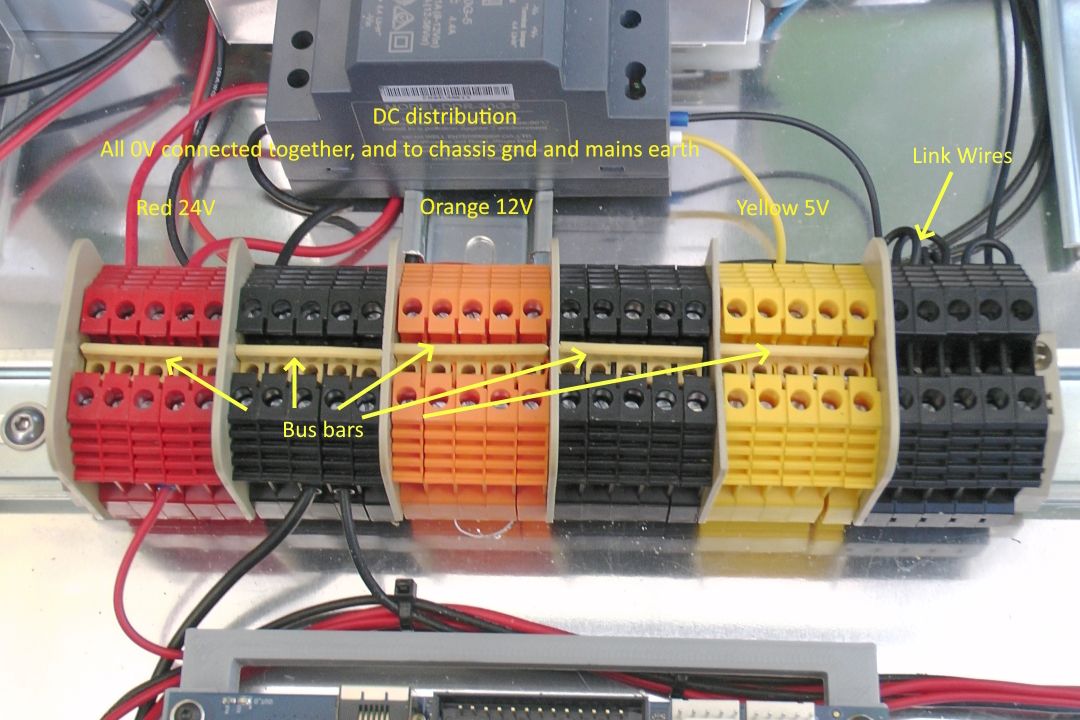
EDIT. Not all DIN rail terminals have provision for bus bars. They aren't strictly necessary but if you don't have to use link wires, they effectively double the number of terminals available to connect other things.