I been working on this since Dec,2019. I been asked to share the build, I think here is perfect place to do the build log.

Goal:
2 high-temp hotends capable to reach 500'c
Heat chamber (in future) at 80'c
At design concept stage I went through several try & error, mainly...
- Dual H-bot <abandon on drawing board, due to kinematic support>
- H-bot tool-changer <abandon after testing, due to racking>
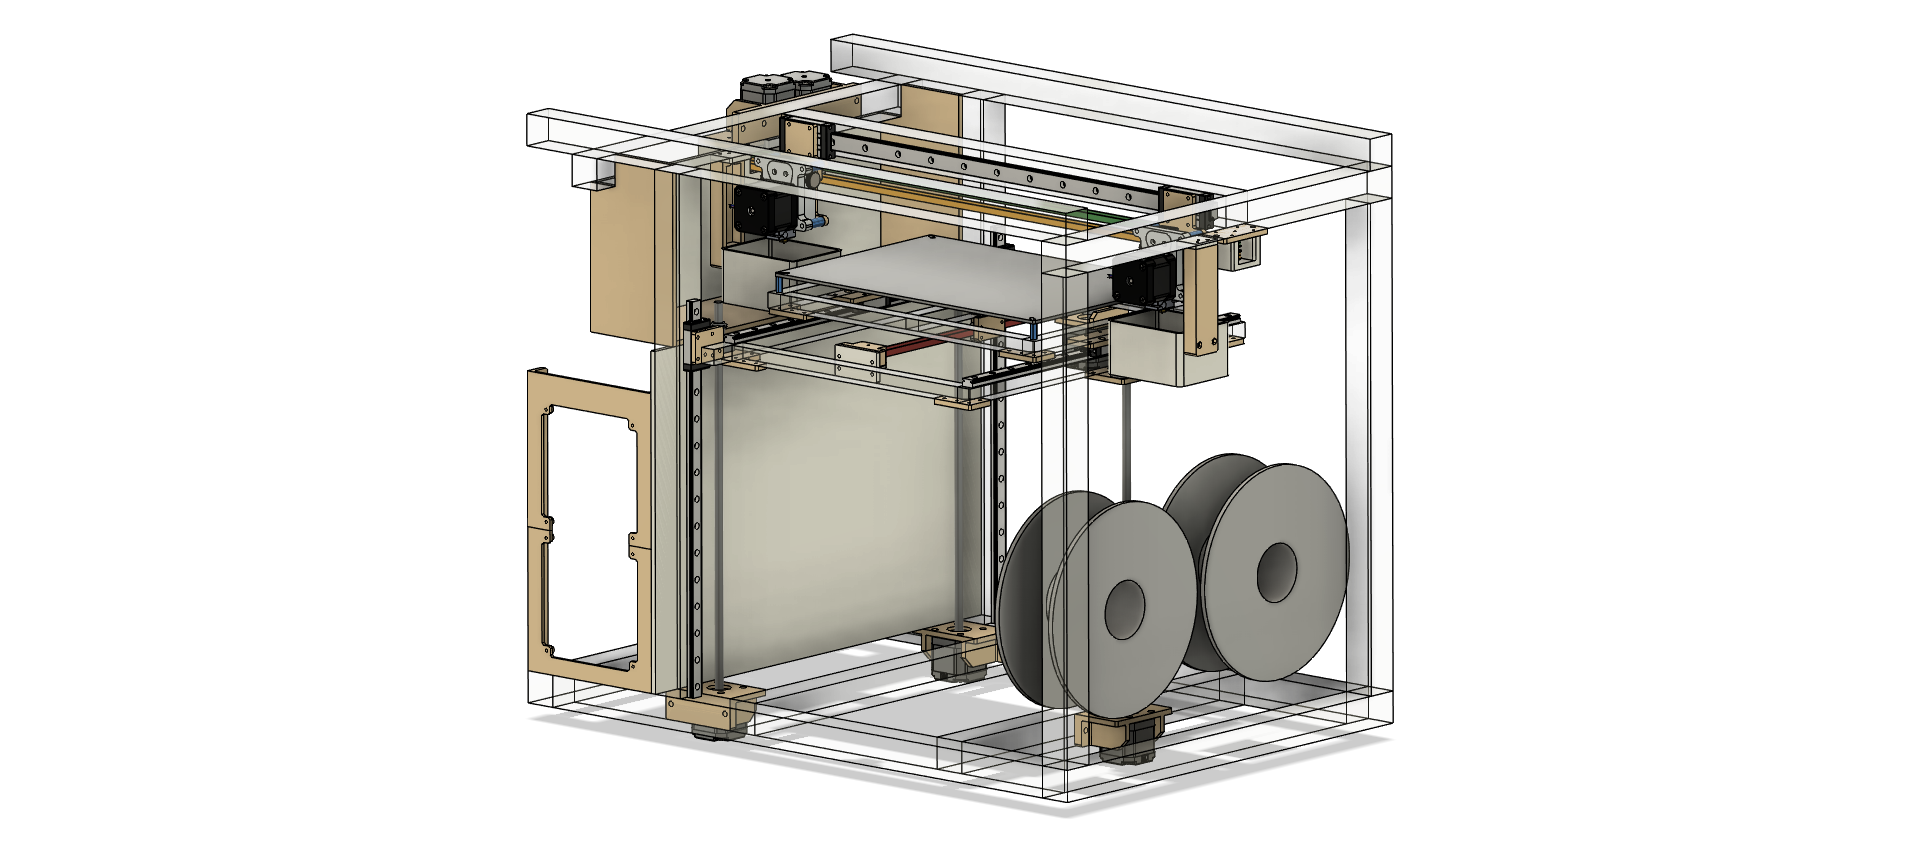
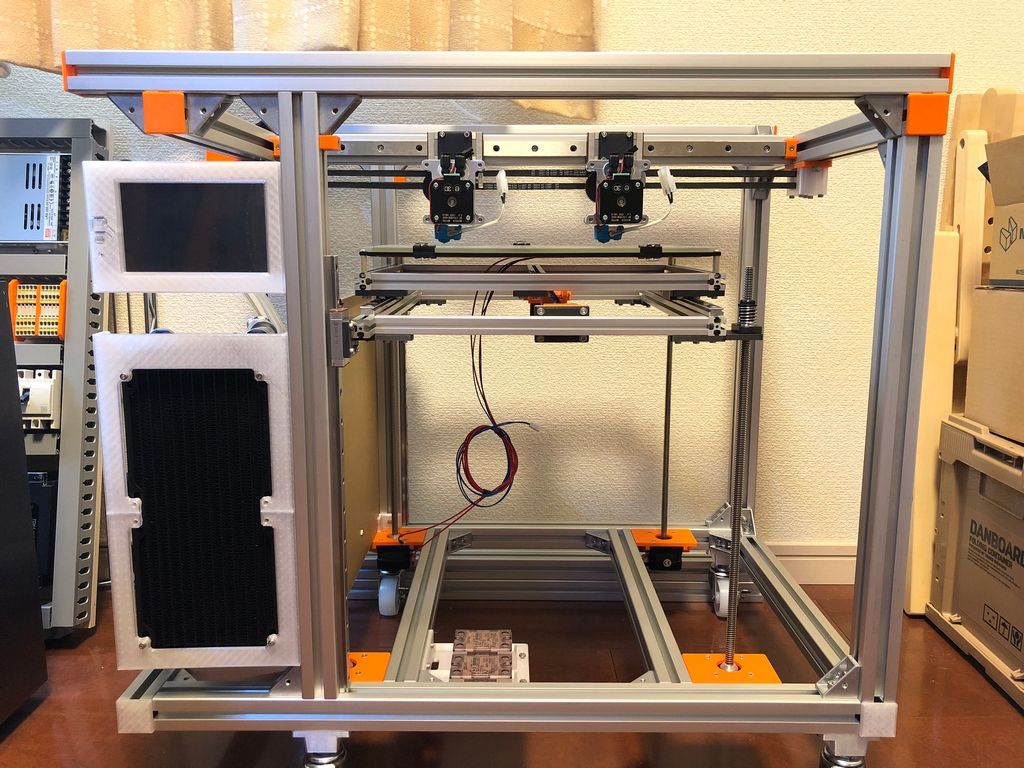
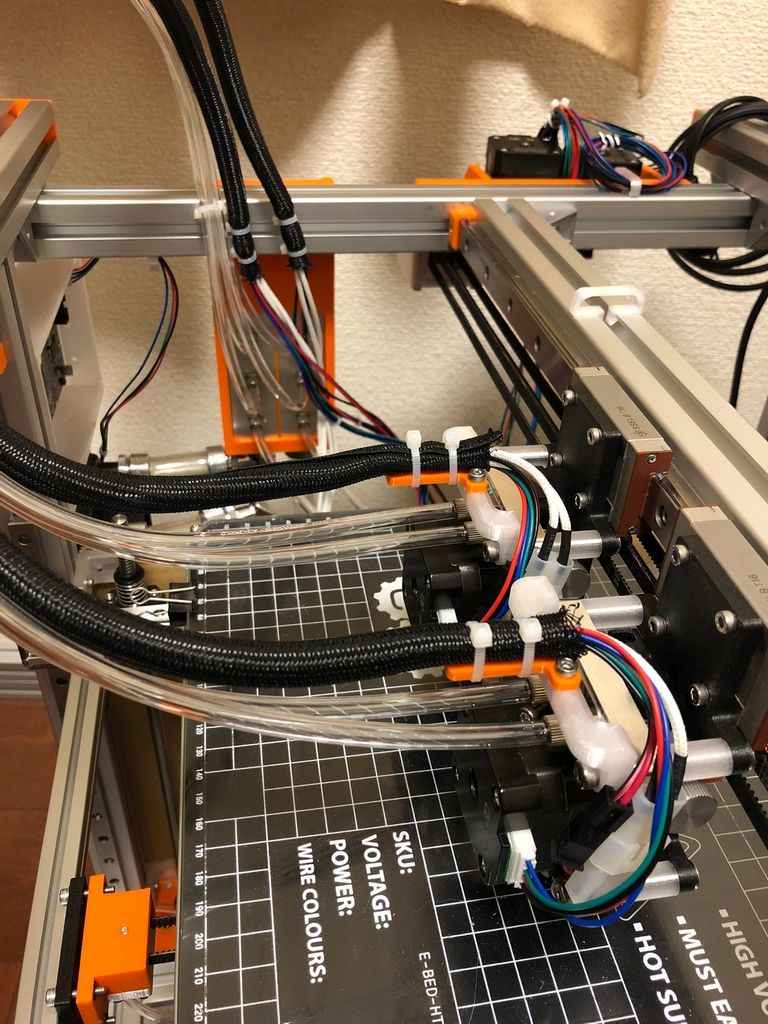
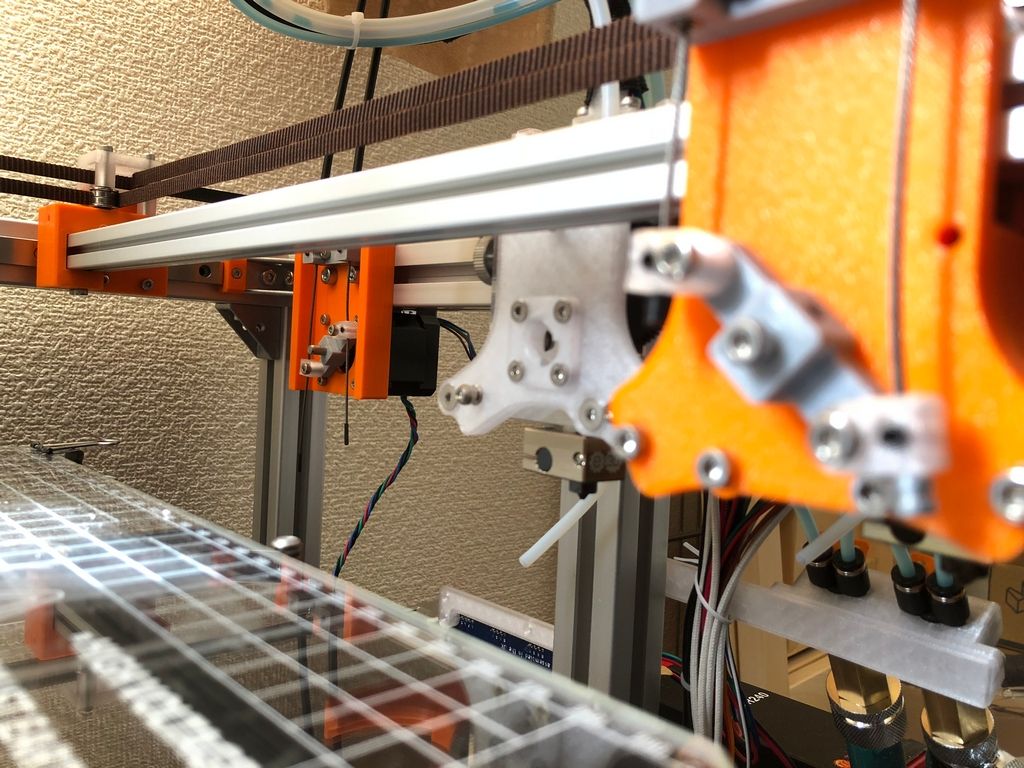
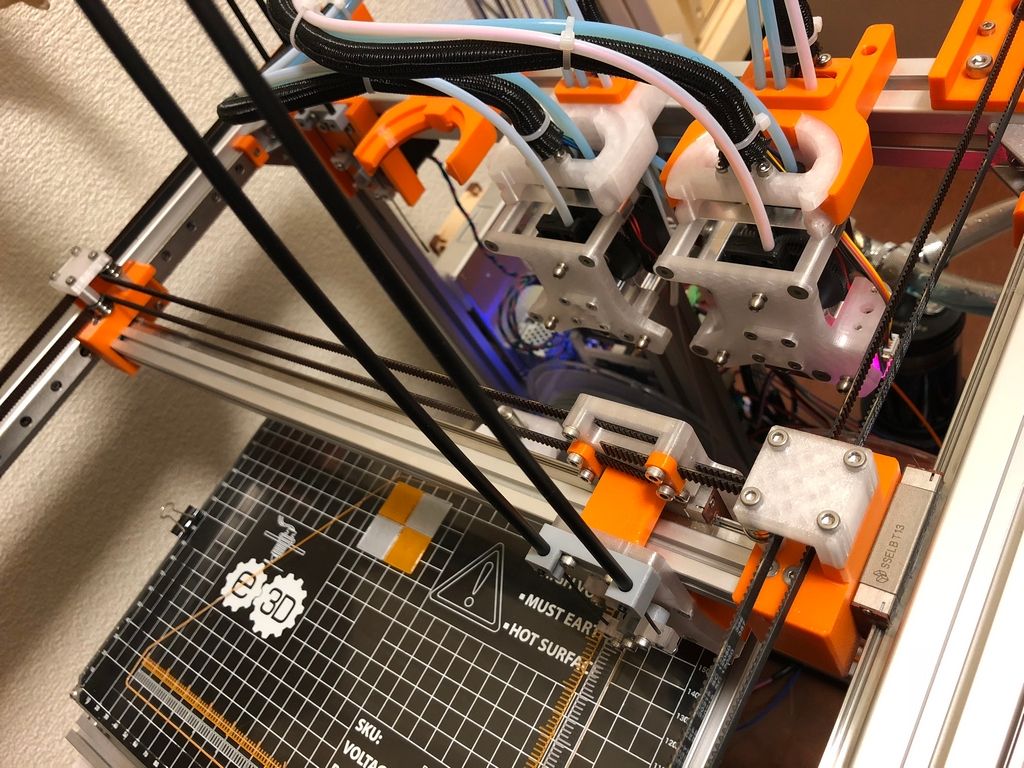
At the end I went to common CoreXY with tool-changer.
--
Main components:
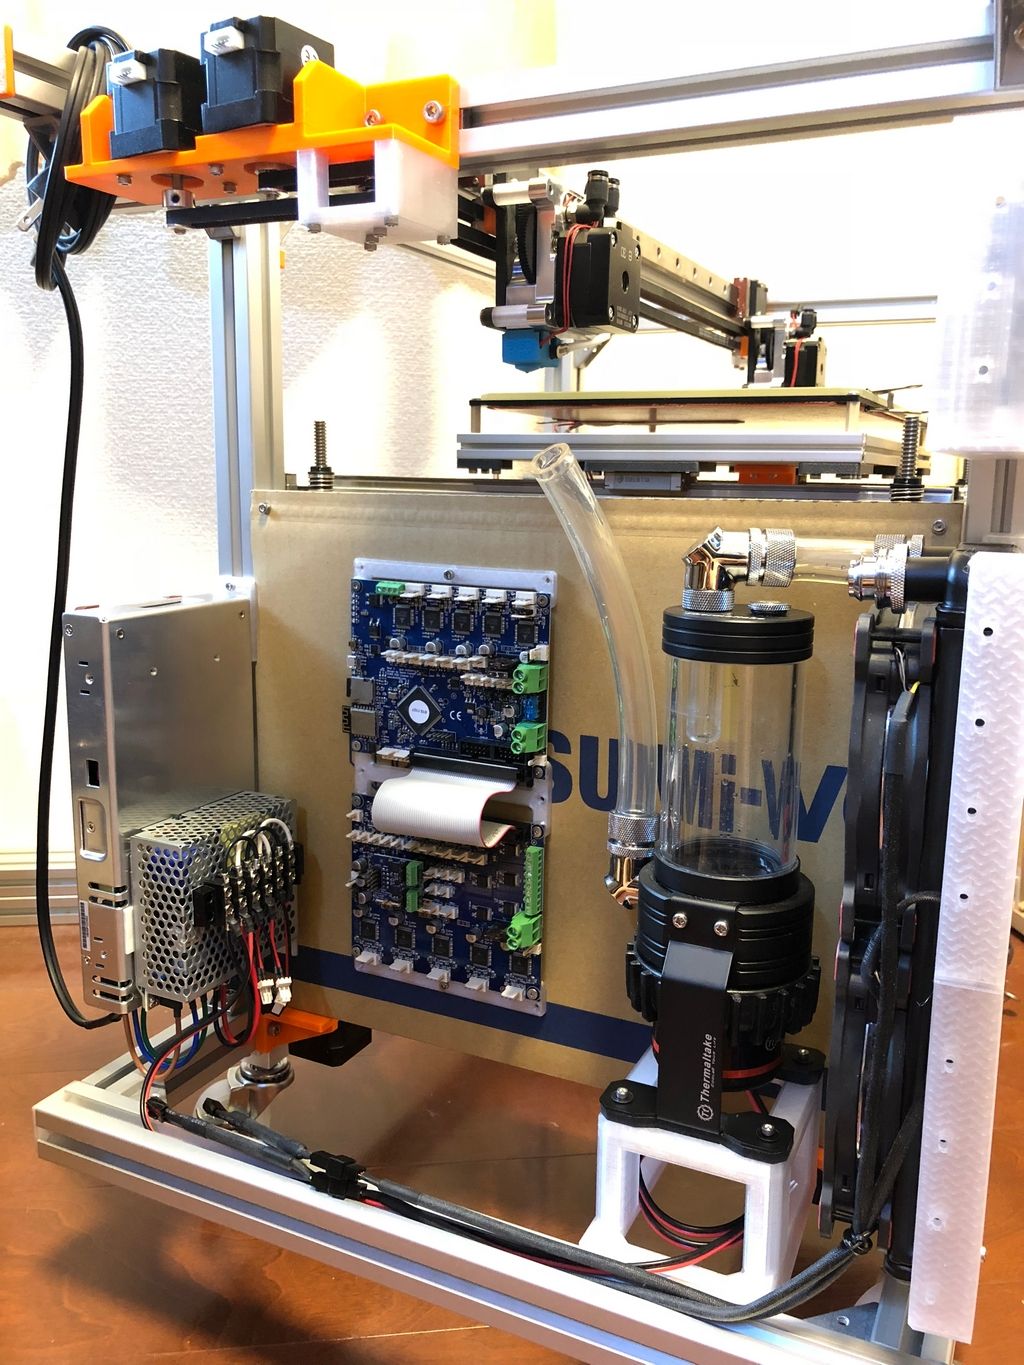
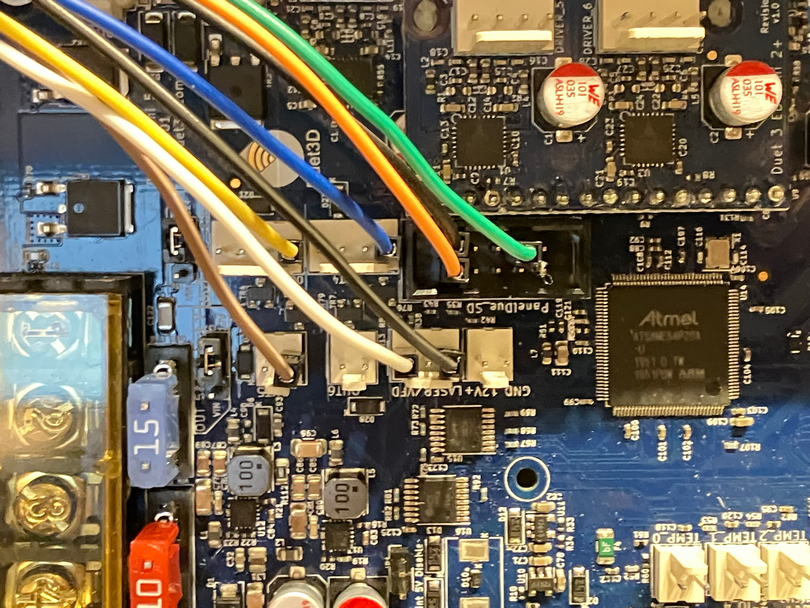
Duet2 Wifi + Duex5
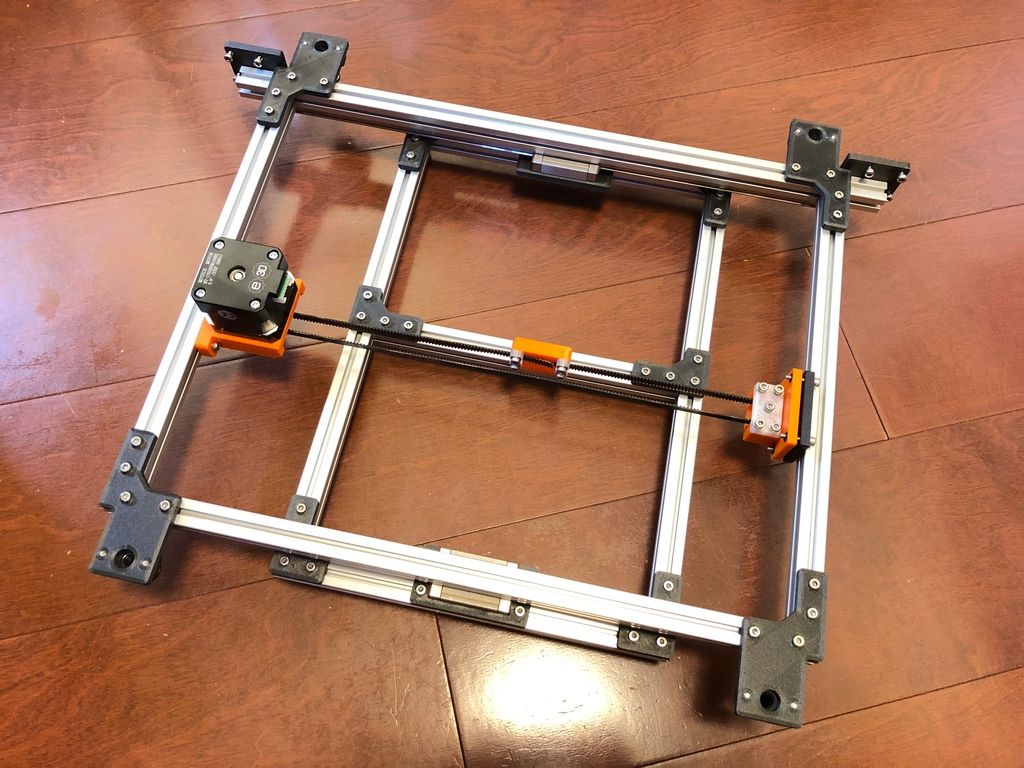
5 linear rails are made by SURUGA Production, which are special 150'c high-temp-cert variant (and surprisingly just slightly more expensive then room-temp one).
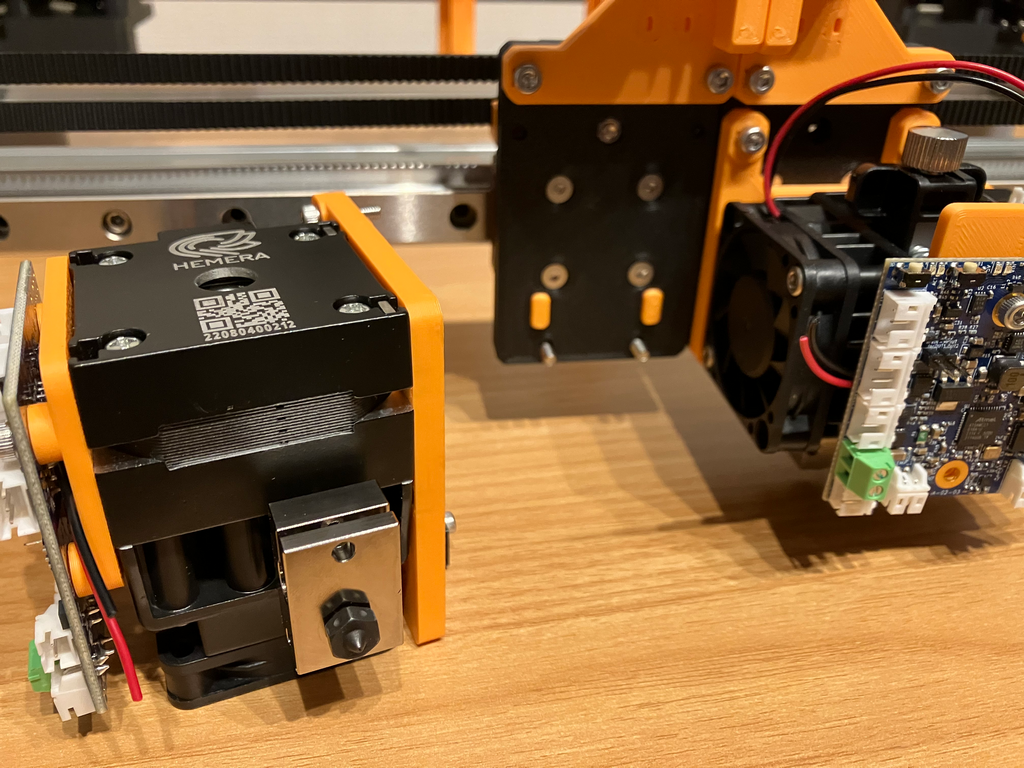
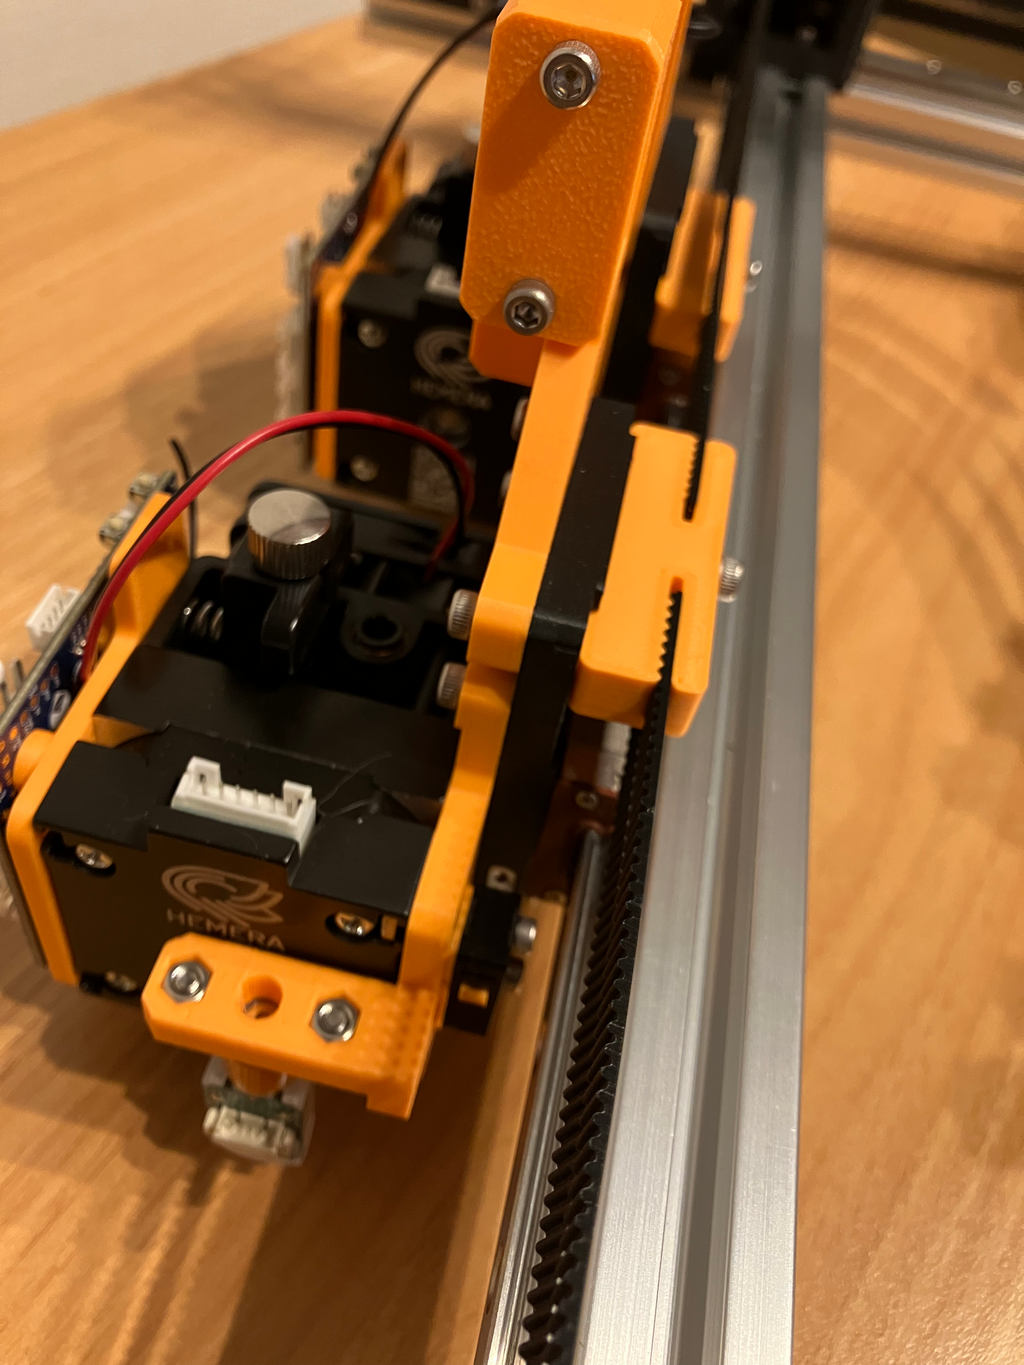
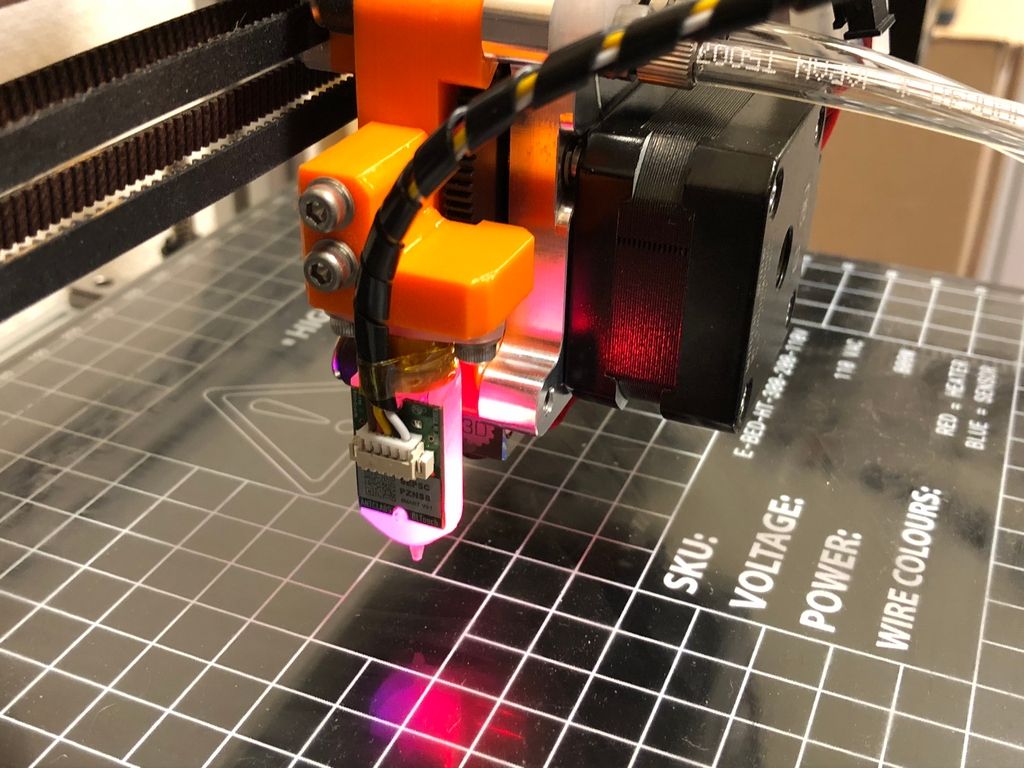
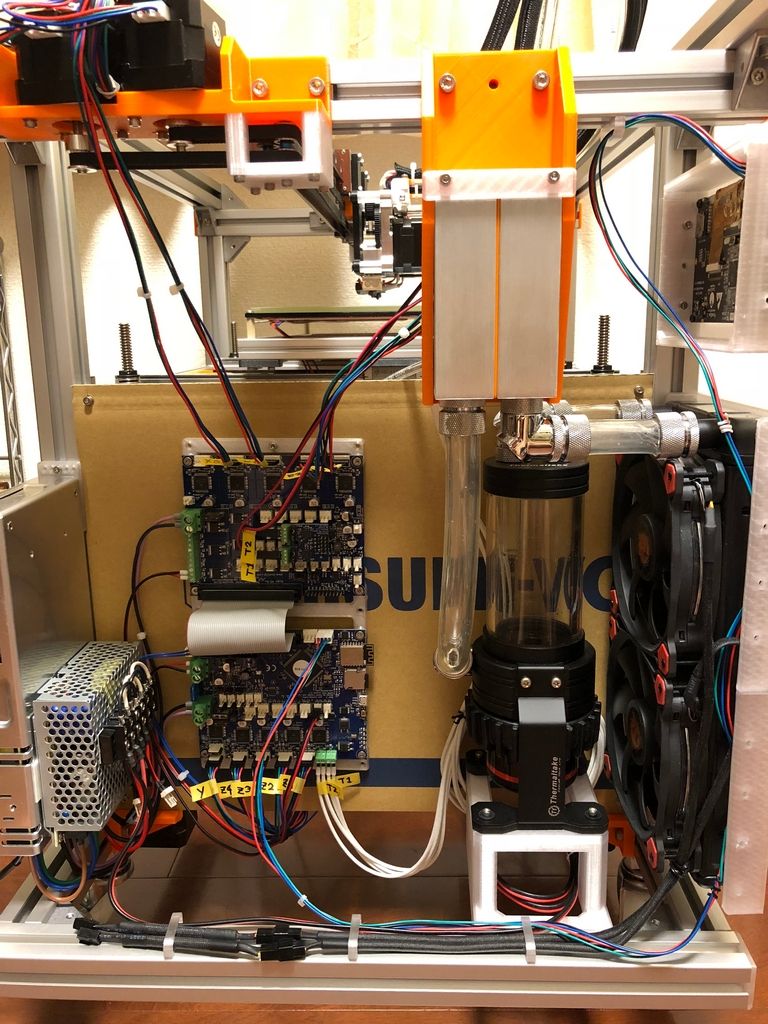
E3D Titan Aqua watercooling hotend
E3D 300x200mm heated bed
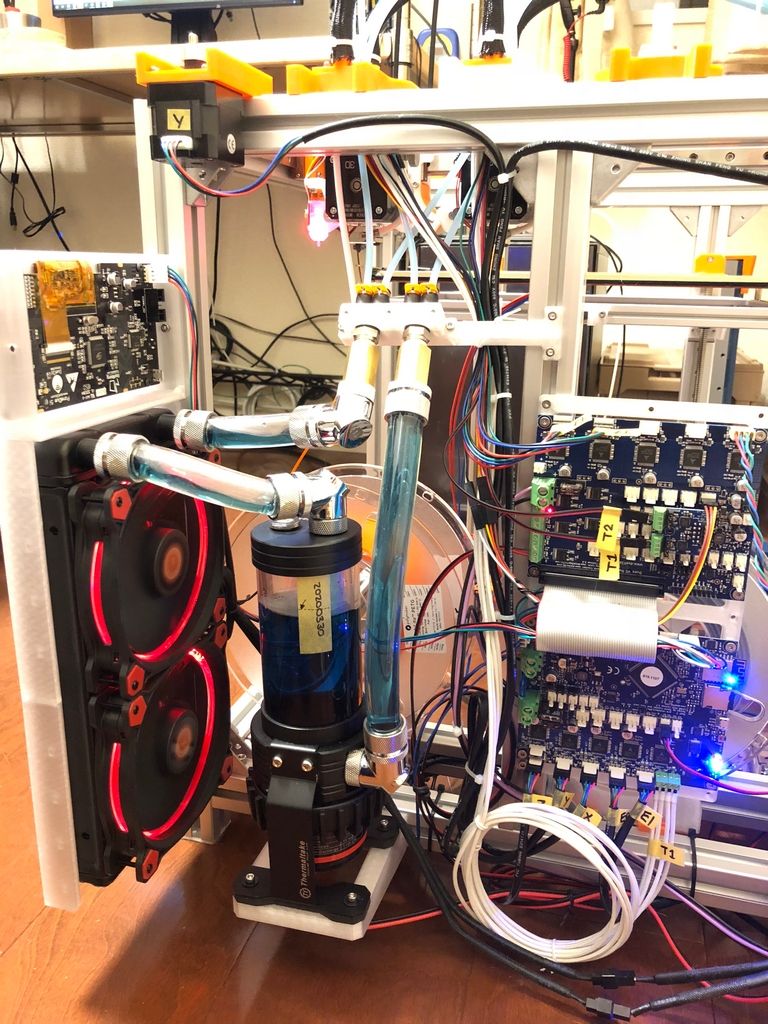
Watercooling heat-exchange (dual 120mm fan) and D5 pump with 200ml reservoir
--
Since I want heat chamber to go 80'c, I purposely move all electric components outside the chamber zone, with 2 exceptions: extruder stepper and BLtouch.
Extruder stepper is the main reason why I went for E3D Titan Aqua watercooling hotend.
BLtouch, currently mount as part of T0. I'm going to move it to T2 as dedicated "utility tool", doing nothing except probing, and have it parked at enclosure-inside-enclosure to keep it cool.
--
Watercooling, I went super-oversize with dual 120mm fans heat-exchange. This is mainly because I've hard time to estimate how much heat I need to deal with. Therefore I go with the simplest solution: GO BIG!
--
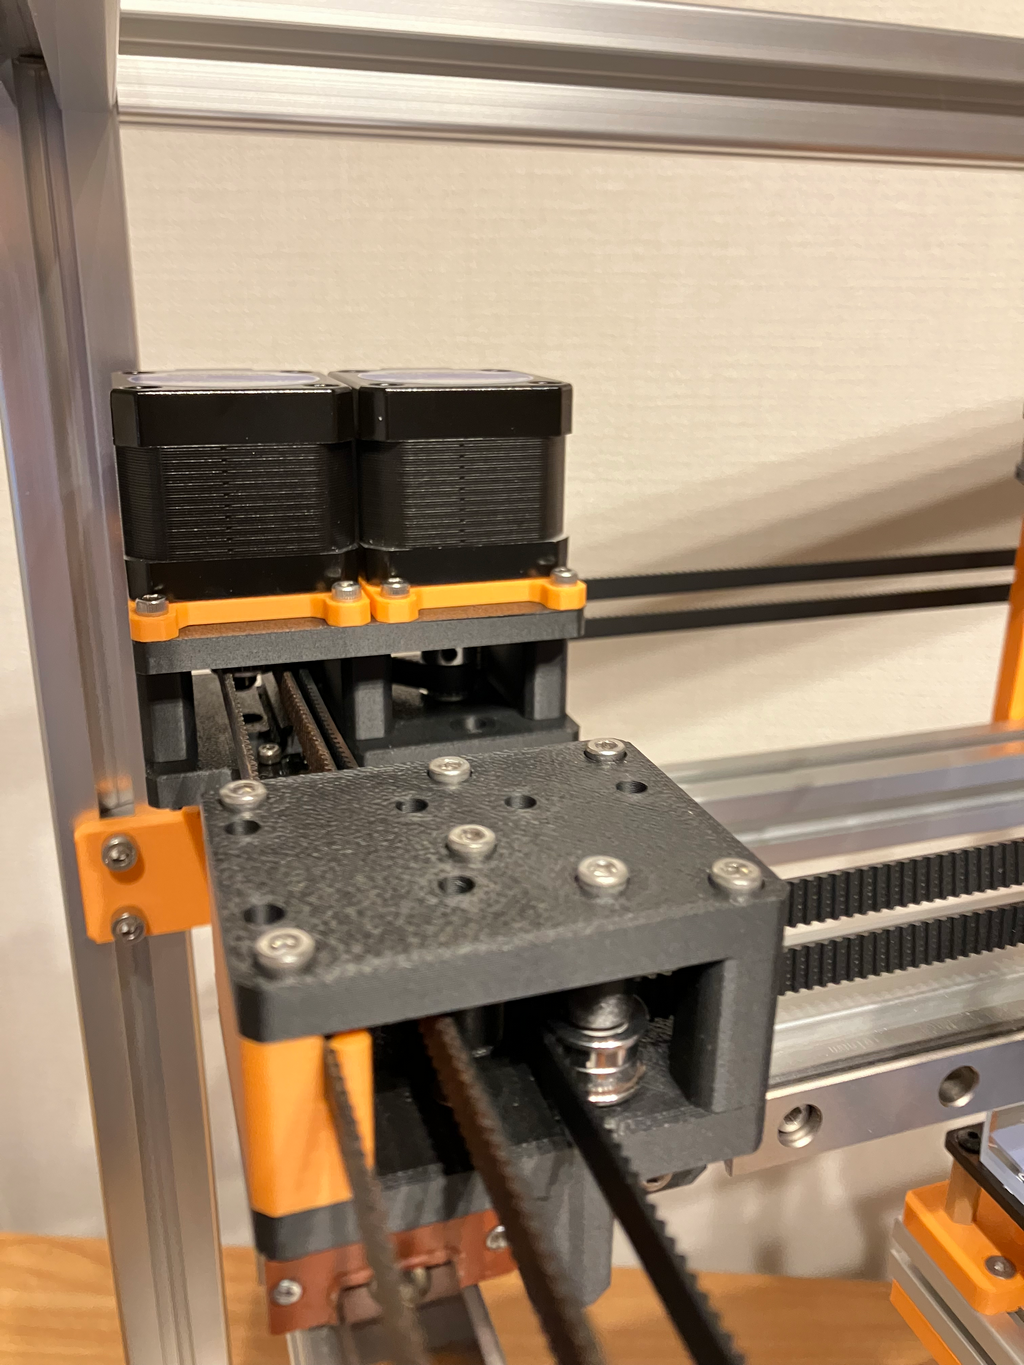
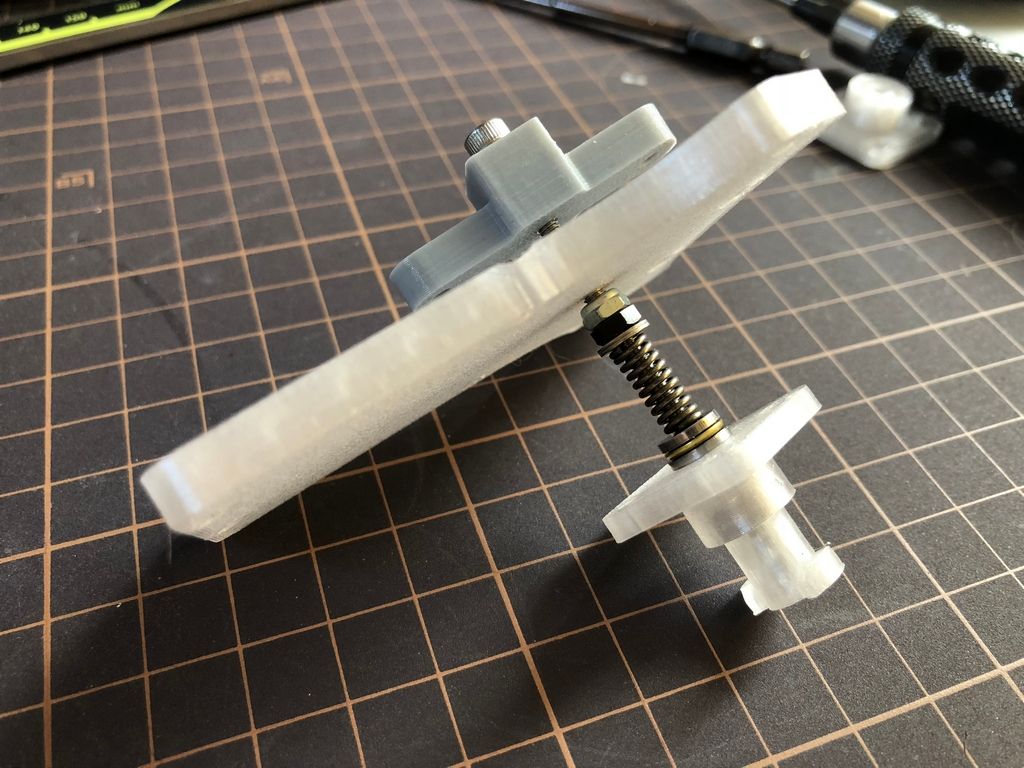
Tool-changer, particularly the locking/unlcoking mechanism, turn out to be the most challenge part. The E3D-TC-style stepper-direct-gear-drive is not an option since I don't want to do another watercooling loop only for tool-changing stepper. After many try & error, I end up with old-school bicycle shift cable push-pull cable system.
And it drive a very simple spring + thrust bearing shaft, secure directly to the locker.
The tool parking mount, is using ISO30-tool-holder-style "ring", as I found it's much easier than E3D-TC-style design.
--
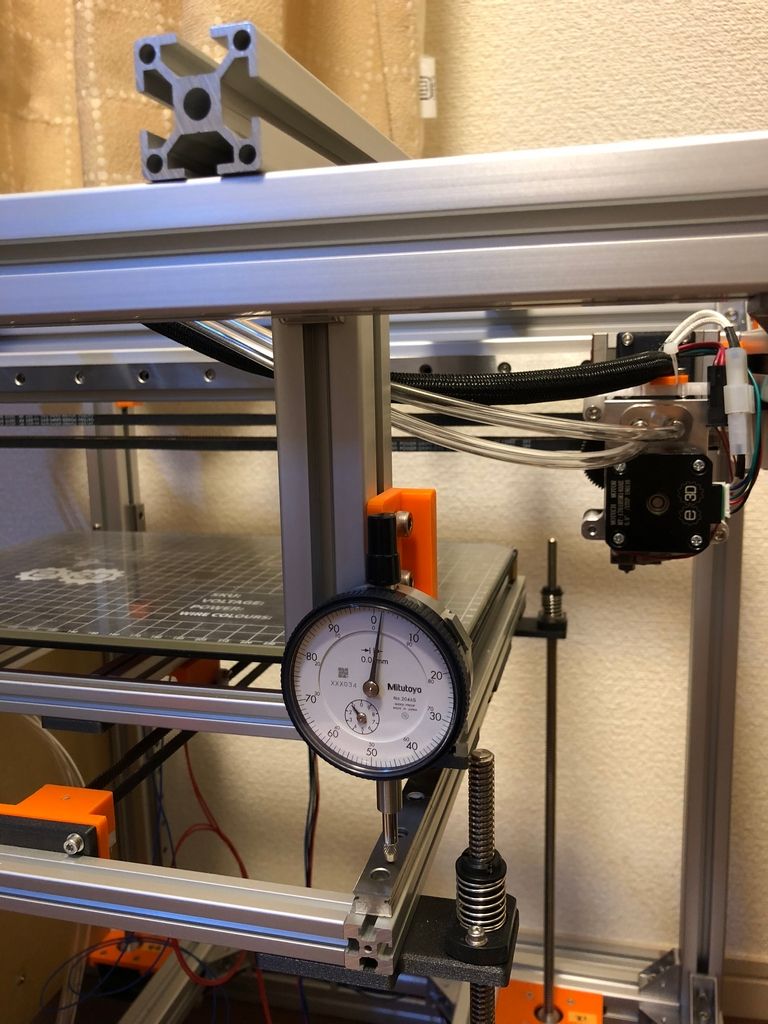
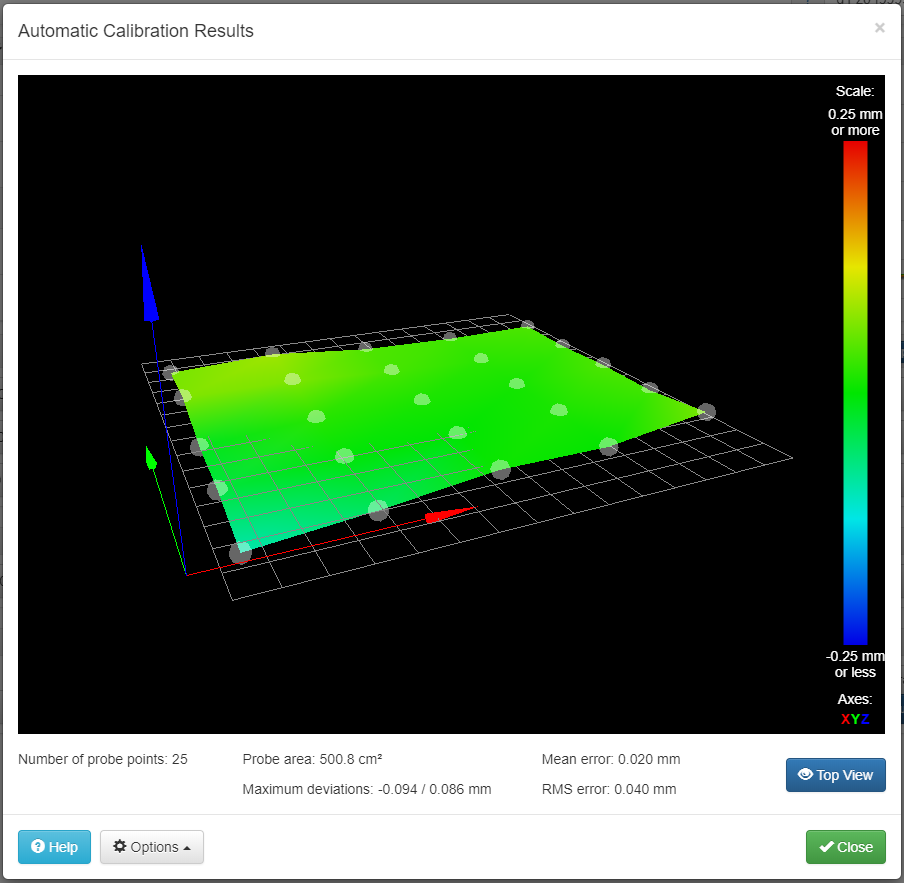
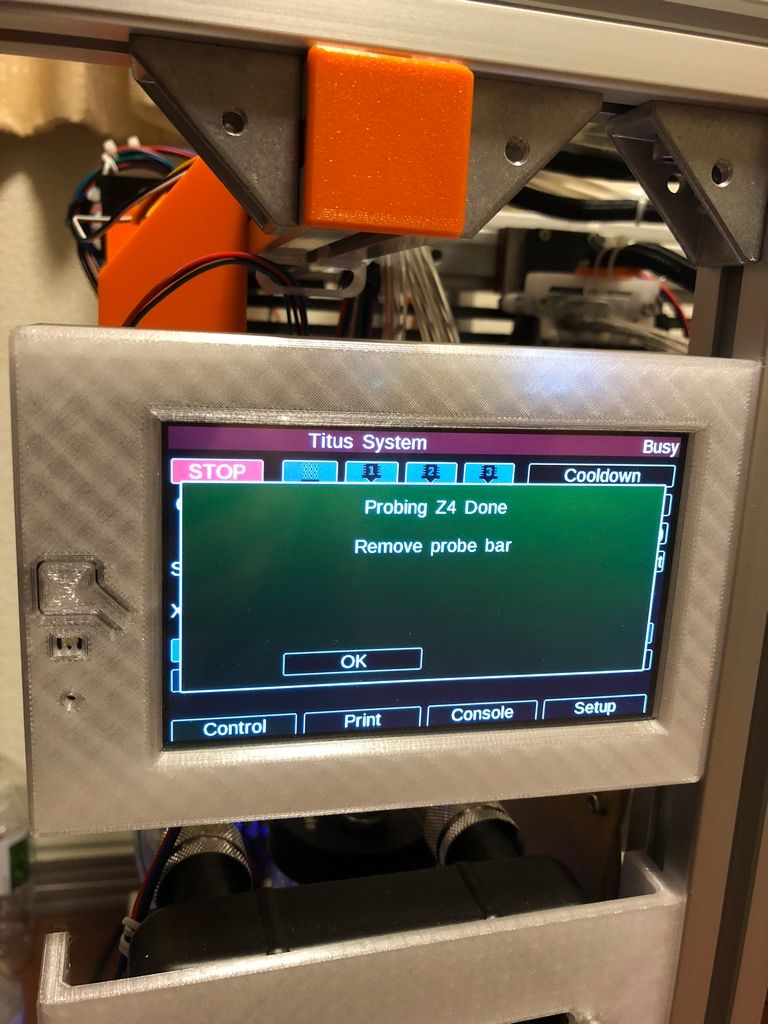
Z-axis, the simple 3 steppers so I can have auto-leveling. As right now it's simple mounting structure, but I should have enough space to put kinematic coupling in case heat-expansion become a problem.
Since it has 250mm Z travel, the free-rotating-end must be secured with bearing, otherwise you will have lovely "music" playing at different speed, as the leadscrew is long enough to vibrate and making music(noise).
--
Followings are what I haven't build/do:
Nozzle brush
Probably build directly under the parking location
Upgrade to 9mm belt
Probably with some toothed idler
Belt tension adjustment
Probably will build at left-hand-side frame
End-stop on C-axis
Right now the tool-changing C-axis doesn't have any end-stop. The "home" is preset by hand. A simple blocker should be enough for stall-homing, will findout.
Parts cooling
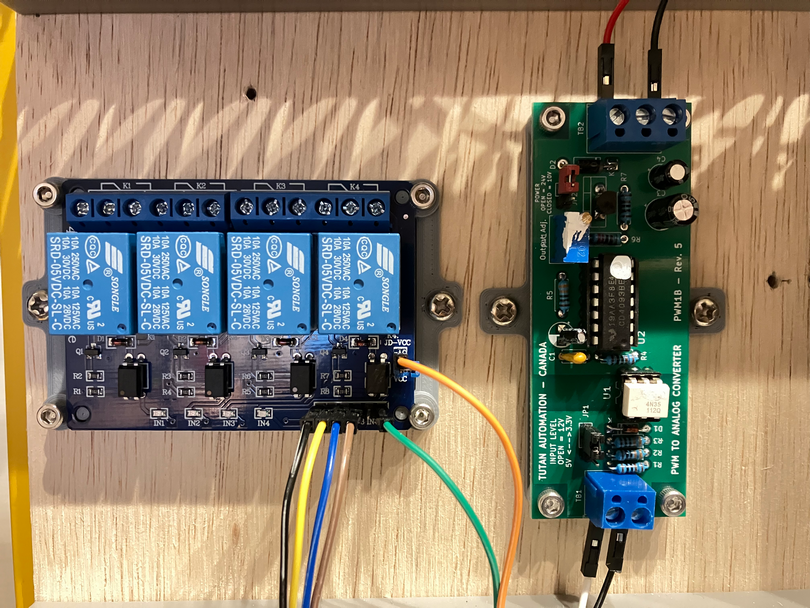
I don't think those high-temp filament need any parts cooling, but I'm building it so I can still print PLA/PETG etc. Again, a direct-fan-cooling is not a good option. The smallest 80'c-rated fan I can find is 60x60mm which is too big to mount. I probably will go with air-compressor parts cooling, challenge is finding the air compressor that take PWM signal for airflow control.
Electronic box
Right now all electronic was open-mounted. Need to build a box to safeguard those, plus some fuse to be safe.
BLtouch on Tool2
As said previously, I'm going to move BLtouch from T0 to T2, and have T2 parked in enclosure-inside-enclosure to keep it cool. Doing T2 is simple, find a way to allow auto opening/closing door is the challenge, as I don't want another stepper only for opening/closing the door.
Chamber heater
This should be straight forward, but I leave it at the very end so I can keep the frame open for anything I need to build, before seal the chamber.
--
Known problem...
The 5mm thickness of PETG is still not stiff enough for kinematic coupling on the tool-changer. Once the tool been locked, it sunk ~0.4mm. I'm going to make at least the main plate with aluminum, then see how it goes.
--
I hope this inspire others to do their owned high-temp 3DP ")
Titus
=====
NOTE (Jun18,2020)
I'd abandon this design and going back to dual X Cartesian. You can find my 2nd attempt here:
https://forum.duet3d.com/topic/17078/watercooling-heat-chamber-high-temp-3dp-build-2nd-attempt