How to measure leadsrew coordinates
-
Got it, thanks!
So now all three points will be probed:
9/18/2020, 11:00:53 AM 	Bed Traming Cycle: 1 - Difference was 0.004mm
9/18/2020, 11:00:53 AM 	Leadscrew adjustments made: 0.163 0.171 0.158, points used 3, (mean, deviation) before (0.164, 0.004) after (0.000, 0.000)
but when I do a G29 afterwards, the heightmap looks like

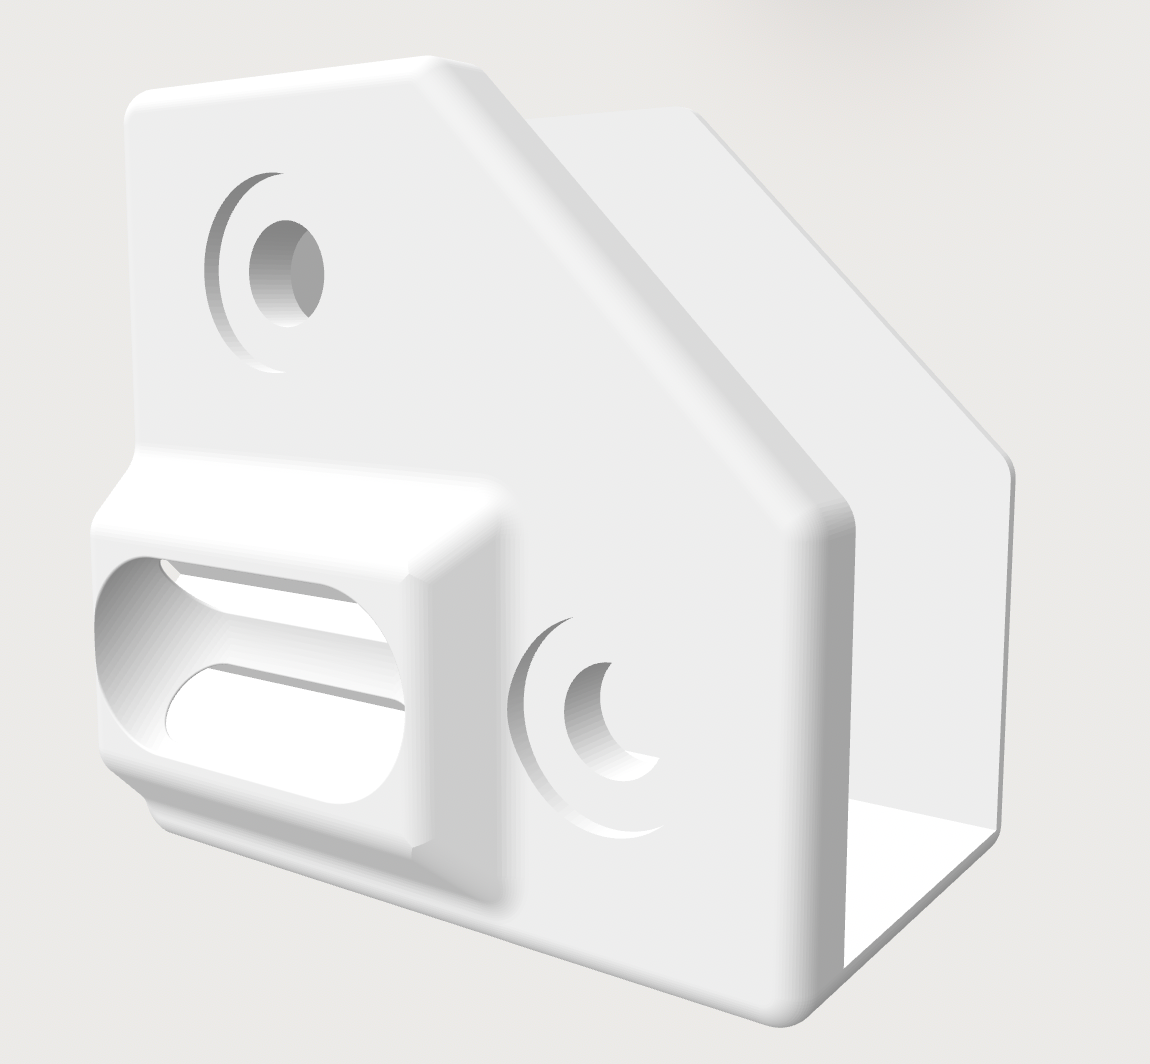
I'm wondering if I assembled the three bed holder at the right positions. Currently it looks like this:

Left Front:
Left rear:

BTW: this is not the final bed setup. Just reused some old parts to check if that all works out
")
-
You have an apparent twist in your height map. Typical causes of this:
- If it's a CoreXY printer, check that the gentry is flat and not twisted. My E3D tool changer suffers from this if I don't put padding under one of the feet.
- If the print carriage rotates about the X axis as it moves along it, this rotation will change the distance between the nozzle and the bed. If the X axis uses two parallel linear rods, check that there is no relative twist between them.
- Or of course the bed could be twisted.
-
Gantry and bed are not twisted.
I just levelled the bed with a digital leveler and ran a G32. Although the bed should be in level it was set down on the right side, where the roll screw is located.
-
Found out, that I forgot to change the steps after changing the Z axes to SFU1204. At least it looks a little bit better now.
9/18/2020, 1:33:08 PM 	Bed Traming Cycle: 1 - Difference was 0.010mm
9/18/2020, 1:33:08 PM 	Leadscrew adjustments made: 0.068 0.043 0.066, points used 3, (mean, deviation) before (0.059, 0.010) after (-0.000, 0.000)
Any other ideas?
-
@MartinNYHC check how level your two guide rails are for the Y axis. Check both along their lengths individually and for any height difference between them.
From you height map, it looks like the three points you probed for the auto tramming are all at the same height, give or take. This means that it has correctly levelled the bed based on these three points. I'm assuming here that the 0,0 point is at the front left in the photo of your bed (where I'd expect it).
Looking at the heightmap, it seems that your y-rail on the right hand side (at your x-max side) is not flat compared to the left hand one, leading to the twist you are seeing in your height map.
-
@engikeneer Just measured and the front end of the right extrusion is 1mm higher. How the hell shall one assemble the frame that it is 100% square?

-
@MartinNYHC build it on a surface plate.
 I’m actually lobbying for our maker space to get one so I can use it for my next build...
For my BLV I printed off two copies of the jigs and used those to hold both sides simultaneously. Still don’t have it up and running again though!
-
@MartinNYHC if you find an answer to that, please let me know! I don't have a digital level gauge so just kept adjusting mine, redoing the mesh, then repeating until I gave up

One other thought. You can probe more than three points if you like and anywhere on the bed. It will then do least squares to get the average bed plane and auto tram to that (thats why it gives a std dev before adjustments). Might be worth considering when you've done what you can with mechanicals to minimise the bed mesh?
-
@engikeneer Yes, I already added some additional probing points. Will try it out tomorrow.
-
Since I don't want to reassemble the frame once again before I'm sure what exactly the problem is, I just placed a washer between the bed frame and the bed holder on the right side. Looks better...
