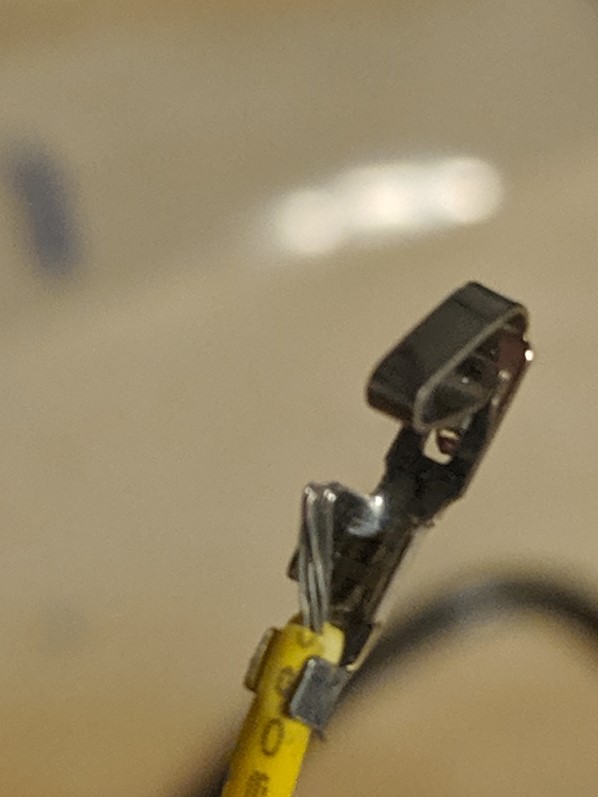
Pre crimped cables
-
Did you purchase a tool to crimp the connectors on or using a pair of pliers?
I thought I could use a pair of pliers but struggled and bought an inexpensive crimping tool.
Also if all of the cables are black, it might make fault diagnosis harder or just tracing a wire.
No dis-respect meant. -
What kind of crimper do You use, could You share a photo or a link? Some crimpers work better than others and some don't work at all.
-
@markuskruse I feel your pain and you have my sympathy - crimping terminals is my nemesis too. But I would advise that you persevere. The reason being that cables almost inevitably fail at the termination point, seldom at some intermediate point along the length. So the more terminations or joins that you put in the cables, the more the likelihood of failure.
-
I have a crimp tool. Someone from duet tried to show me how to do it. I continued to fail. I have crimped some with a plier, it turned out a bit better but was also a waste of time.
I have a tool a bit like this one:
https://www.aliexpress.com/item/32324904680.htmlI'm not interested in trying to crimp more. I have better use for my time (and no, it isn't easy). For me there exist three options:
- Put a sledgehammer on the duet and move on. This is, of course, an insanely bad option. I guess I could also just sell it.
- Buy pre-crimped cables and use a connector I can work with.
- Use some kind of screw terminal.
-
@deckingman Good point, I hear you.

-
the cables are the same used in pc fans.
so you could also buy pc fan extension cables.
stuff like this https://www.amazon.co.uk/TOOGOO-Connector-Extension-Power-Computer-Black/dp/B078RZ4M87/
-
@markuskruse I understand your frustration, I had bought an incorrect tool initially and tried to do them with pliers which caused all sorts of problems (bad motor connections, intermittent faults, etc..) I did persevere though, and found the correct tool and a correct workflow on youtube, now crimping takes minimal effort. If you really don't want to crimp, understand that you can cause issues by putting more "points of failure" on your cabling, that being said, the precrimped cables on Digikey would fit your purpose...

-
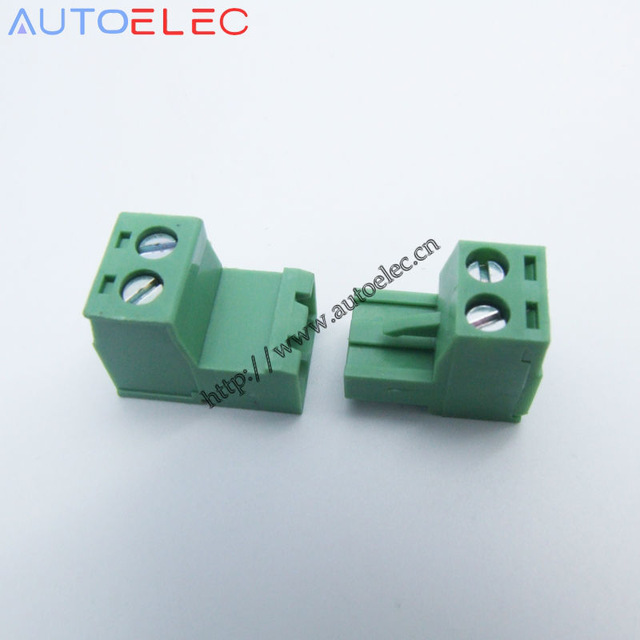
You could wire the pre-crimped wires into connectors like these which are available as both male and female with screw terminal to retain some of the convenience of easy unplugging..
 https://www.aliexpress.com/item/20pcs-5-08mm-Pitch-2-Pins-male-female-Pins-PCB-Electrical-Screw-Terminal-Block-Connector-wire/32650744369.html
They should be possible to find in 3.81mm size as well.
But I'd encourage you to try a suitable crimping tool before giving up, like the post over f.ex. Or look at the crimping tool thread for other alternatives
-
Except for connections between things like a Duex board, or maybe a PT100/Thermistor daughterboard, few of these connections are really noise prone.
If you buy pre-crimped connectors, that's fine, Don't cut them, use them as-is. Any connector that you add in is going to need to be crimped, which defeats the purpose, or, as you said, use a screw terminal, which doesn't seem to be the best option.
I suppose that you could solder connectors, but I also assume that you're talking about things like the Molex cponnectors for the motors and endstops.
Connectors for the heaters where the ferrules are used, I don't know that I've ever seen these pre-made. Lots of people put the wires in the screw terminals without ferrules. Pretty sure that's the norm for RAMPS boards.
I do feel your pain. I had endless problems with crimps for a long time. It got better once I bit the bullet and spent some money on a good crimping tool, but there are still some things that I just can't feel secure about unless I use solder and strain relief. (Yes, I'm aware that solder is not the netter option where any kind of movement or vibration is expected.)
Any time you add a connector in a wire, you add a point of failure. It doesn't matter of that connector is soldered, crimped, or pinched into a screw terminal. I'd think that if you're trying to eliminate failures, you'd want as few of these as you can, and basically, that means you'll need crimps.
Now, if I could find a motor wire that goes from a 4 pin Molex to a connector on the motor, I'd use it as-is. Same for a thermistor, endstop switch or heater if possible. If the wire it too short... Well, it's not the right choice. If it's too long, just bundle and zip-tie it somewhere. None of these things are going to give a performance issue because you have a few cm of wire bundled up somewhere. So my question is... Why would you be cutting a pre-made wire?
-
@markuskruse said in Pre crimped cables:
I have crimped some with a plier, it turned out a bit better ..
That's a good start. Now try these pliers
 https://www.amazon.com/gp/product/B078WNZ9FW
I use the 1.3 slot to crimp the copper and 1.6 to crimp the insulation.
-
@markuskruse I completely agree with you. Crimping Cables is the biggest pain in the ass. The reason though is because you literally need three hands. It wasn't till I learned this that I was able to do it.
Get a set of these:
https://www.amazon.com/ProsKit-900-015-Helping-Hands-Soldering/dp/B002PIA6Z4
or you can just do what I do and use an alligator clip.
Here are the steps I use with pictures.
You will need a set of helping hands or an alligator clip, wire strippers, needle nose pliers, and a crimping tool.
Position the alligator clip or helping hand vertically:

Put the connector in the alligator clip with the flaps facing up like this:

Strip 2mm from the end of the wire:

Put the wire in the connector so the sheathing is in the first two flaps and the bare wire is in the second two:

Take a pair of needle nose pliers and squeeze the first two flaps so that they are gripping the sheathing, but are not fully closed. You want them to hold the connector to the wire while you put it in your crimping tool:

Put the connector in your crimping tool so that the flaps are facing into grove and are 90 degrees to the jaws like this:

Squeeze your crimping tool as tight as it will go:

If done correctly it should look like this:

I had to use this method a few dozen times before I got it down. Also I would say I am successful only about 90% of the time with this method. Do not get discouraged.
-
@cthulhulabs that's an awesome step by step guide. You should totally put that into the dozuki site as a guide.
-
Thanks. Taking the pictures almost required a fourth hand.

