@alankilian said in Mushrooming print - What could cause this?:
@leav
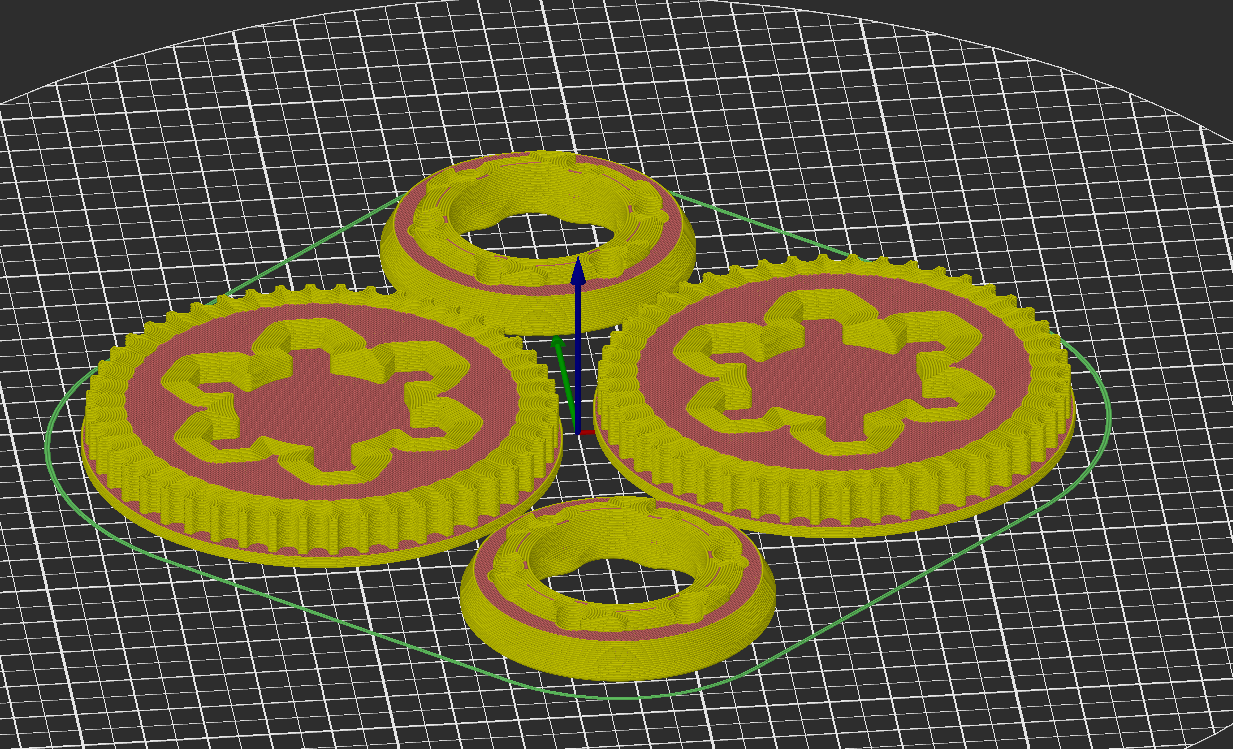
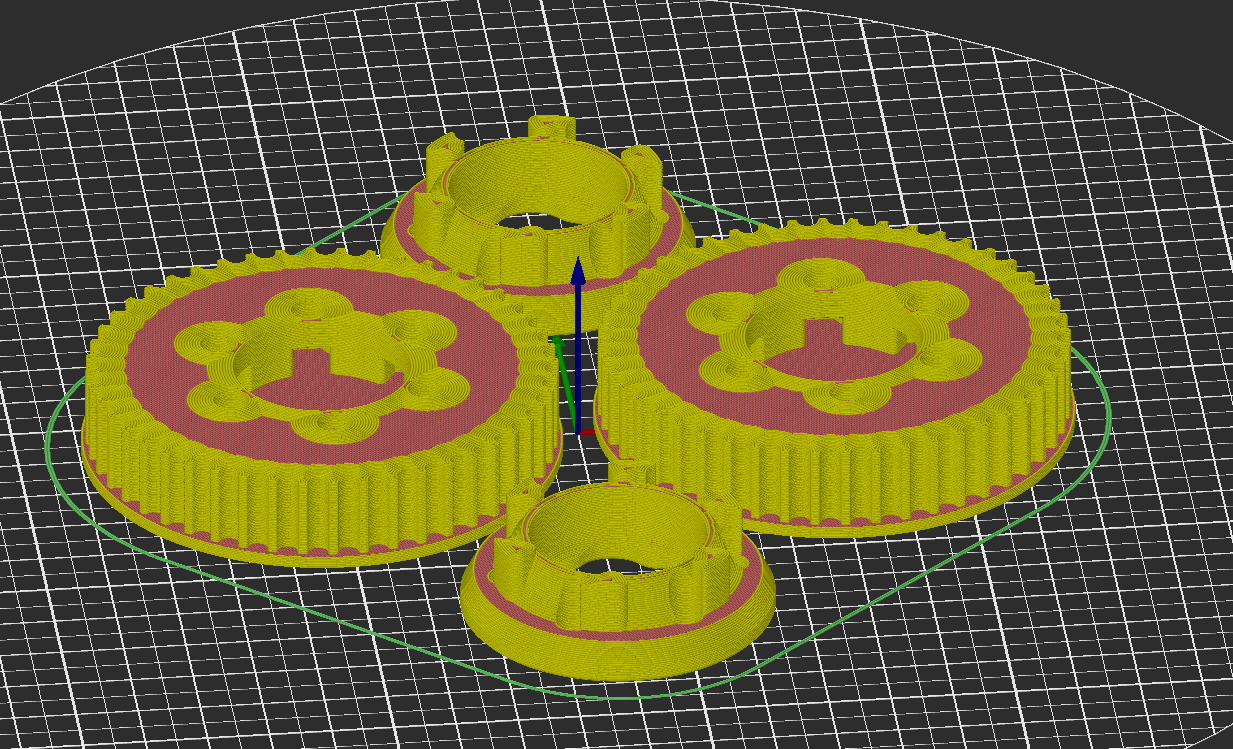
Is there any way you could post your STL files (And GCODE for comparison?)
I'd love to try printing this on my Delta to see if there's anything in the model or sliced code that's causing this.
Shoot, I meant to do this with the previous post.
Here is a link to a zip with the two STL files and the SuperSlicer 3mf project (not sure if it's compatible with prusa slicer or other versions). Please let me know what you find.
@engikeneer said in Mushrooming print - What could cause this?:
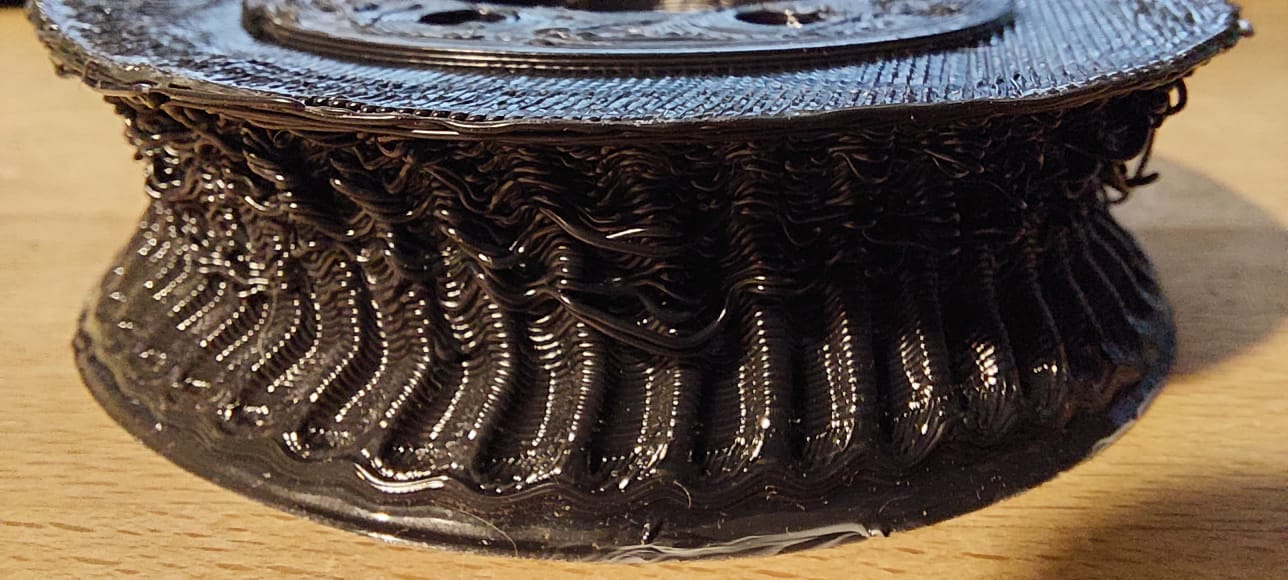
@leav could it simply be shrinkage/warping?
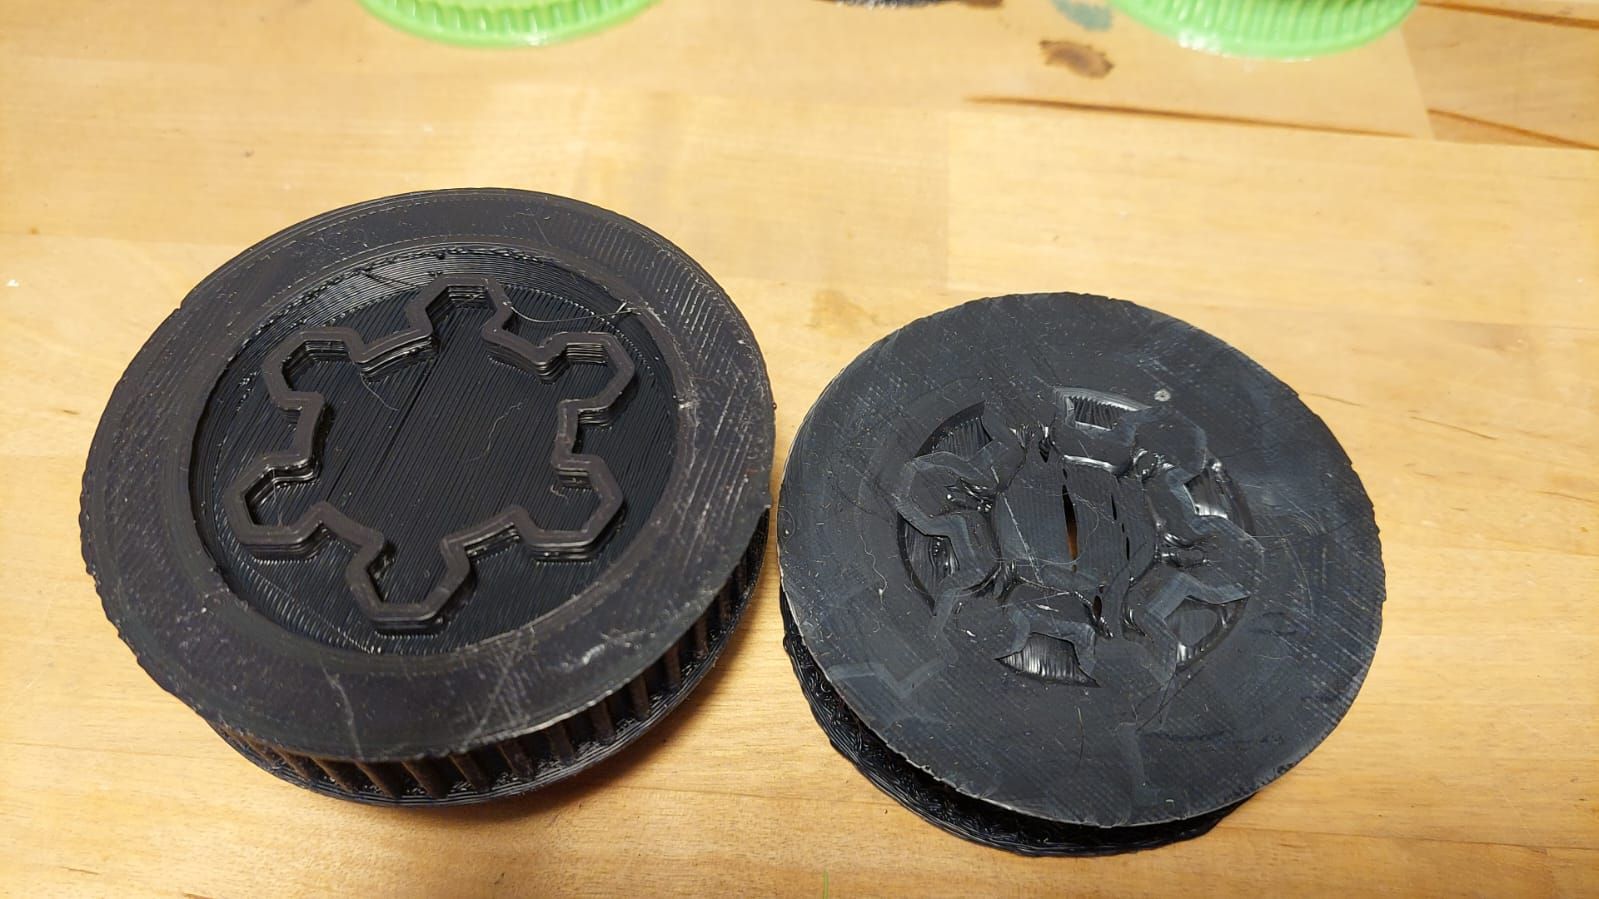
It looks like the faster layers without solid infil (I.e. the ones that are laid down faster) are just contracting, but the slower layers are maintaining size better.
I'd try a different reel/brand of filament, or a different material
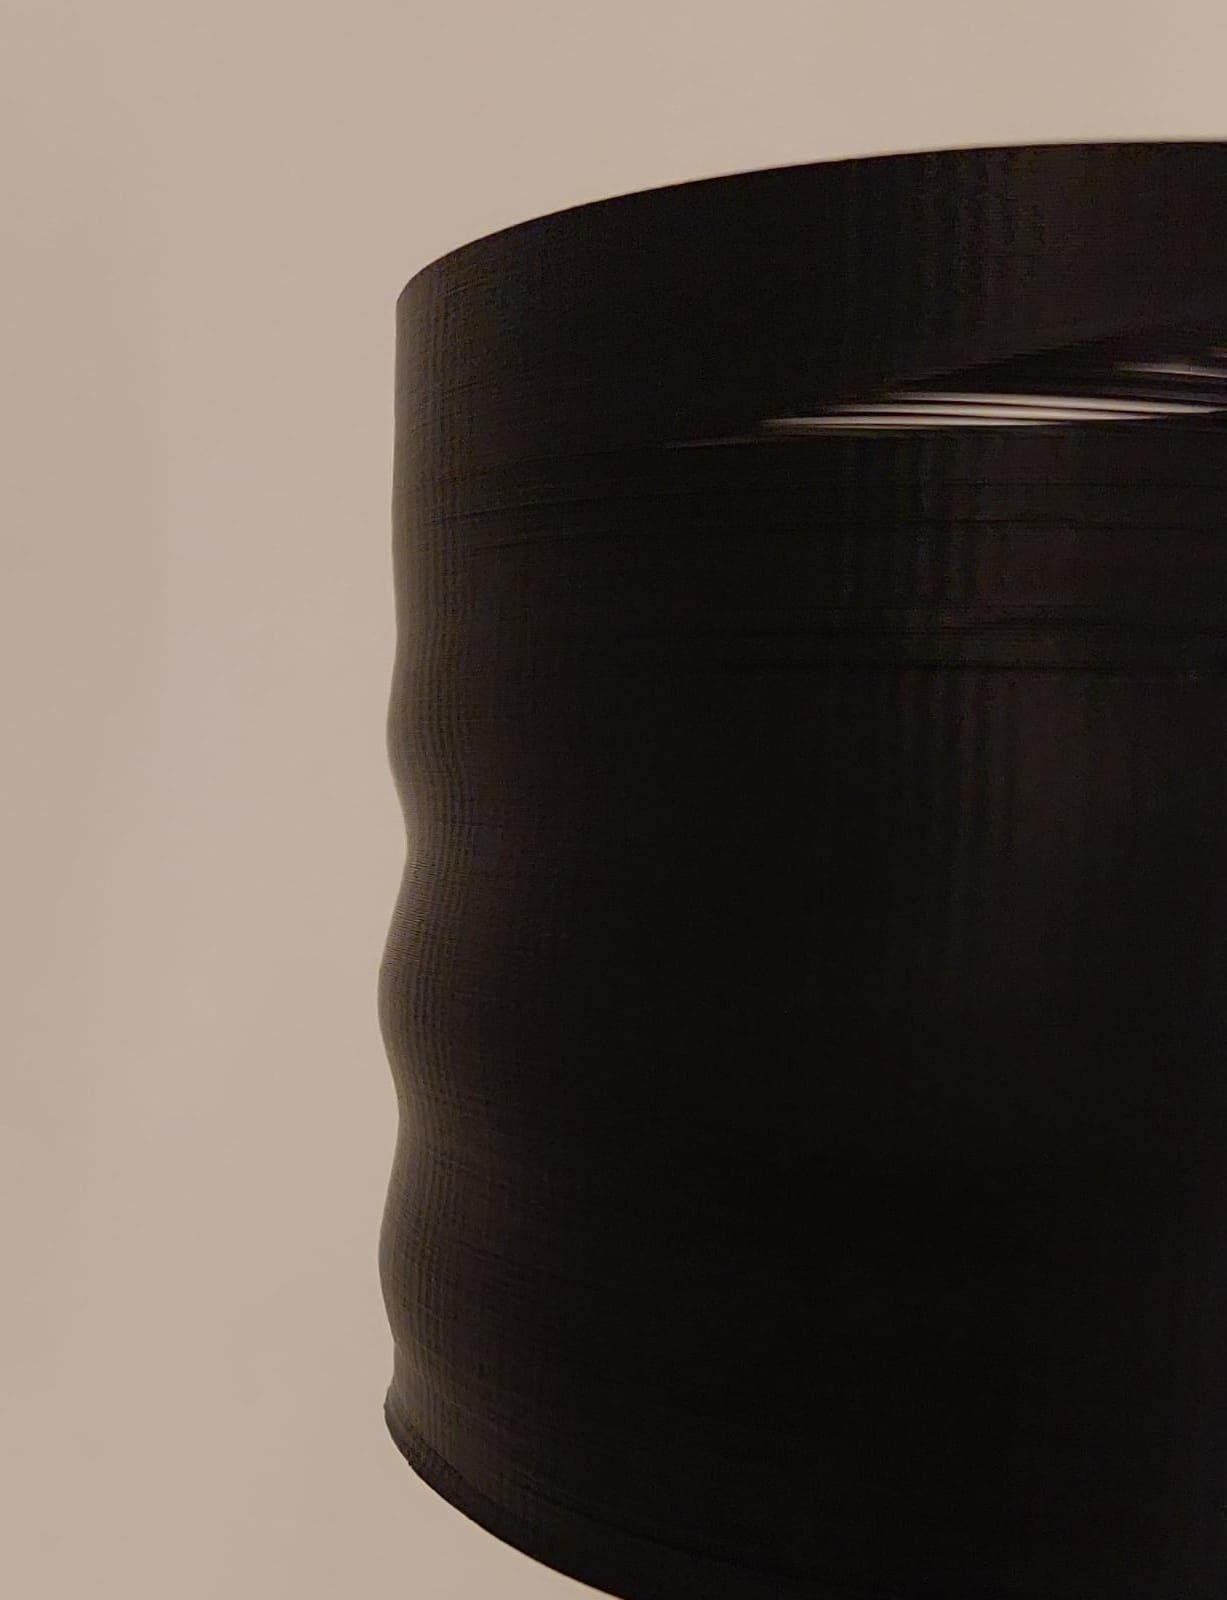
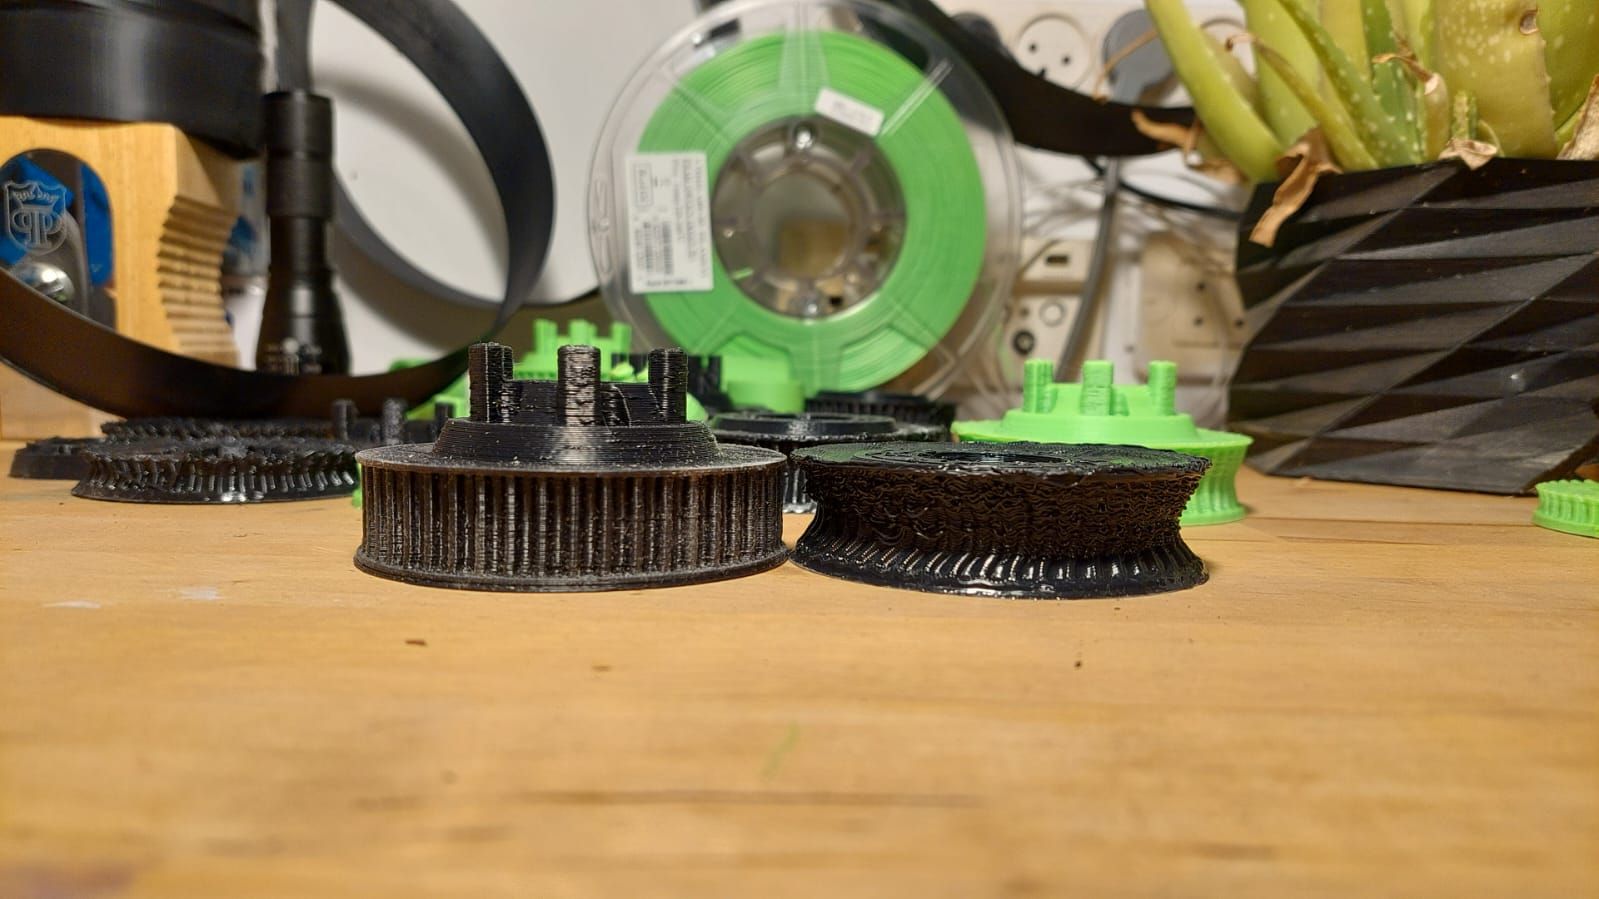
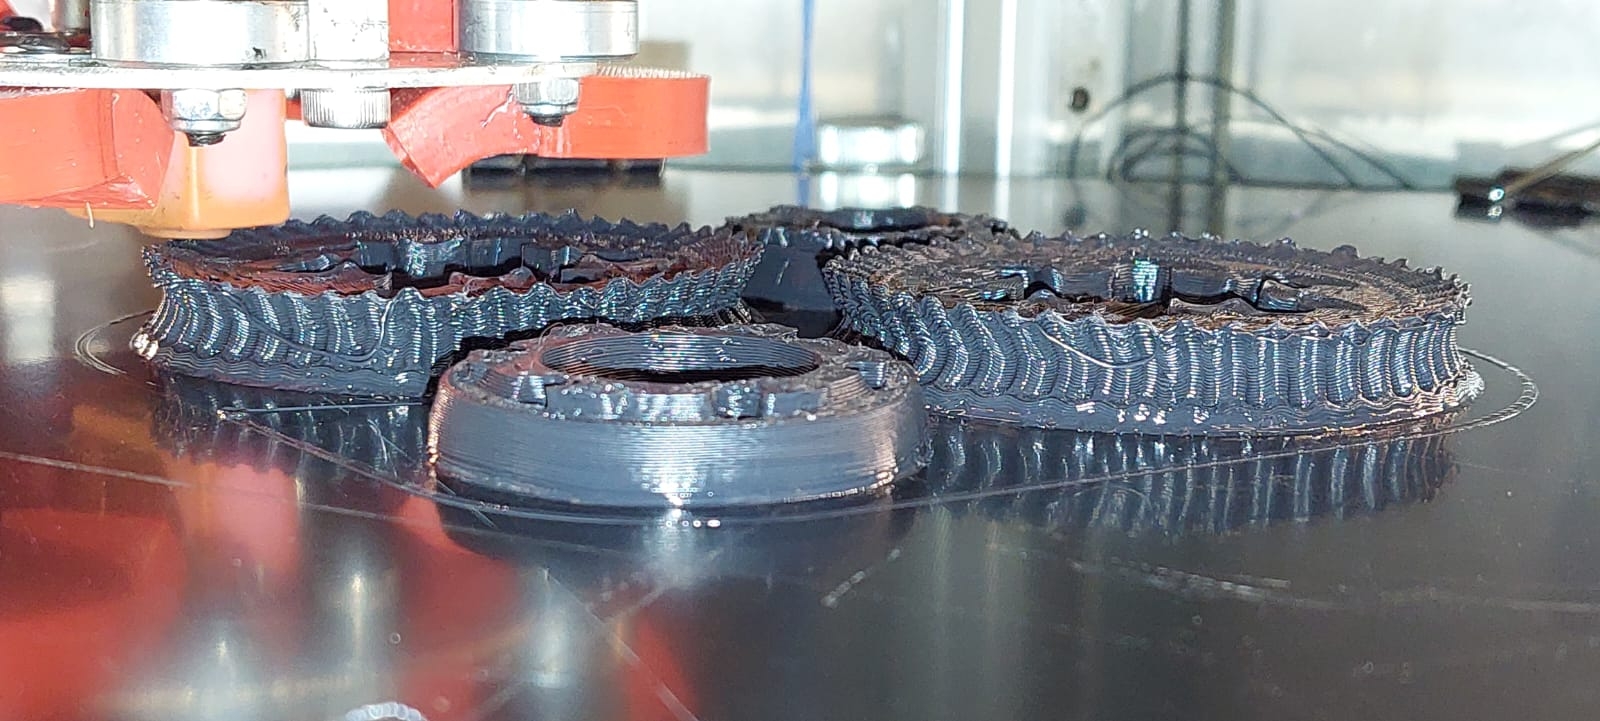
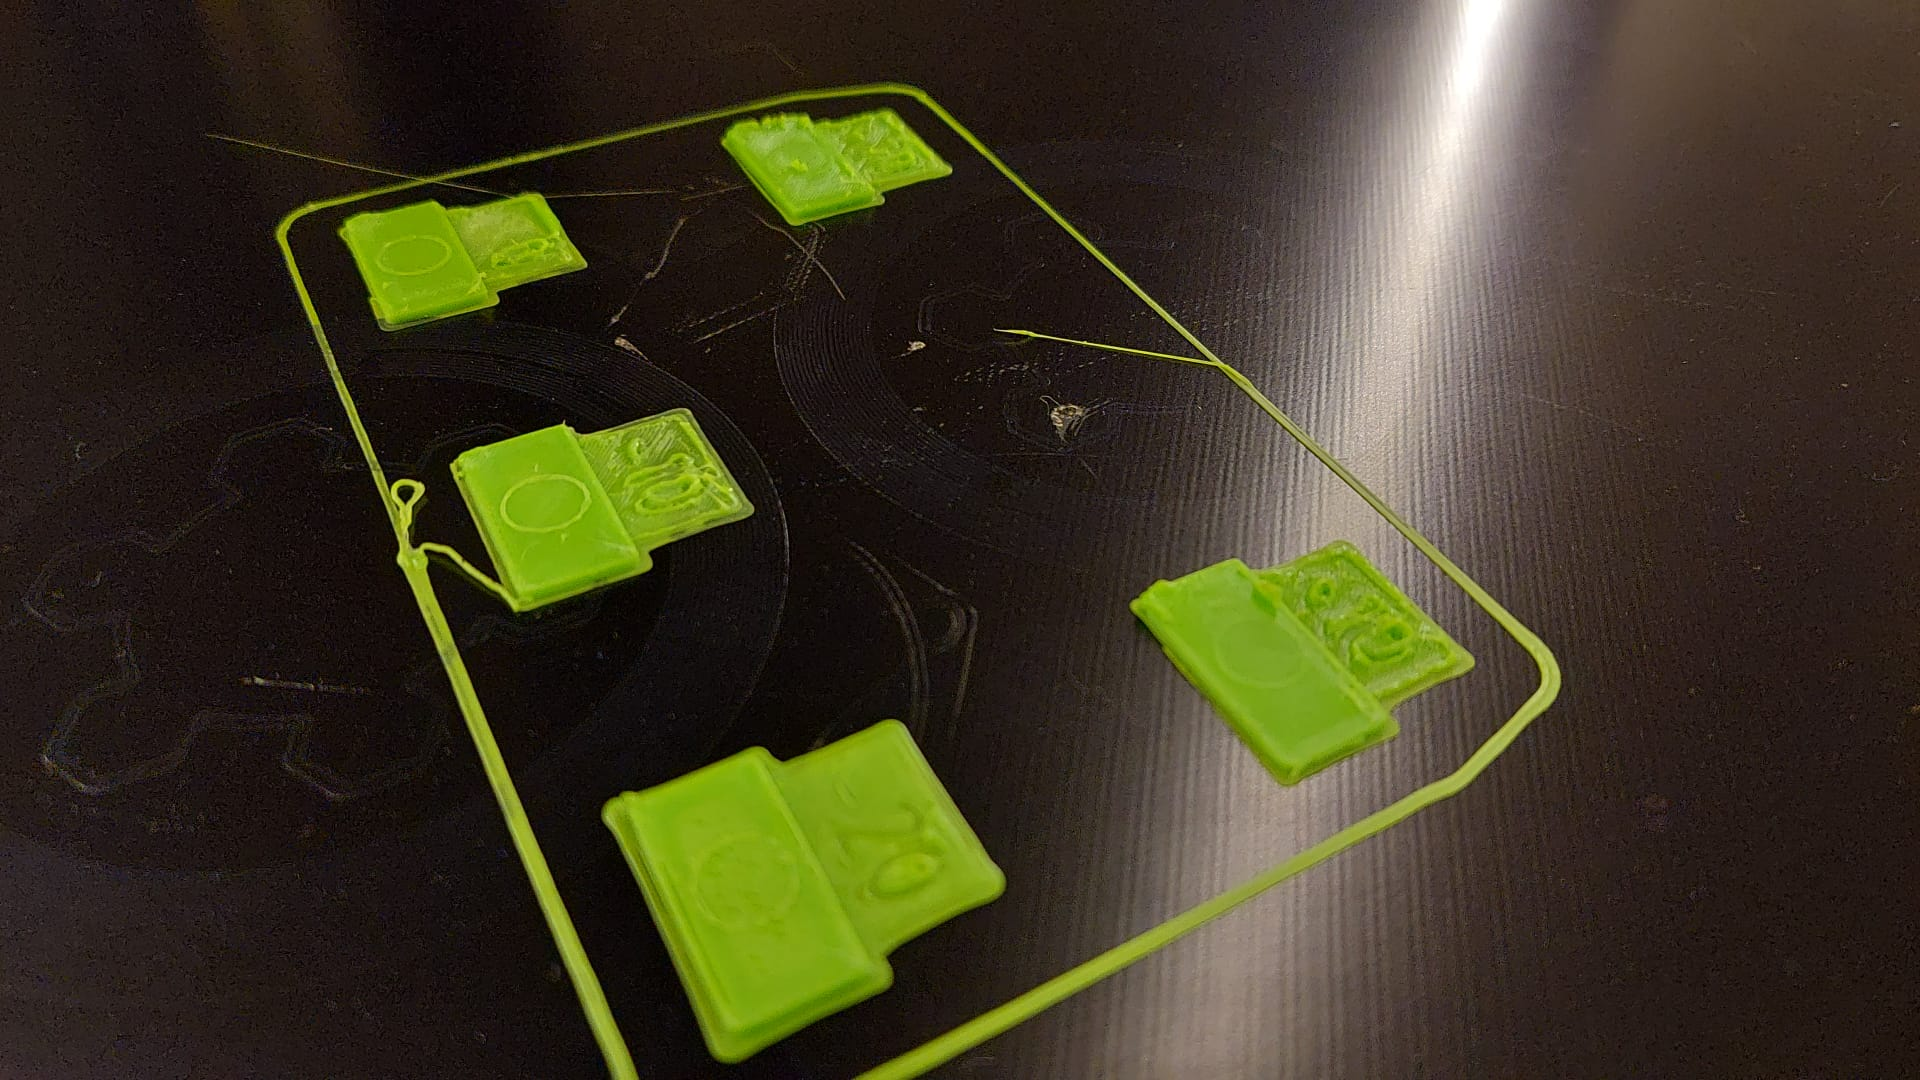
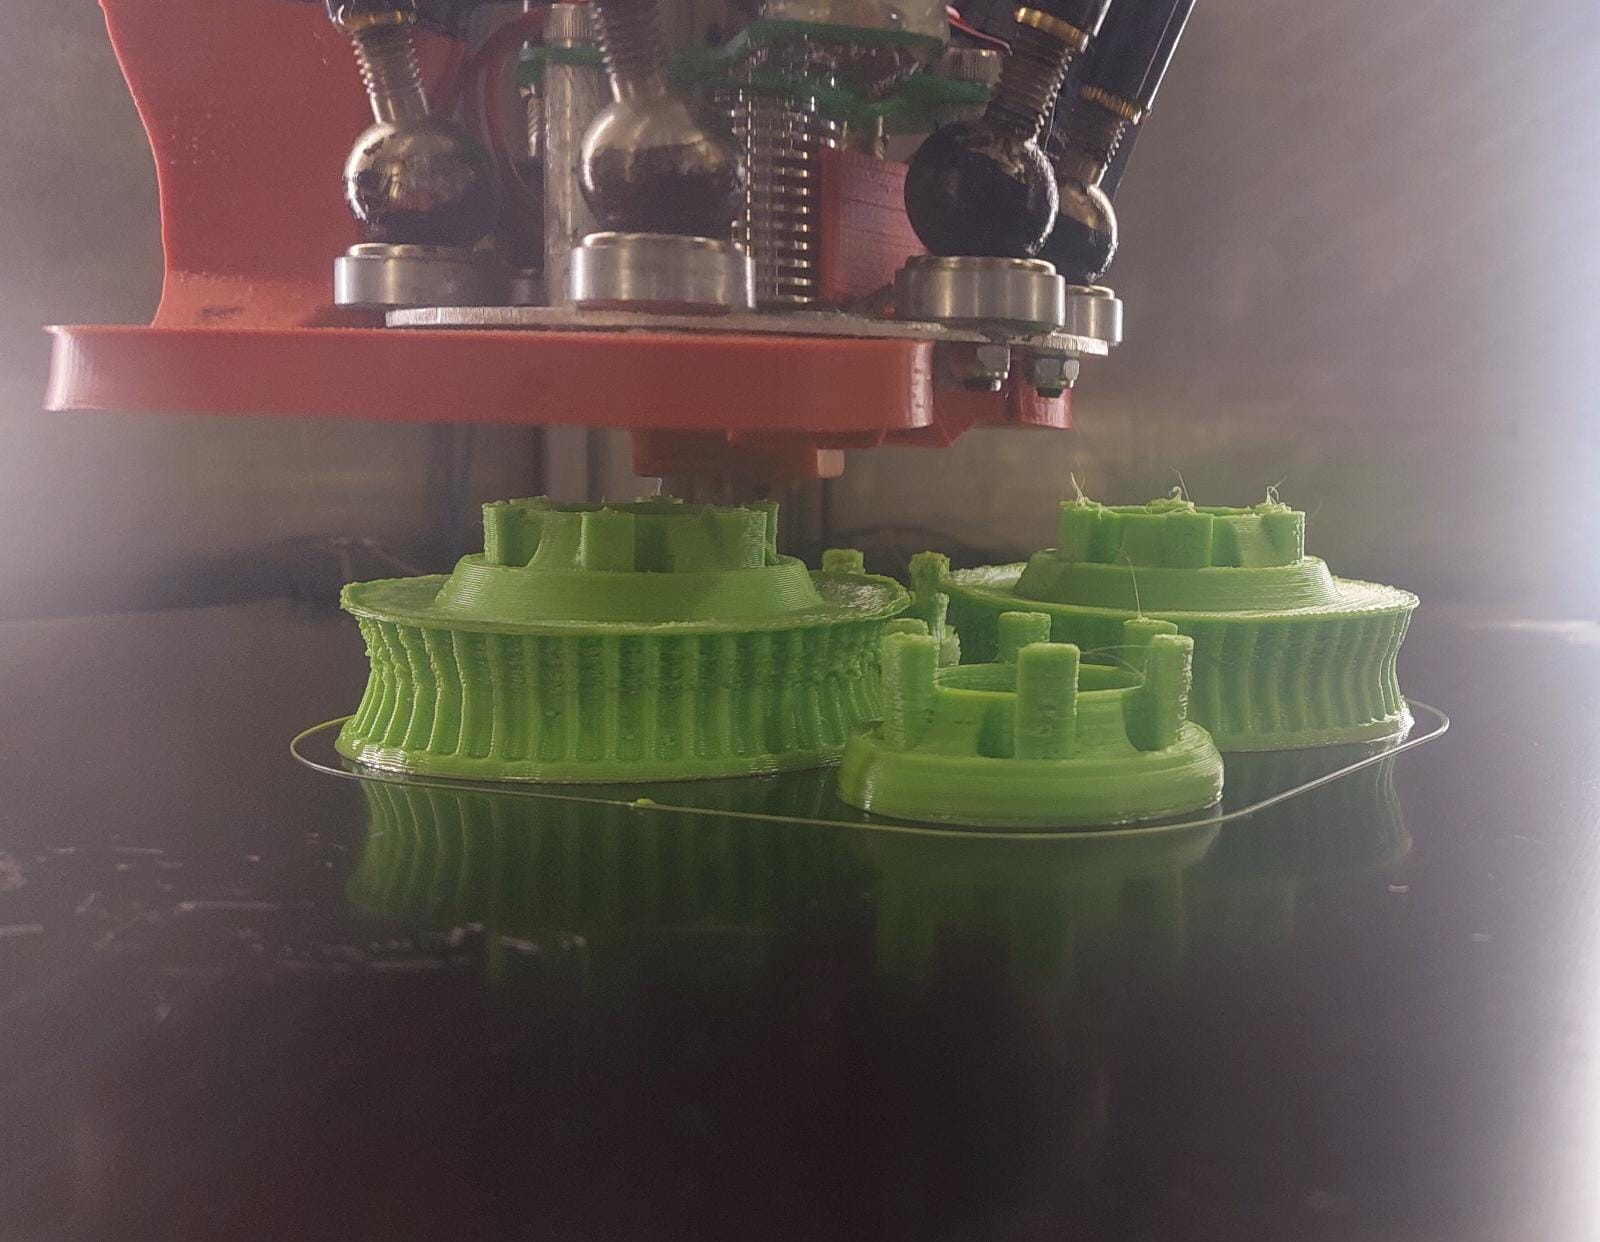
Could very well be. The green material was eSun ABS+, and I printed these black items with Polymaker ASA (same exact gcode).

The deformation is noticeably smaller, leading me to believe plastic shrinkage may be the main mechanism here.
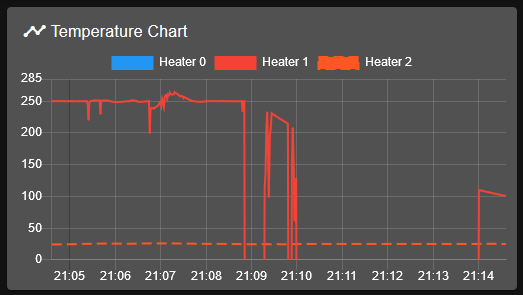
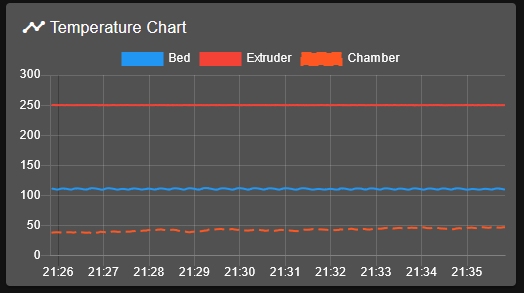
My printing temps:
- Extruder 250°c
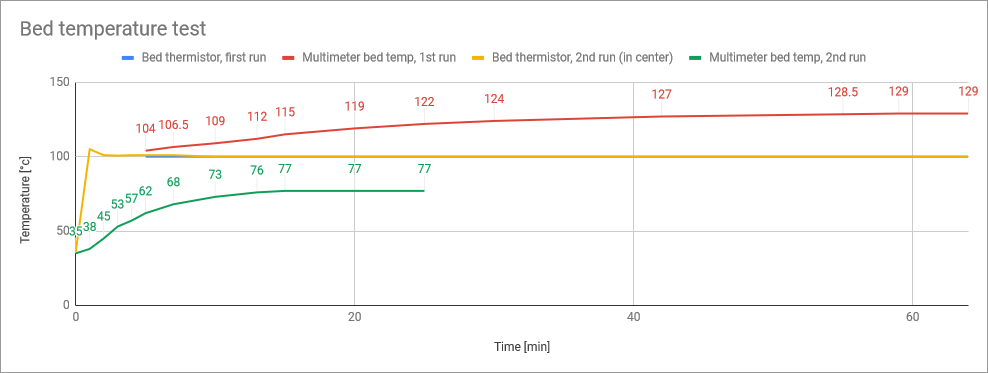
- Bed 110°c
- Chamber (passively heated by 2000w bed heater) ~40-50°c (rises during the print)
@norder said in Mushrooming print - What could cause this?:
At first glance it looks like over-extrusion or wrong Z-axis stepps.
The retract doesn't seem to be there either, if you look at the blobs on the skirt and where you move from the skirt to the first layer of the component, the filament runs through without interruption.
Thanks for calling attention to that. I have a super long bowden tube (>1000mm), and retraction is currently set to only 8mm. I think it's very likely it needs to be much larger to account for the extra length of the filament snaking around in the capricorn tube.
Regarding your calibration suggestions, I am jotting down a list here:
- Check drive item tightness (including pulley set screws in all 4 steppers)
- measure axis travel (all 4 steppers)
- Bed level sensor repeatability test
- Check flatness of travel to bed after mesh probing using an indicator that clips on the effector
- Calibrate flow from scratch (filament diameter + flow calibration print)
- Optimal printing temperature test (temperature tower?)
Will report back the results
@o_lampe said in Mushrooming print - What could cause this?:
How about the rod-distance? The effector looks like the magnets are arranged in a regular pattern (more or less)
It seems easy to match the wrong pair of magnets, which would lead to non-parallel rods.
You are correct that it is easy to get a mismatch pair, but in this case it is correct - Thanks!
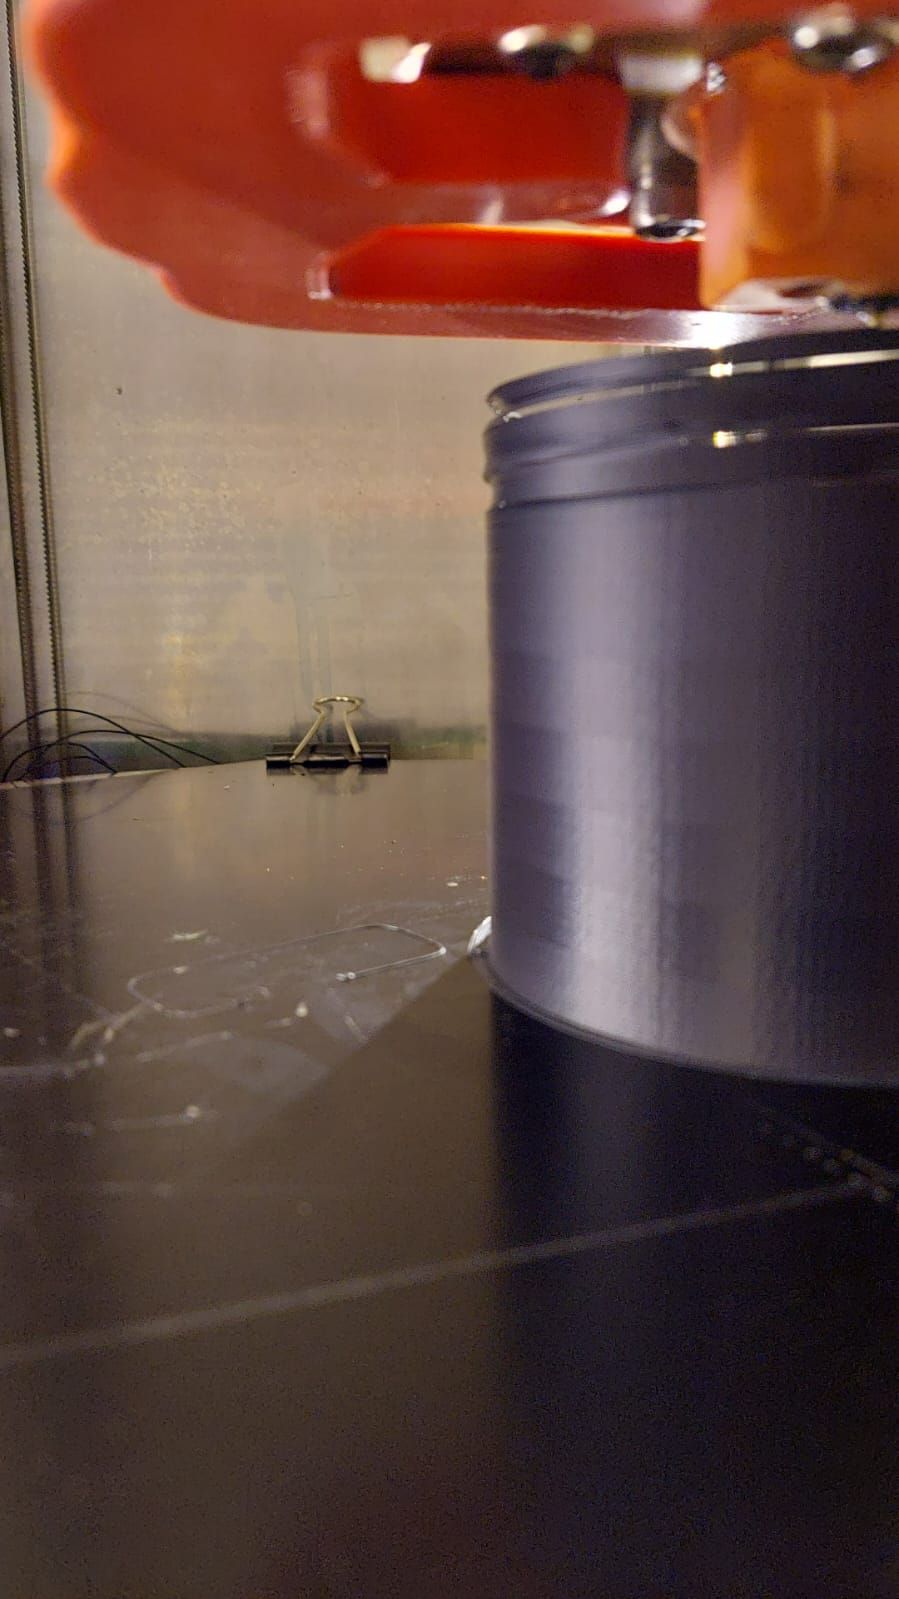
@norder said in Mushrooming print - What could cause this?:
Did you use the printer to print the red fan-duct that you can see in the photo here ?
Yes
@norder said in Mushrooming print - What could cause this?:
This effect can also be seen there, that the outer wall collapses inwards.
But it seems to be worse on the left side than on the right !?
Good eye, I didn't catch that!
@norder said in Mushrooming print - What could cause this?:
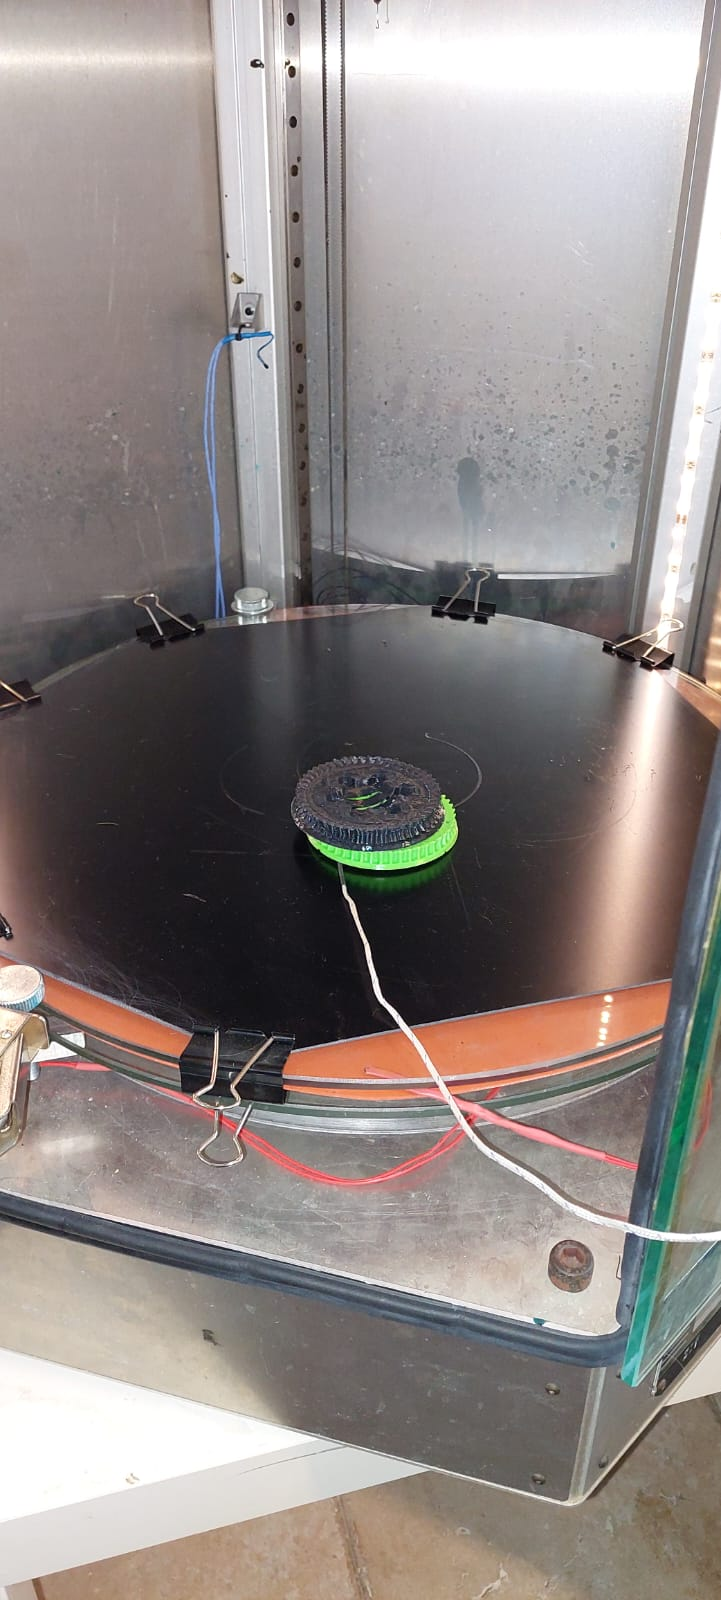
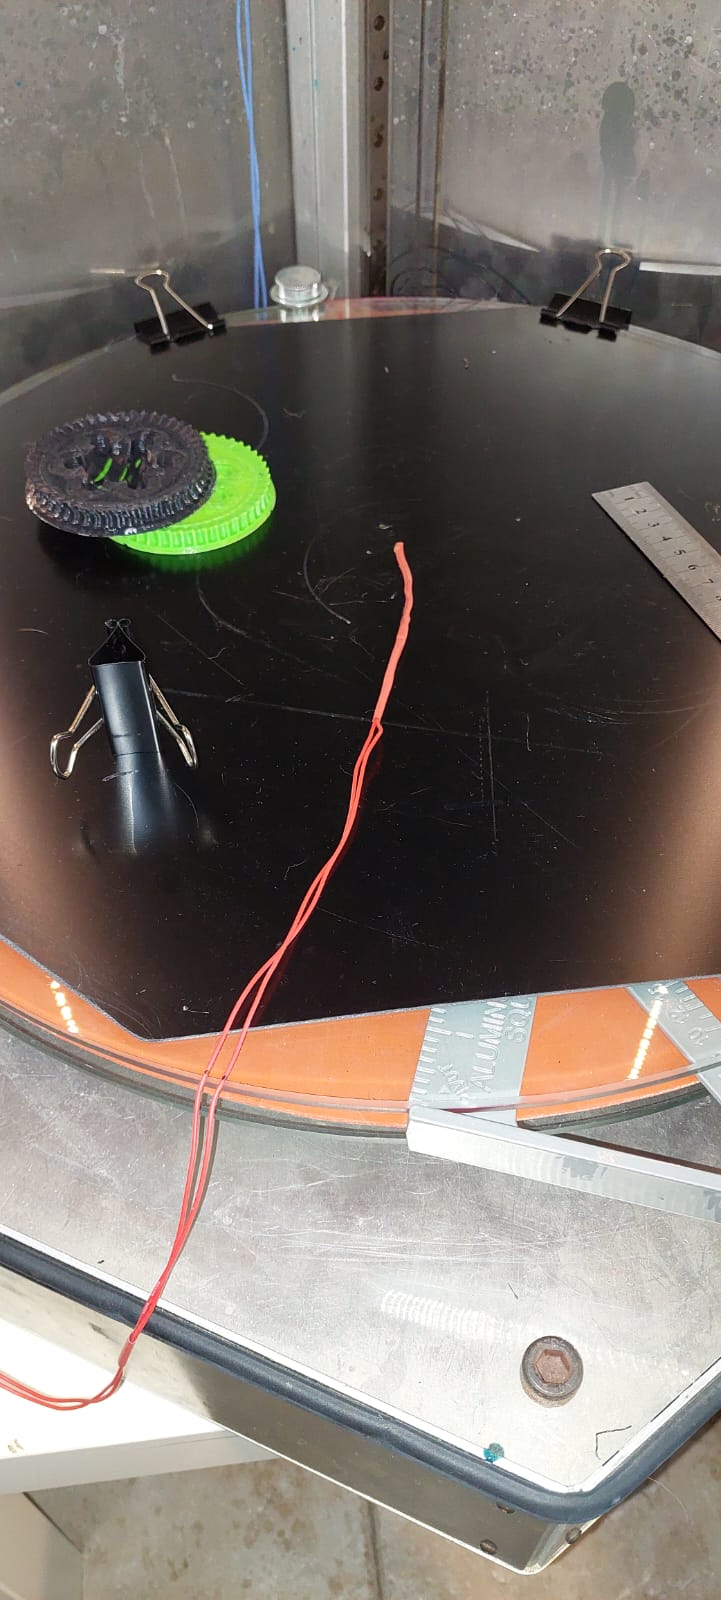
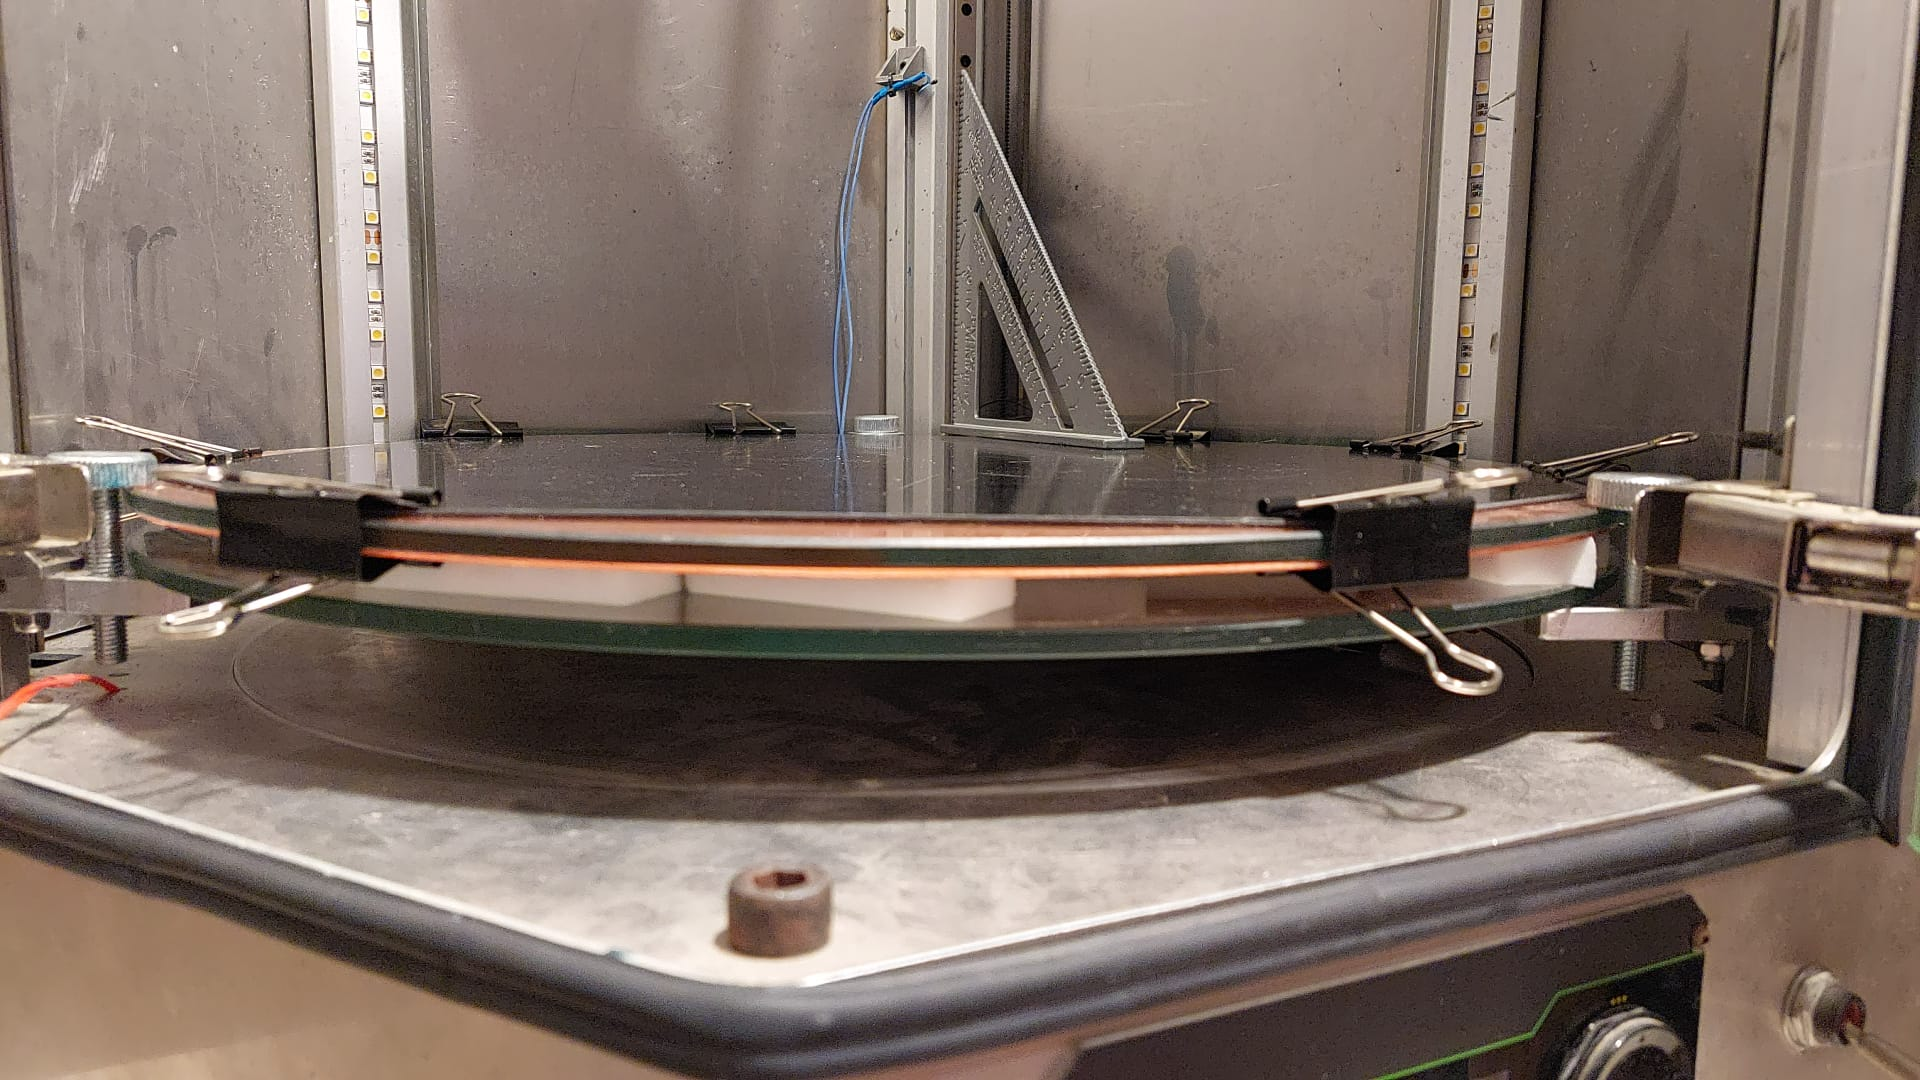
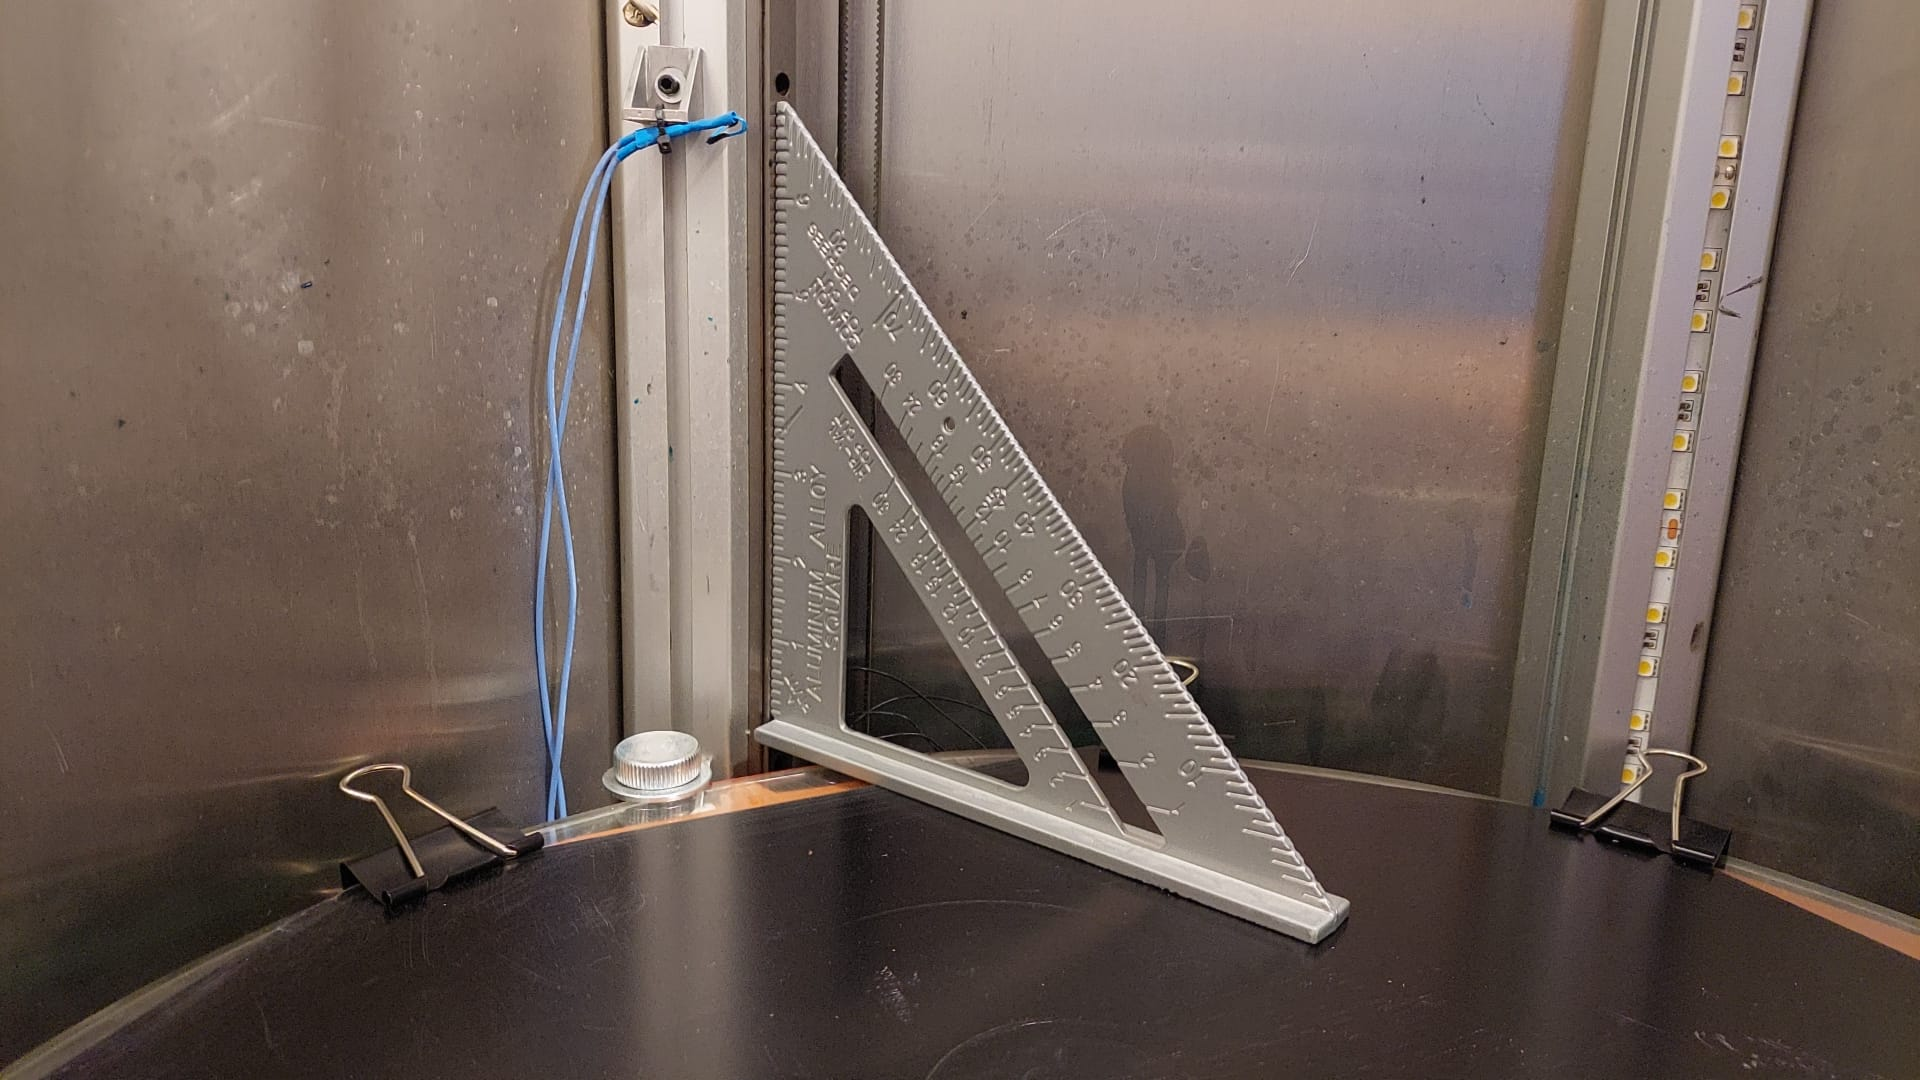
Print a 100mm high cylinder (or even higher) in vase mode and show us the result.
It is best to do this in different places on the print bed one after the other.
For example, as close as possible to each of the three Z-axes and once in the middle.
Just to make it clear where this effect occurs.
In progress now, will update soon, including results of the above tests.
I would like to say thanks to everyone pitching in to try and figure it out, much appreciated!