WIP CoreXY with heated chamber
-
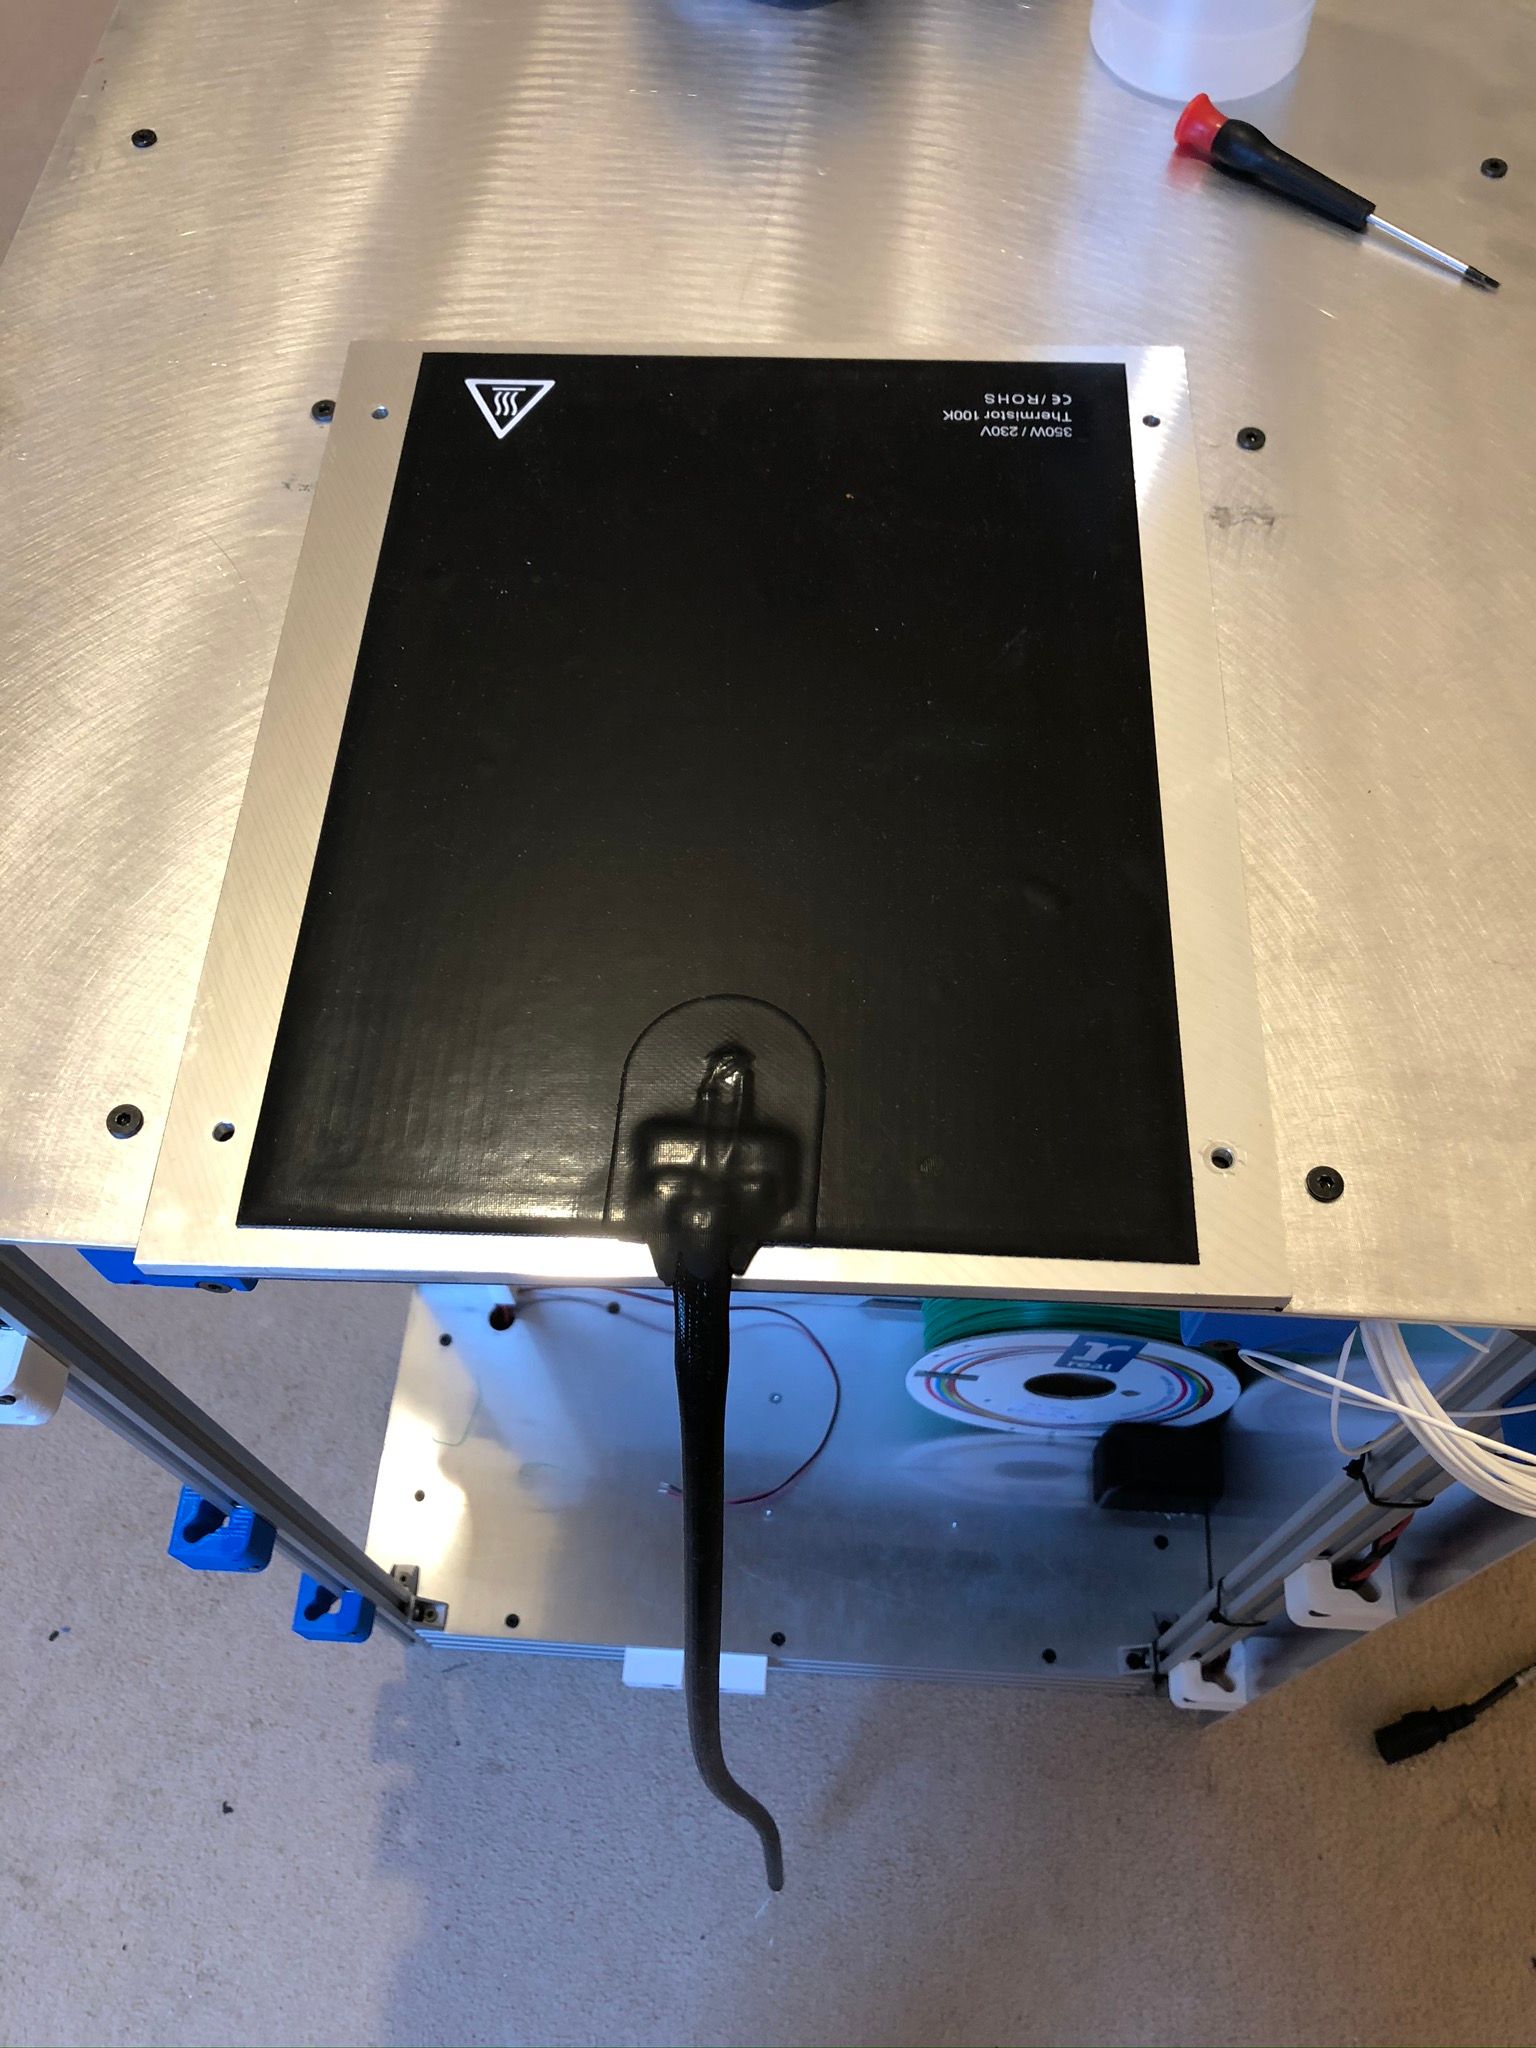
And finally I got a bed heater! I am working now on a way to constrain the cable from the bed and installing TCO for safety. Overall I am very happy with this bed its get to 140C in 15 minutes and its only 350W on 8mm mic6 plate.
 077-671d0cf8-066a-46e8-9c76-5b216a9b77ed-resized.jpeg)

-
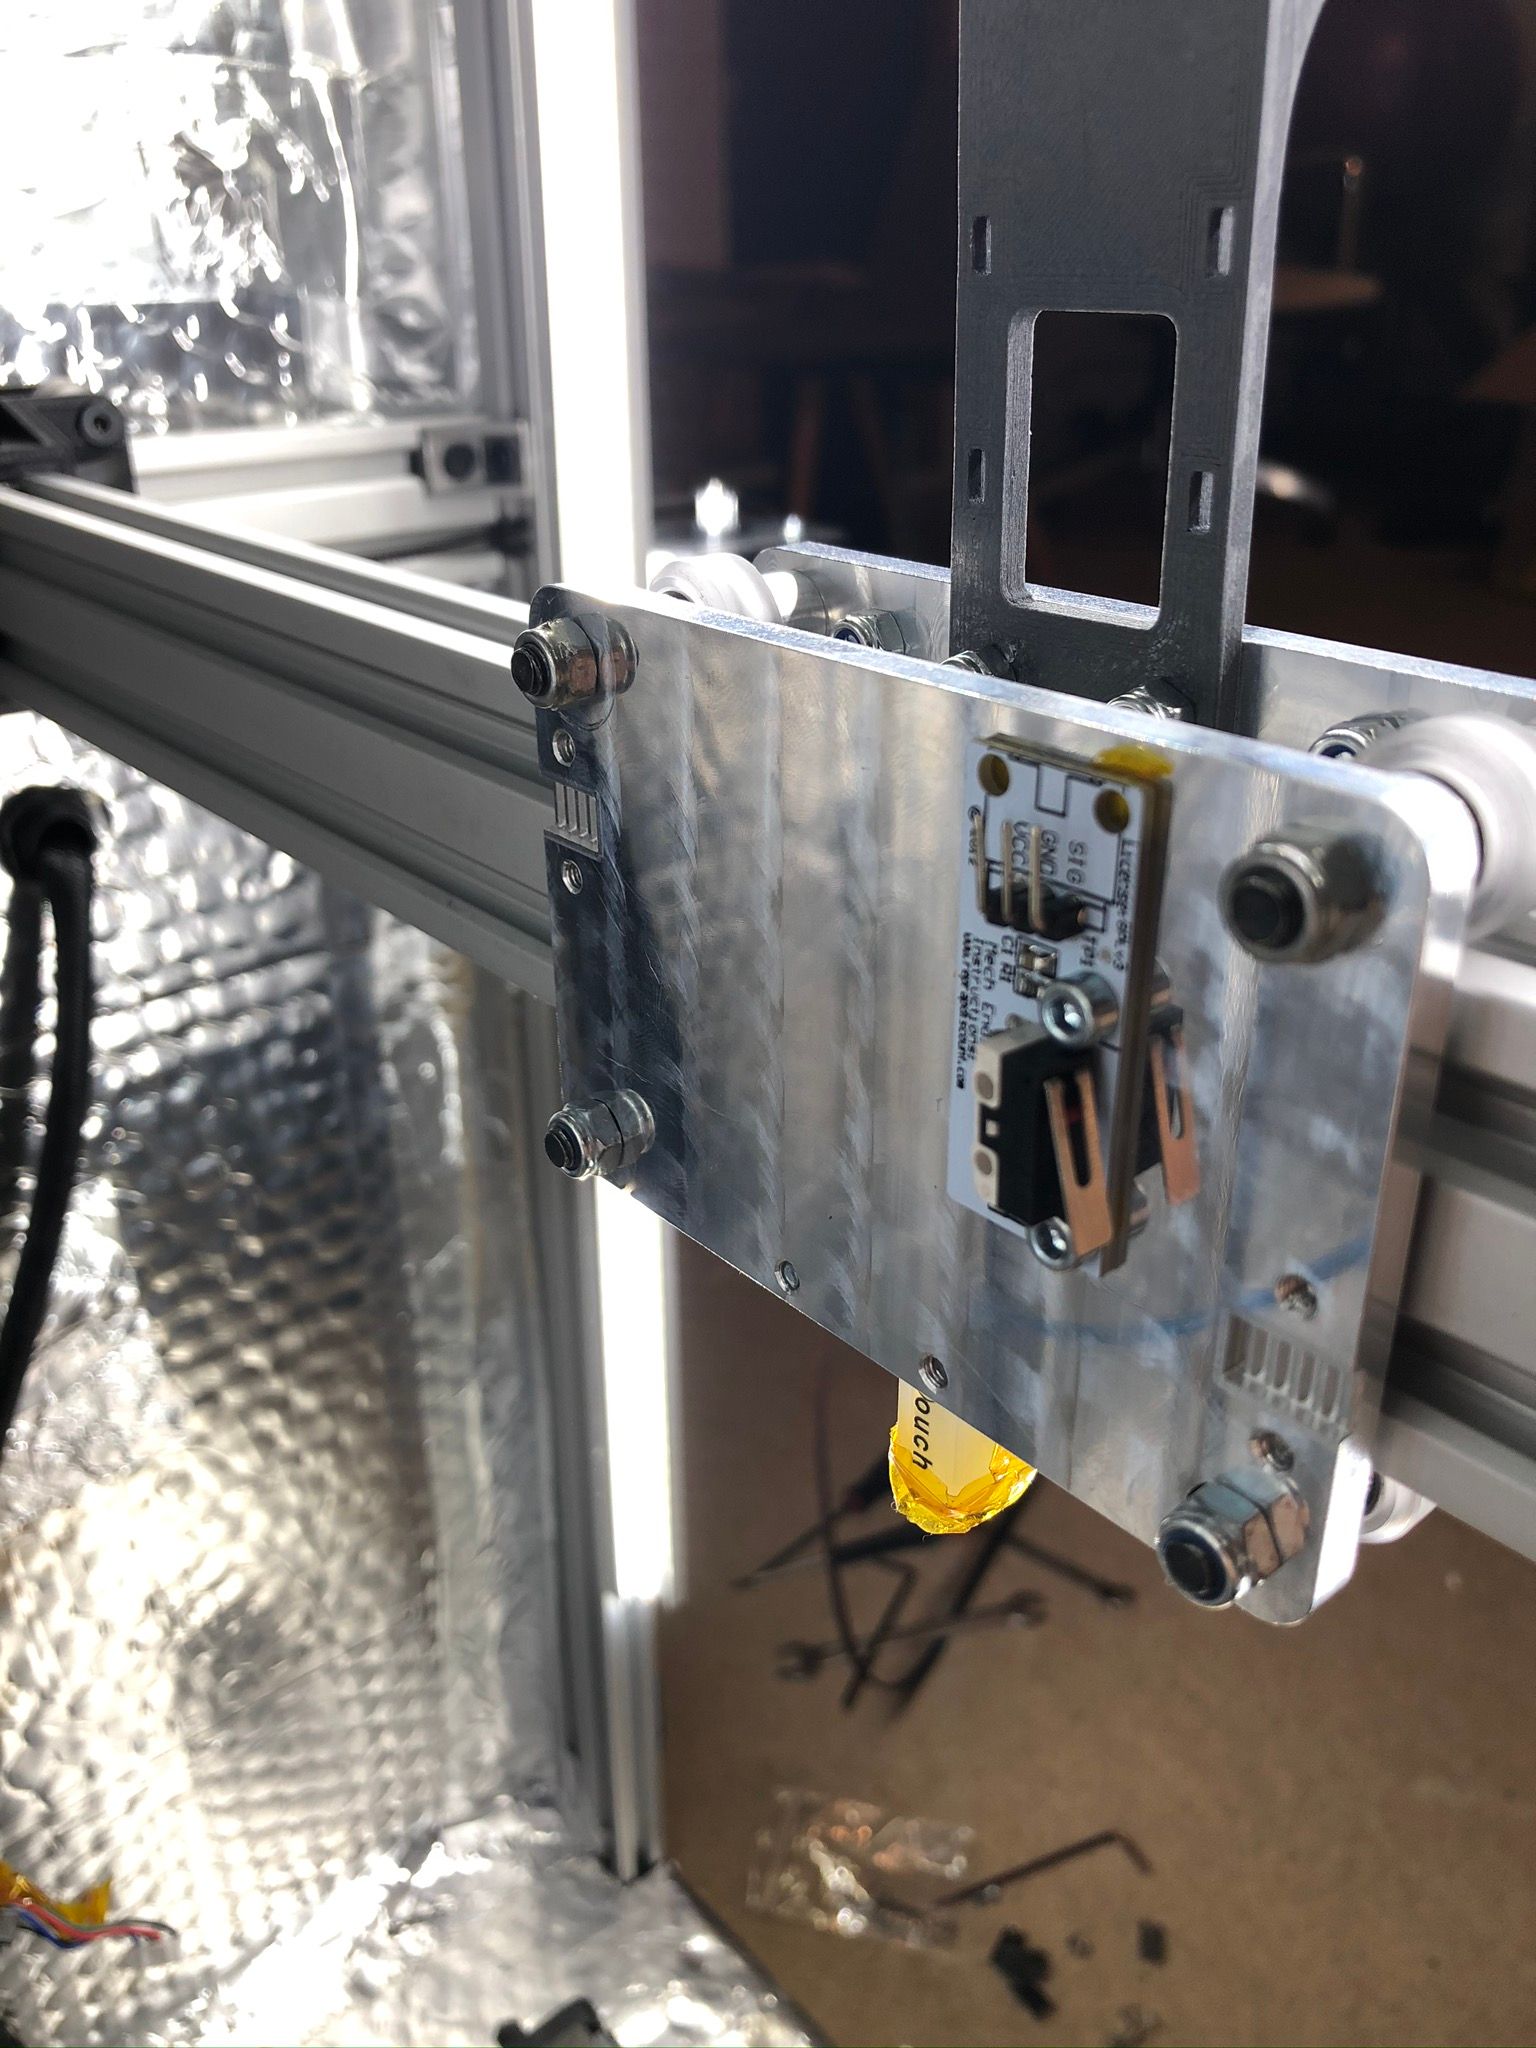
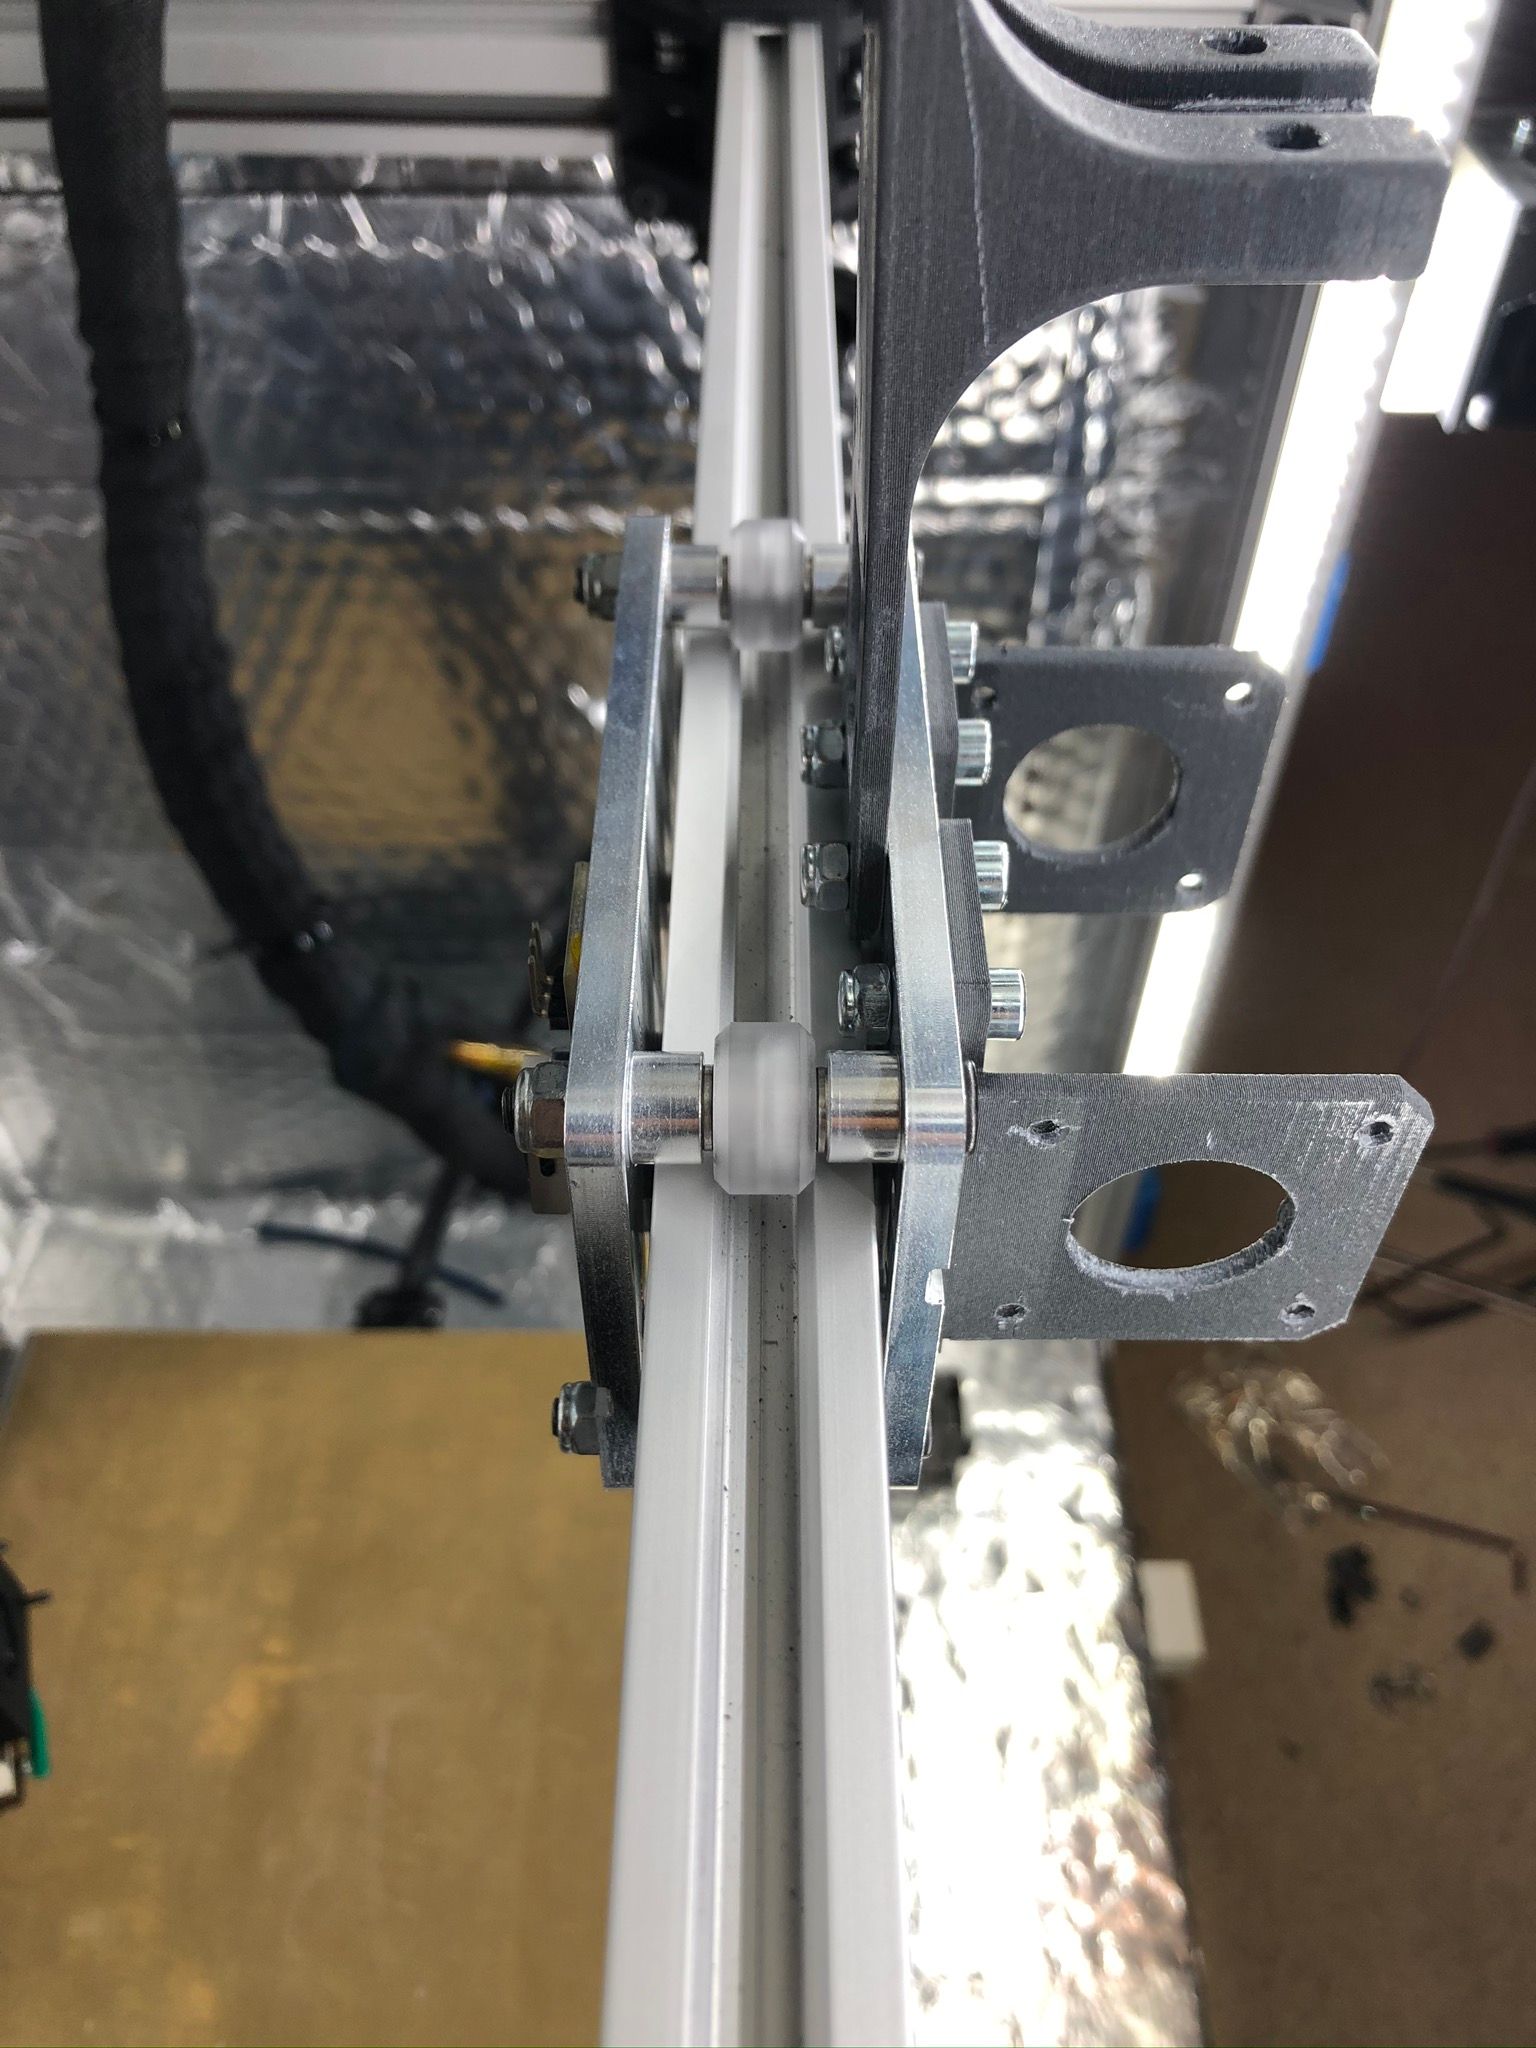
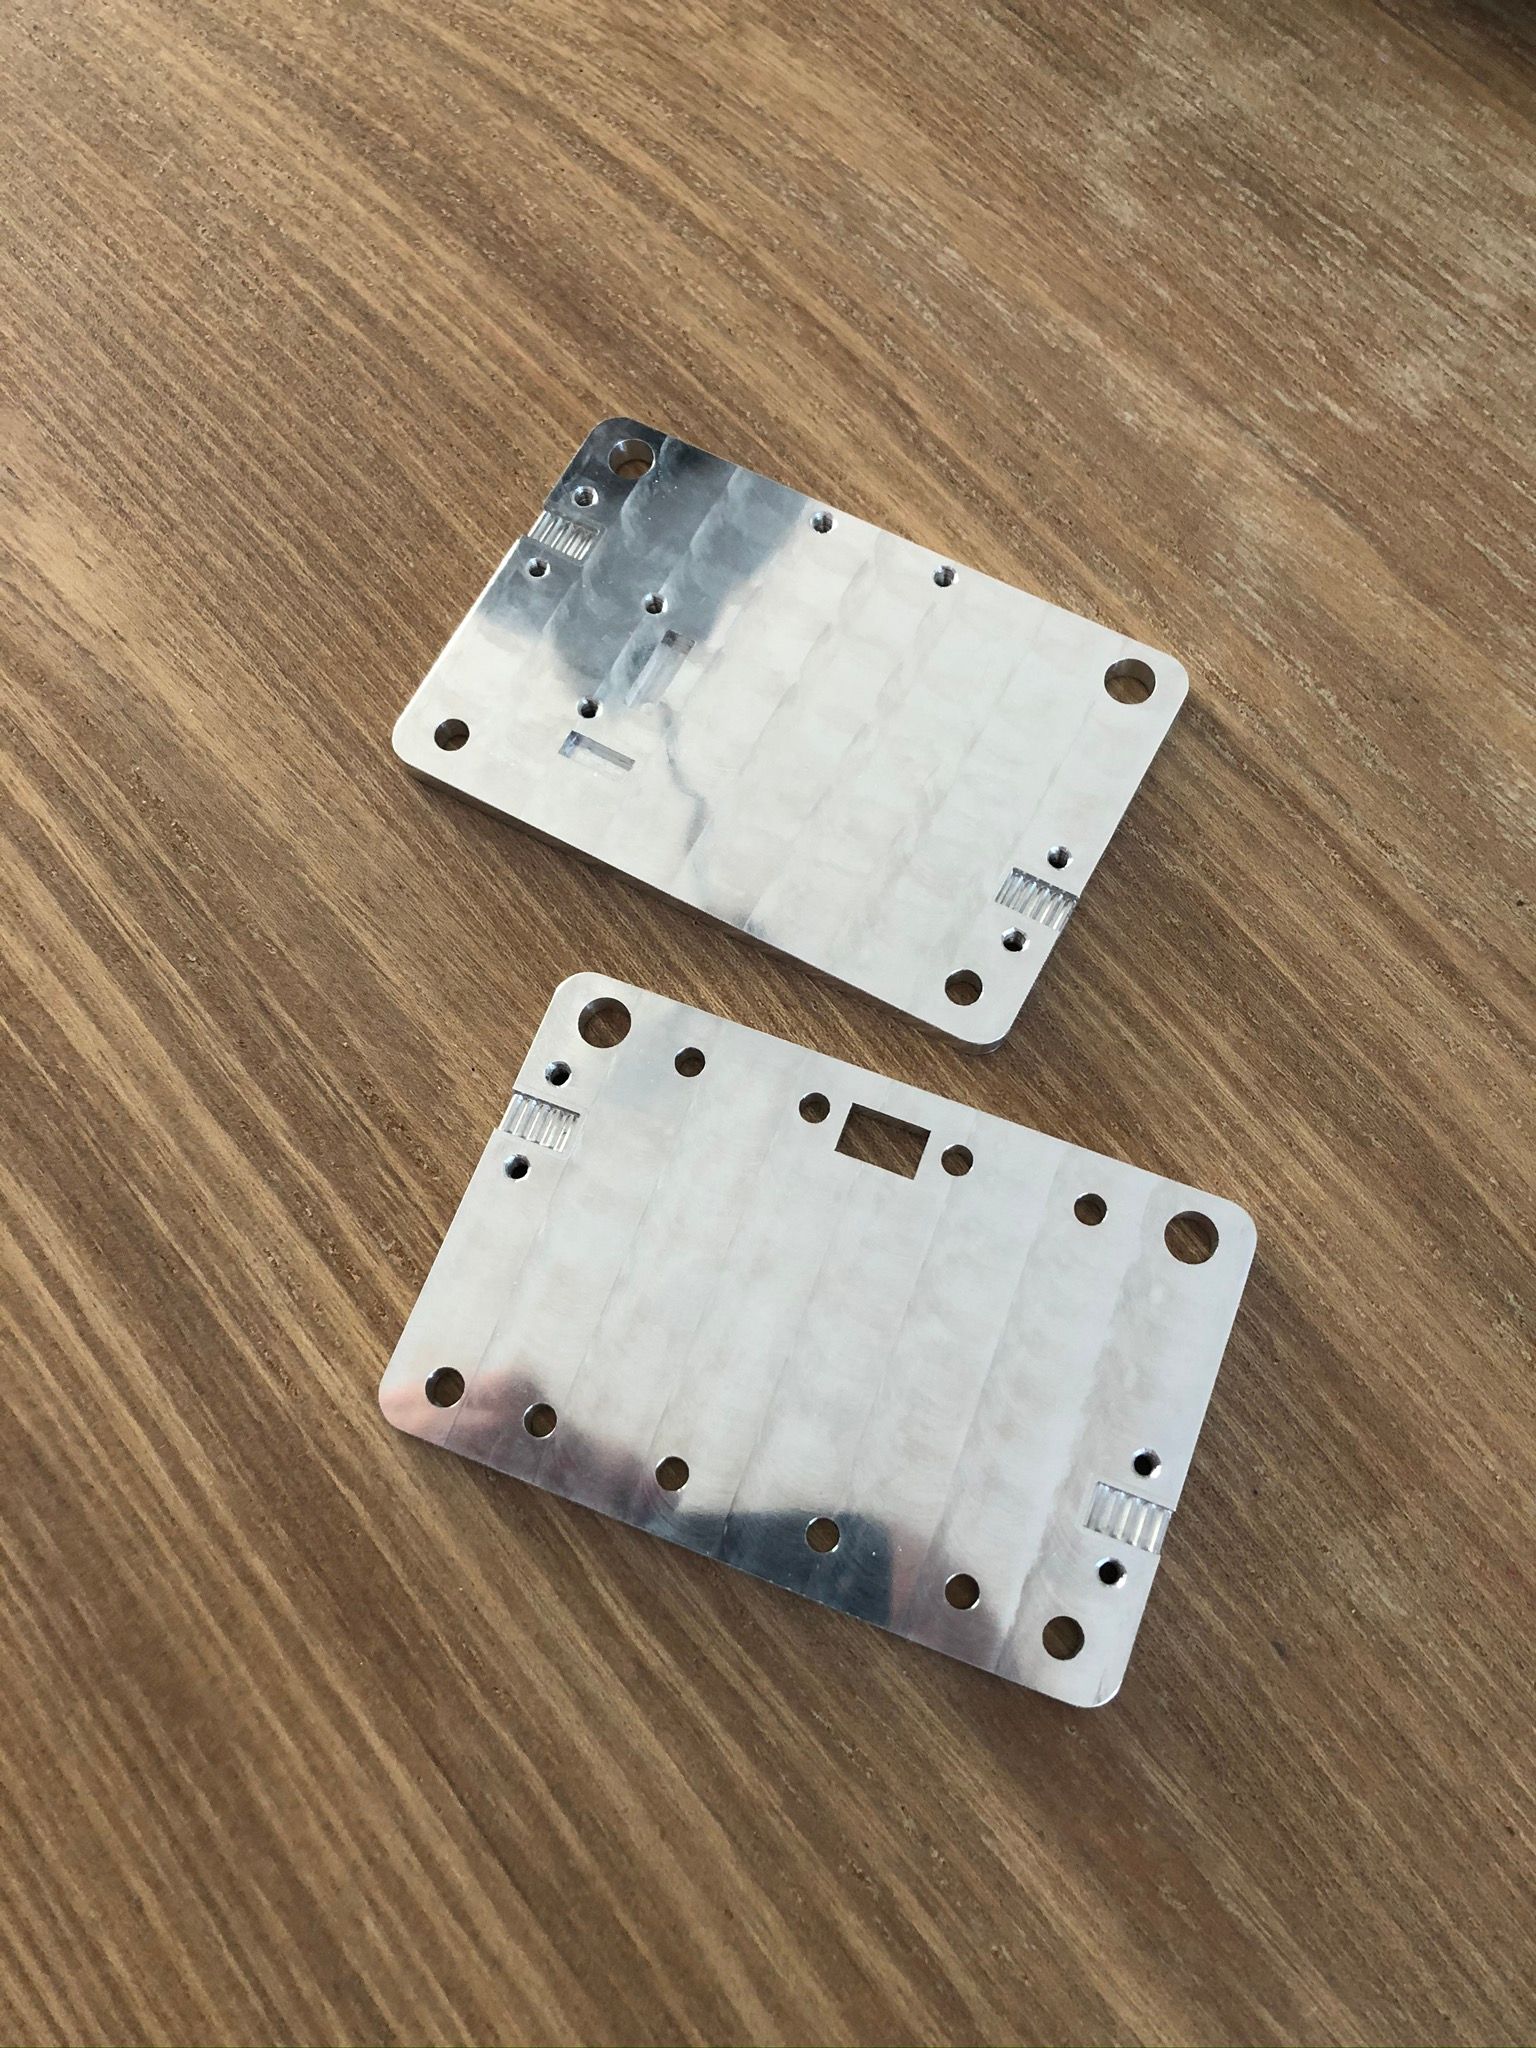
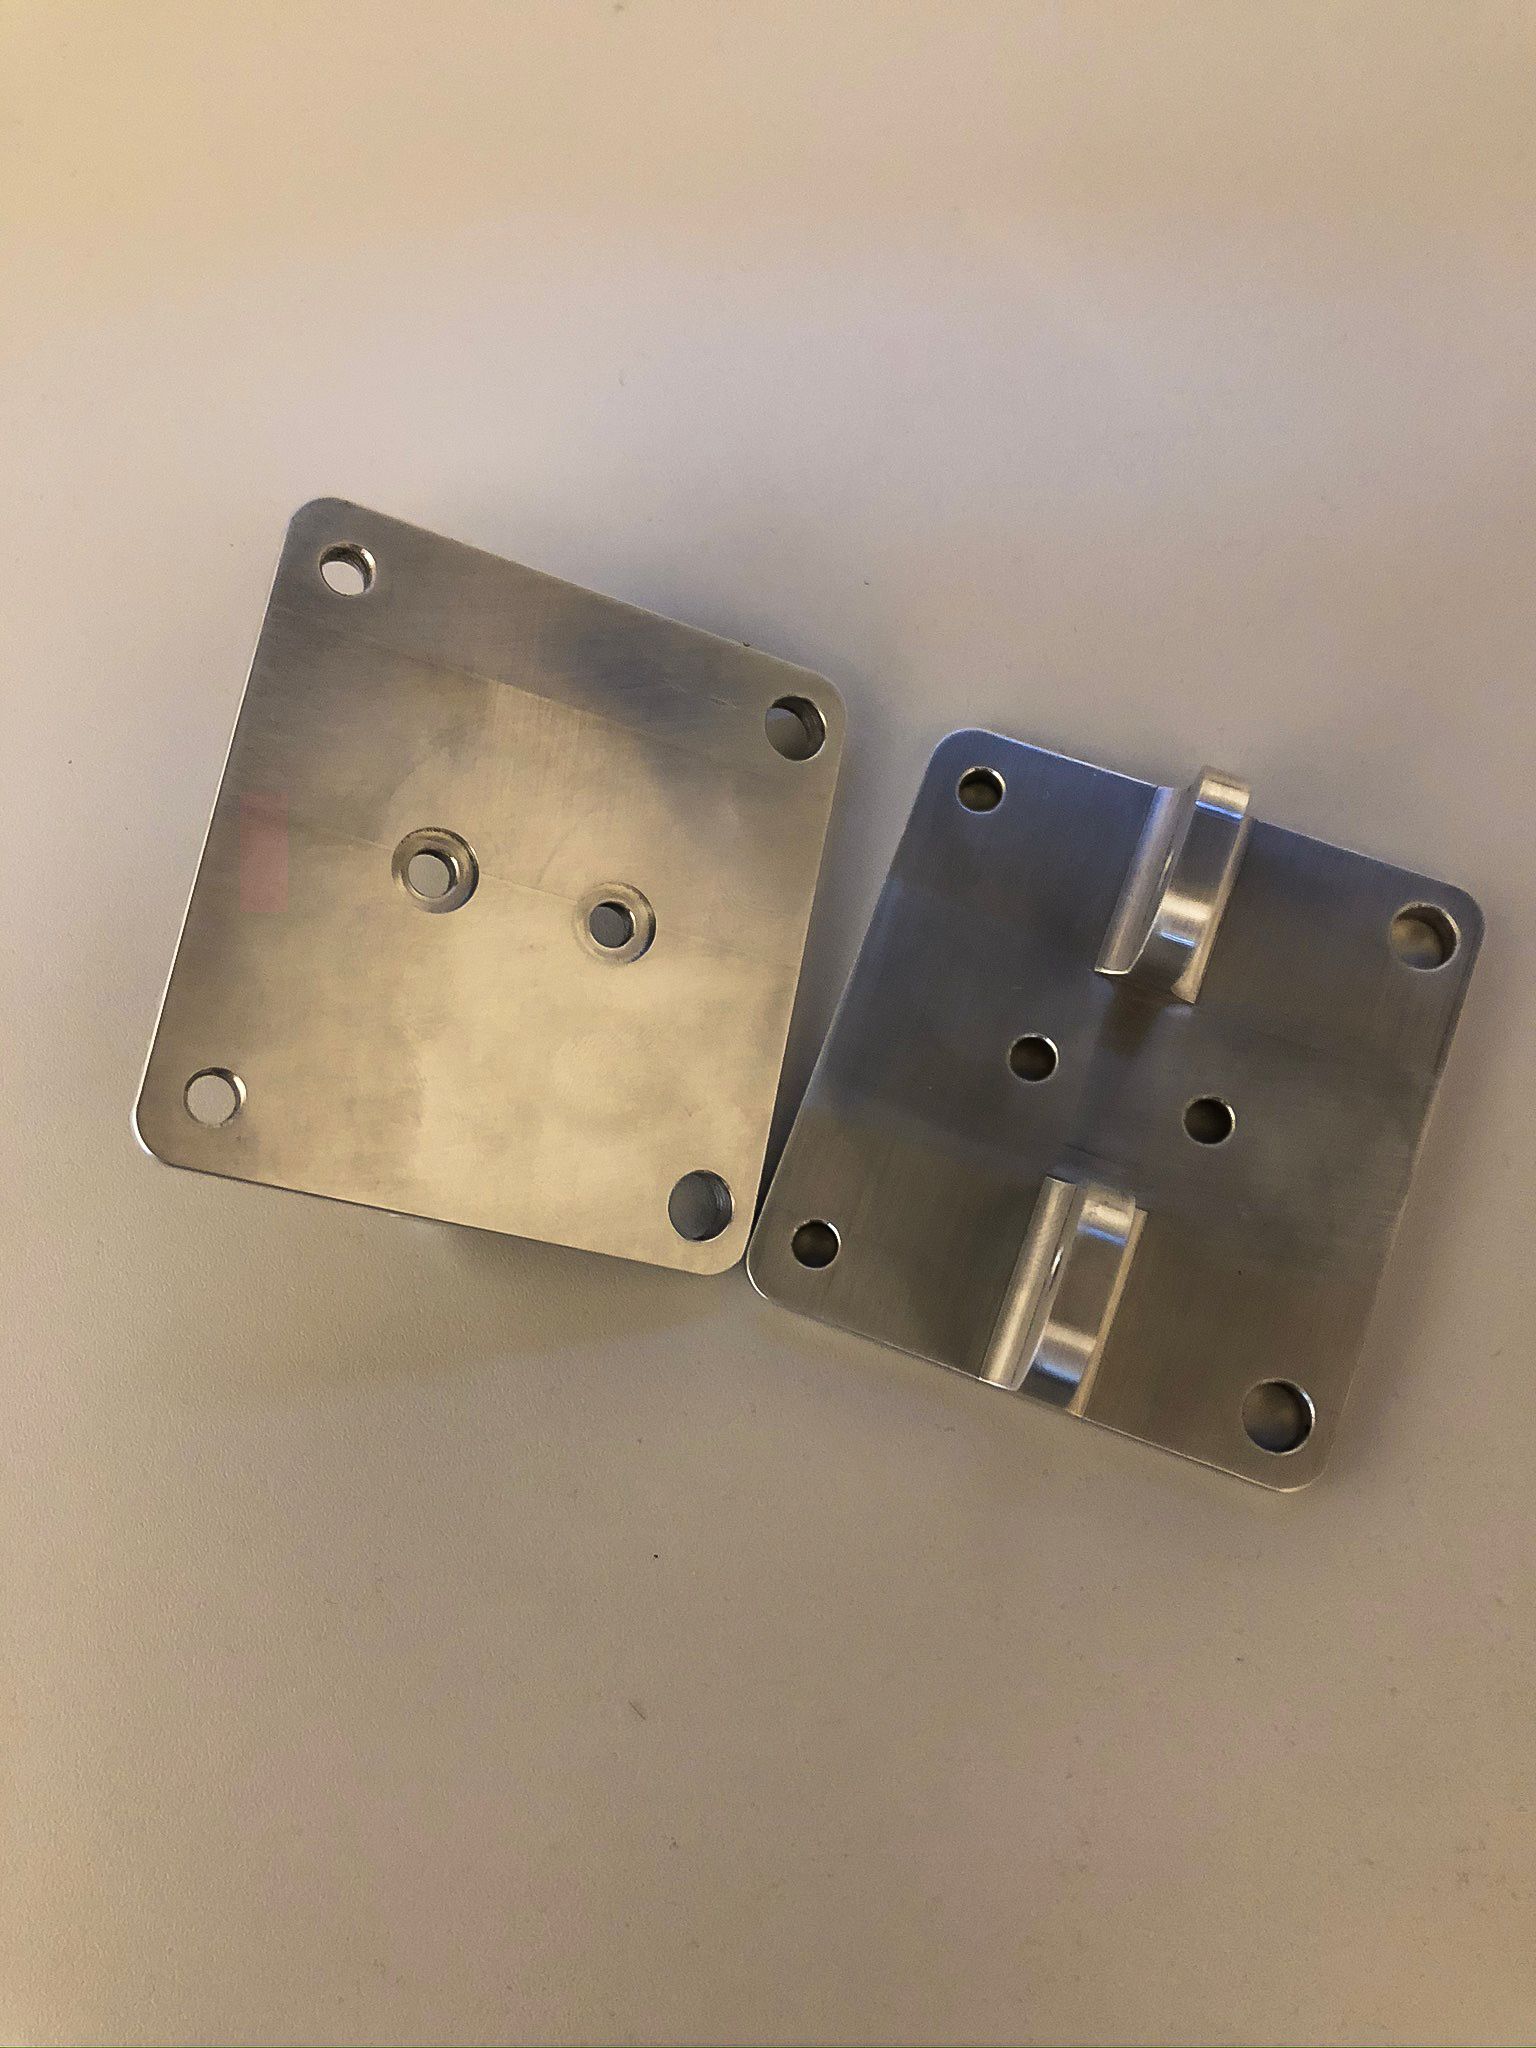
So I decided to CNC out some parts as I am being very happy with the printing big ABS parts already for real customers without warping and strong layer bonding. The passive heating is reaching 55 degrees and it was possible to print 22 hours object. But I always needed to adjust wheels a bit after the print is finished, as ABS printed parts are not good enough. For now, I have an X carriage made completely from aluminum and did a test with a fan blower reaching 70 degrees inside, cable holder, and bond tech extruder mount printed from Nylon + CF. It did survive without problems printing a 13-hour object. But the Y-axis mounts got a bit of flex after all as they are still from ABS, so I redesign them and ordered a CNC one, which should be done end of this week! Then testing and setting up an active heater.
Updated link for some new photos:
https://www.icloud.com/photos/#0xNaIFtCVxhc7LV4lLBvnyL5A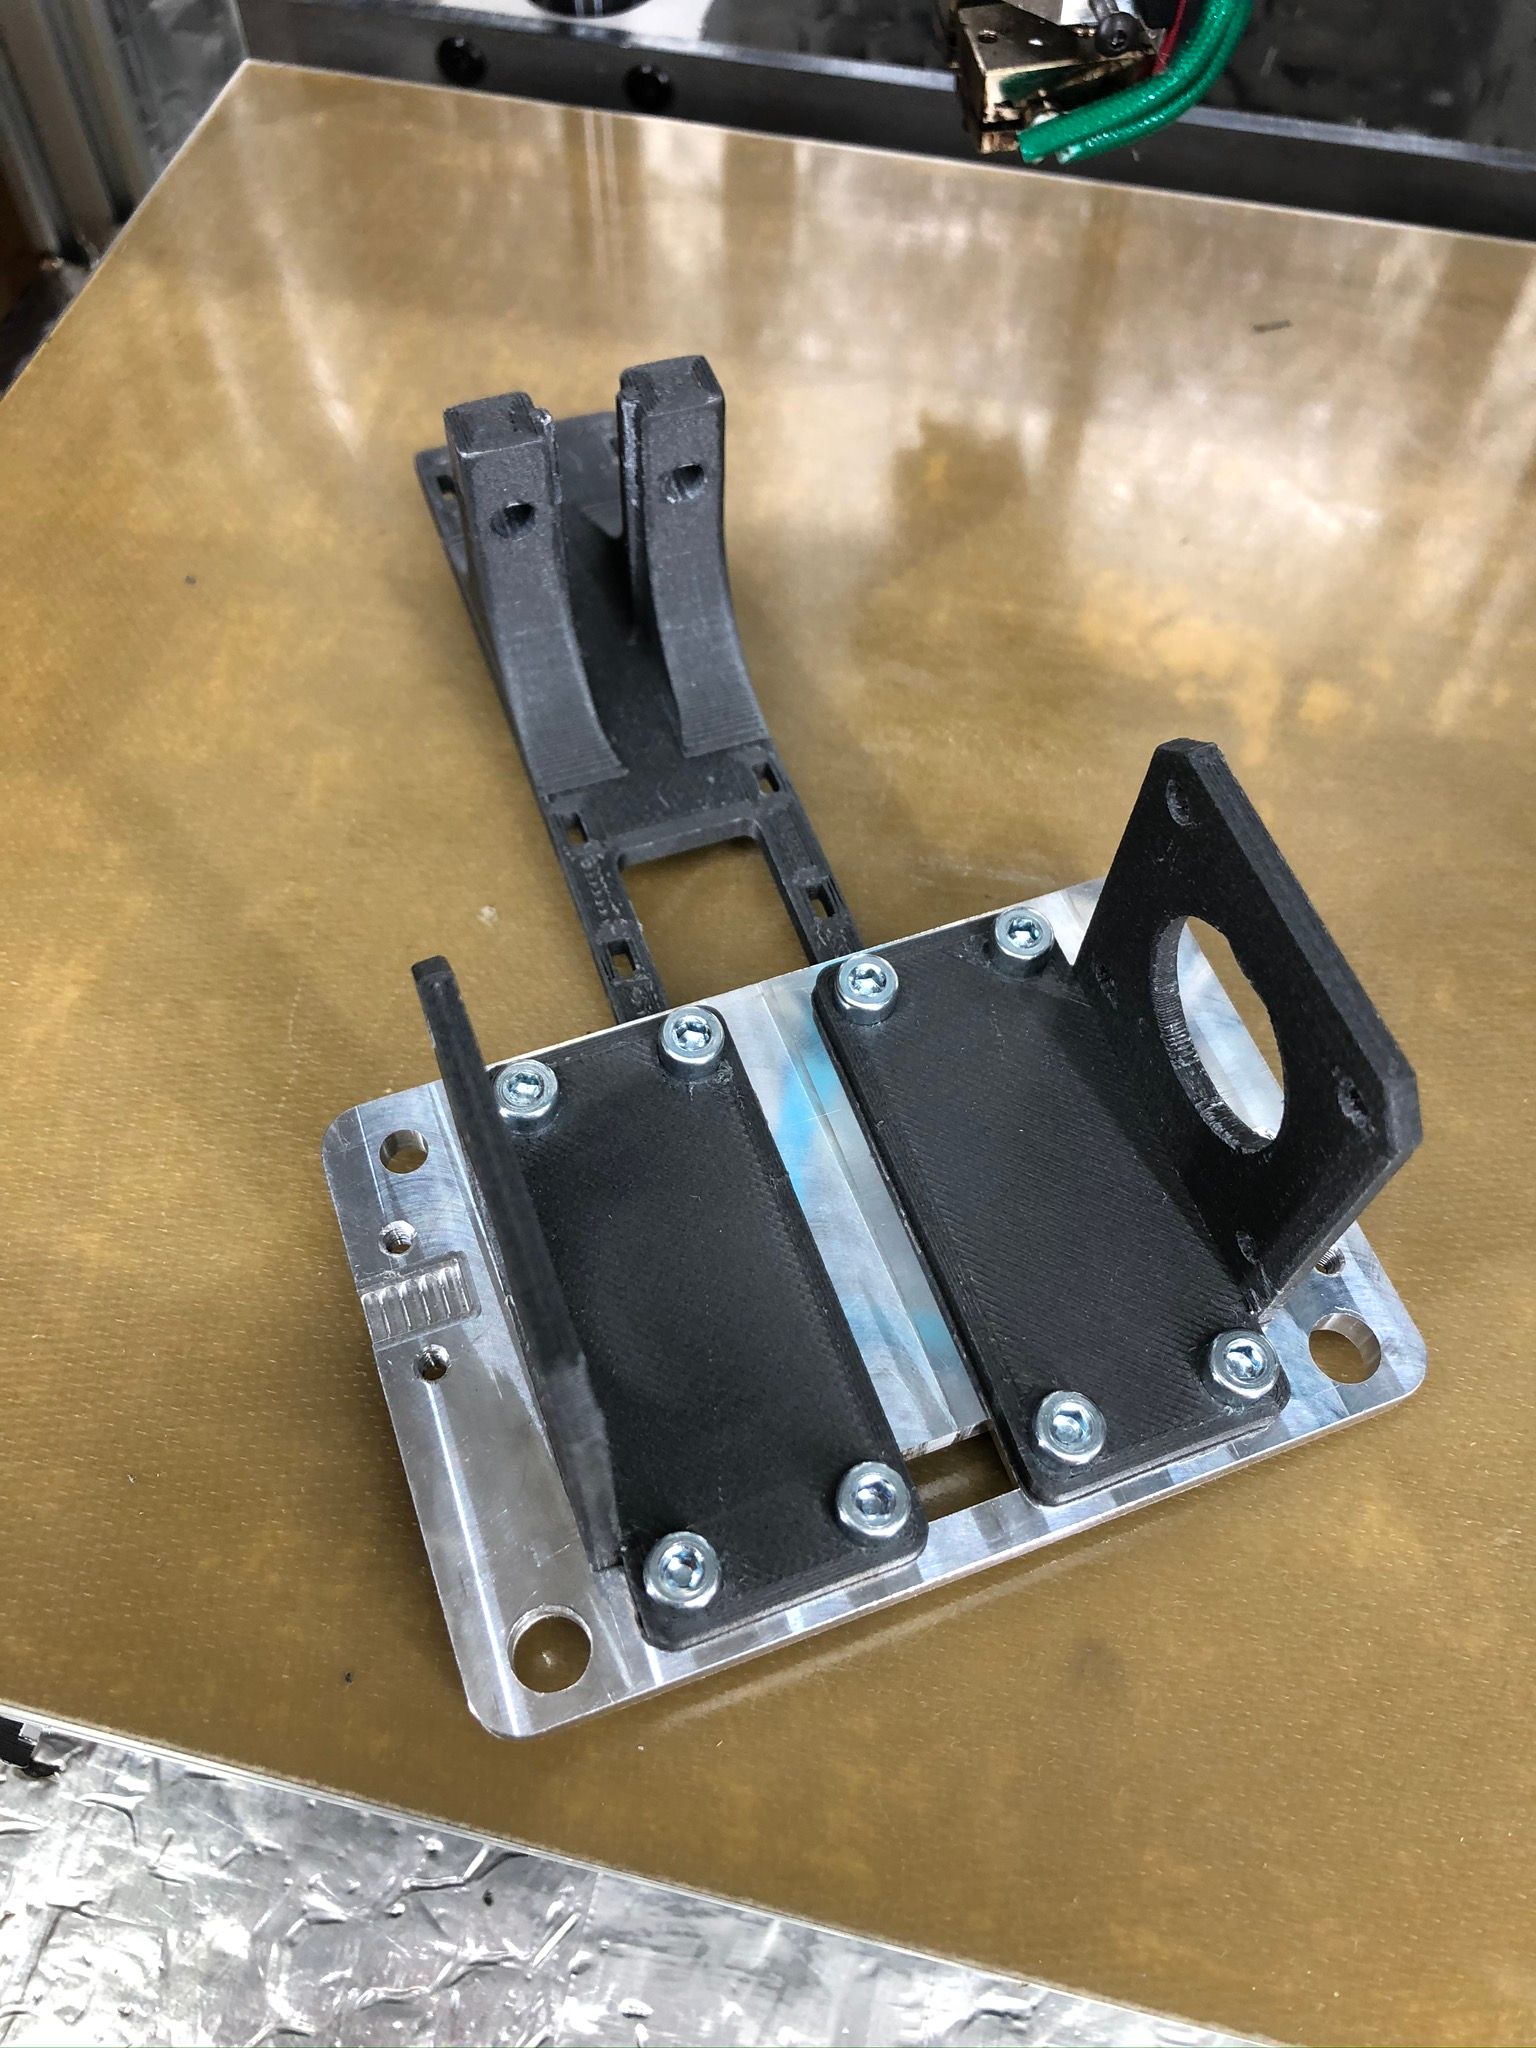
-
@felt342 : nice printer you have there!
Question, where are you getting the CNC parts from? -
@whosrdaddy Thank you!
This is from 3D hubs, first time used their service.
-
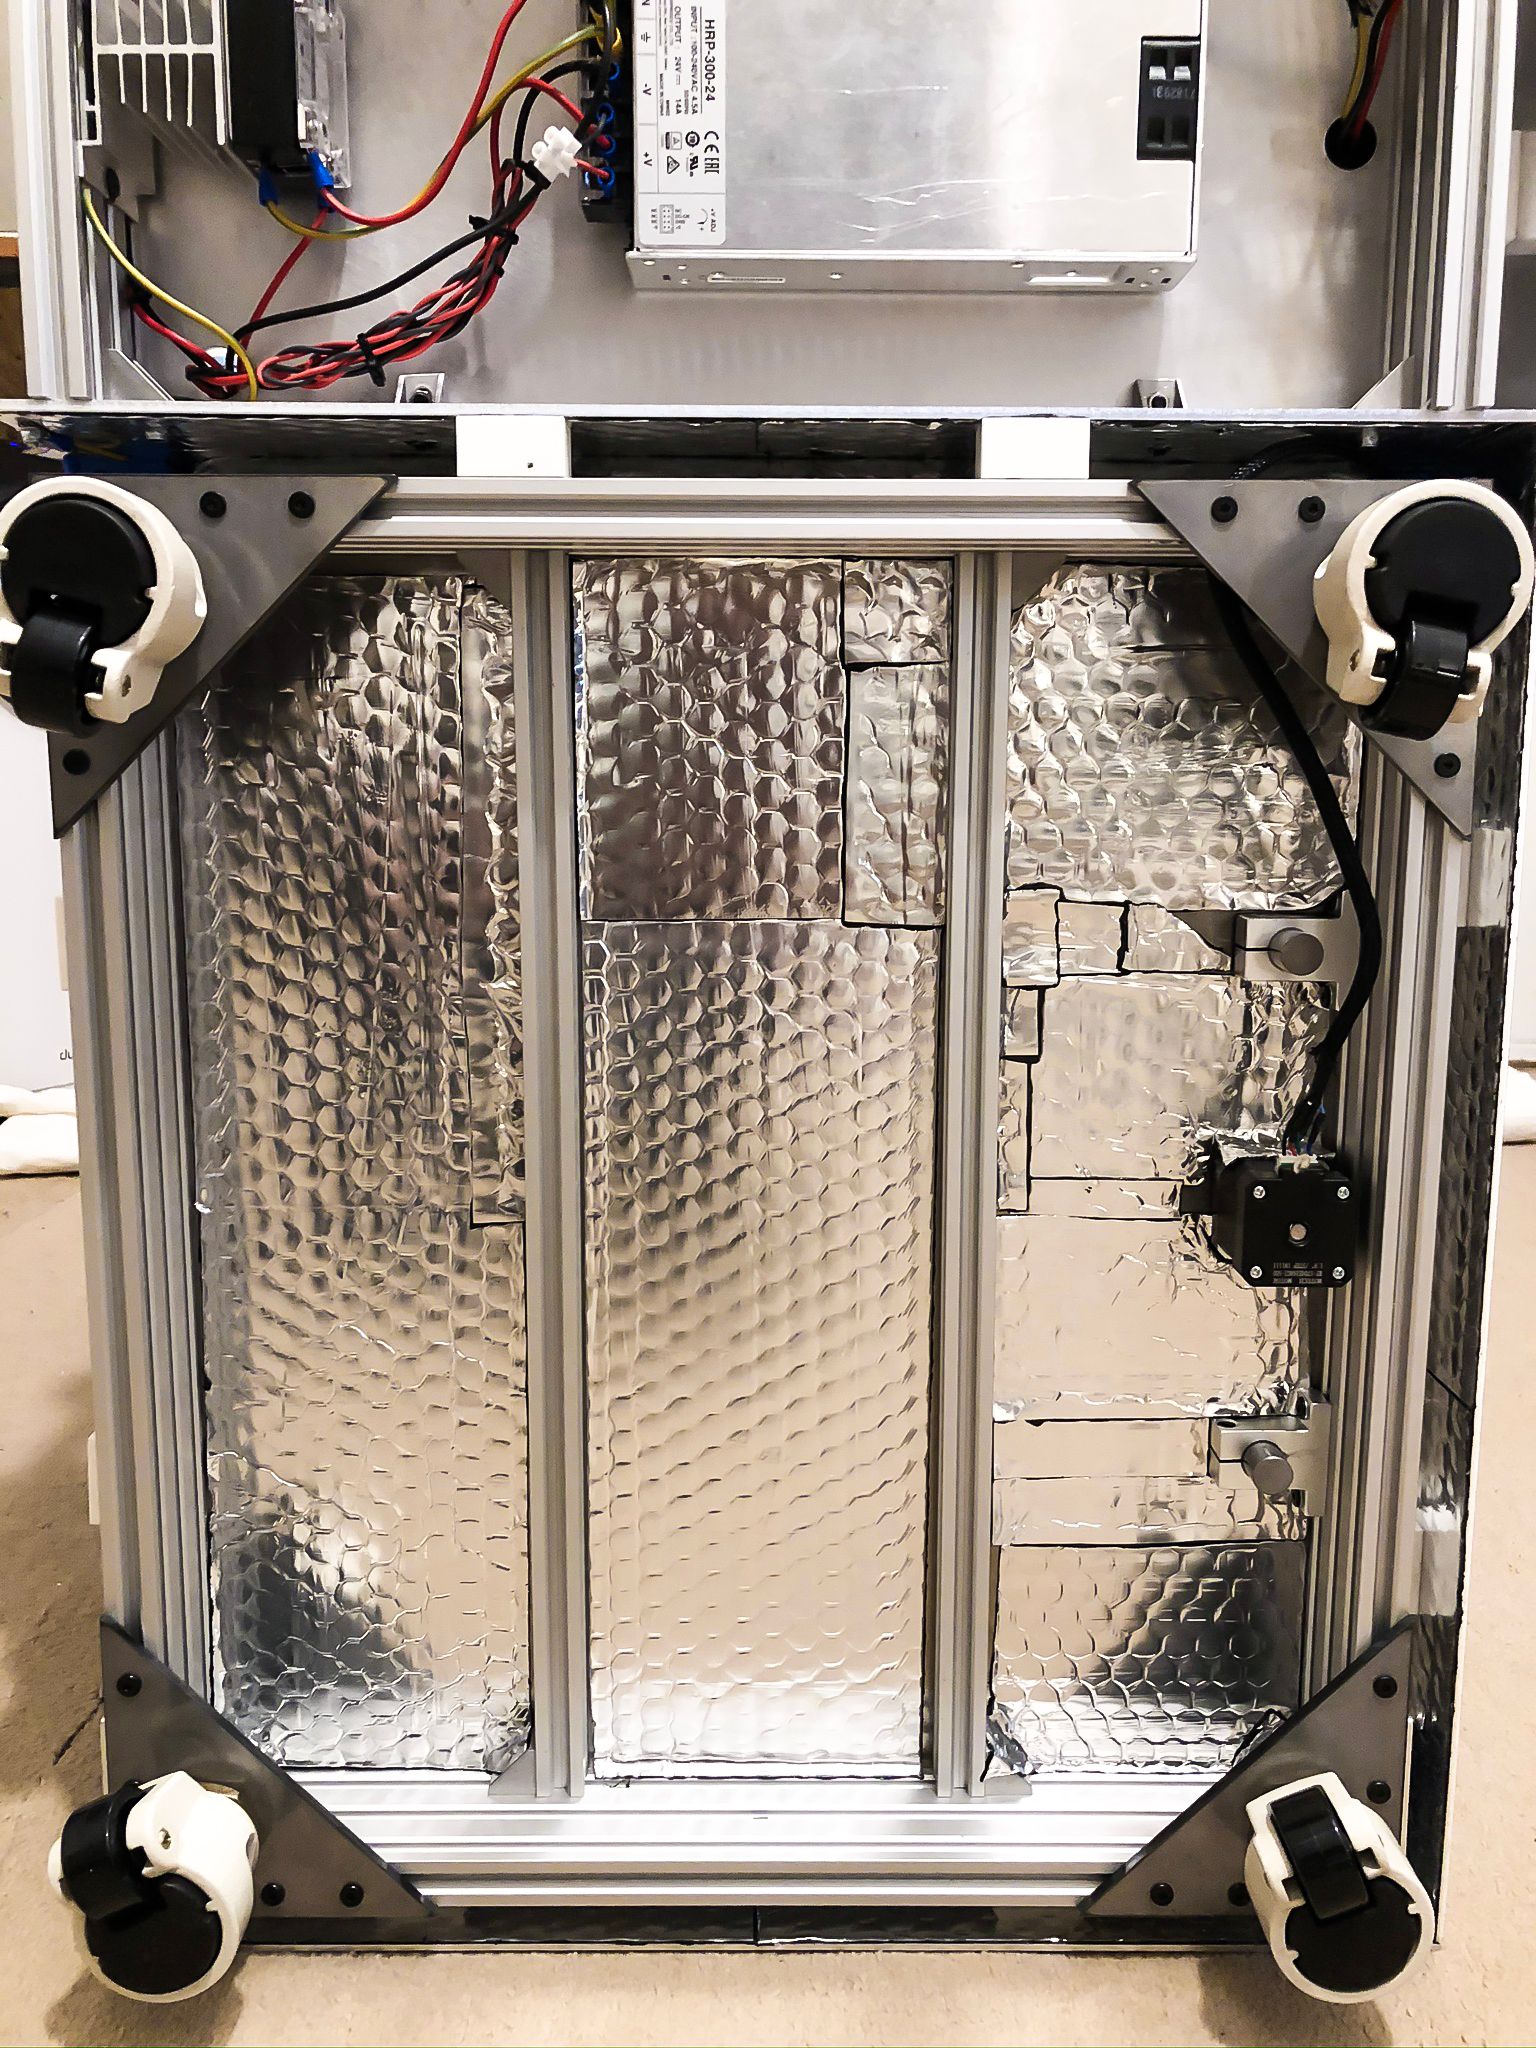
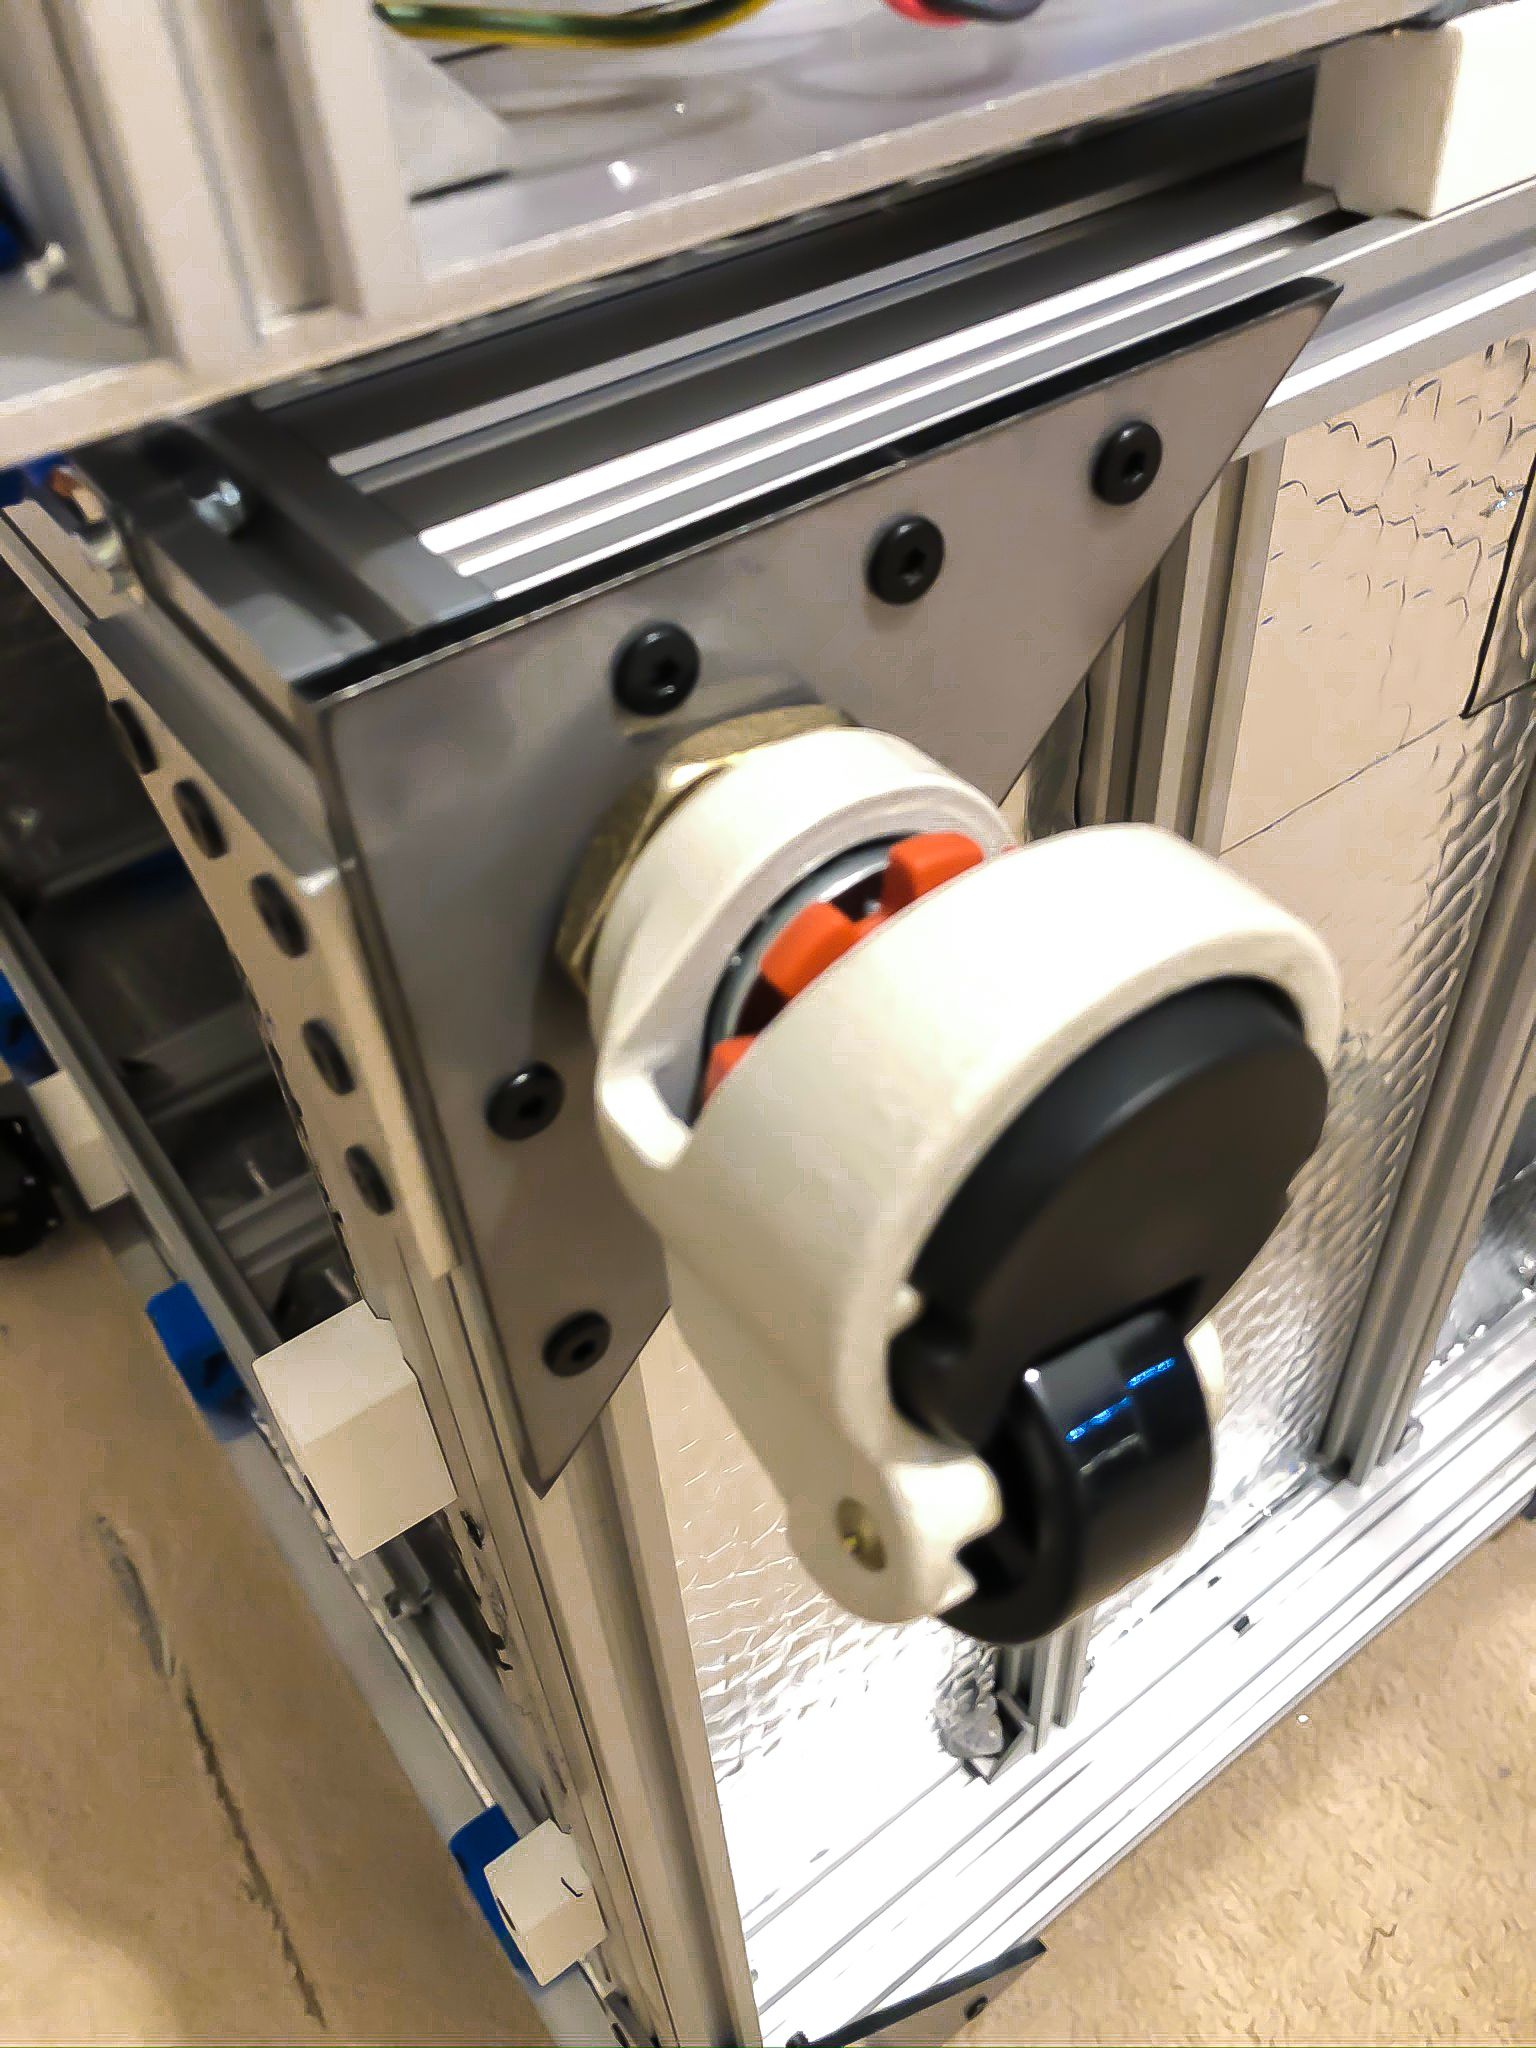
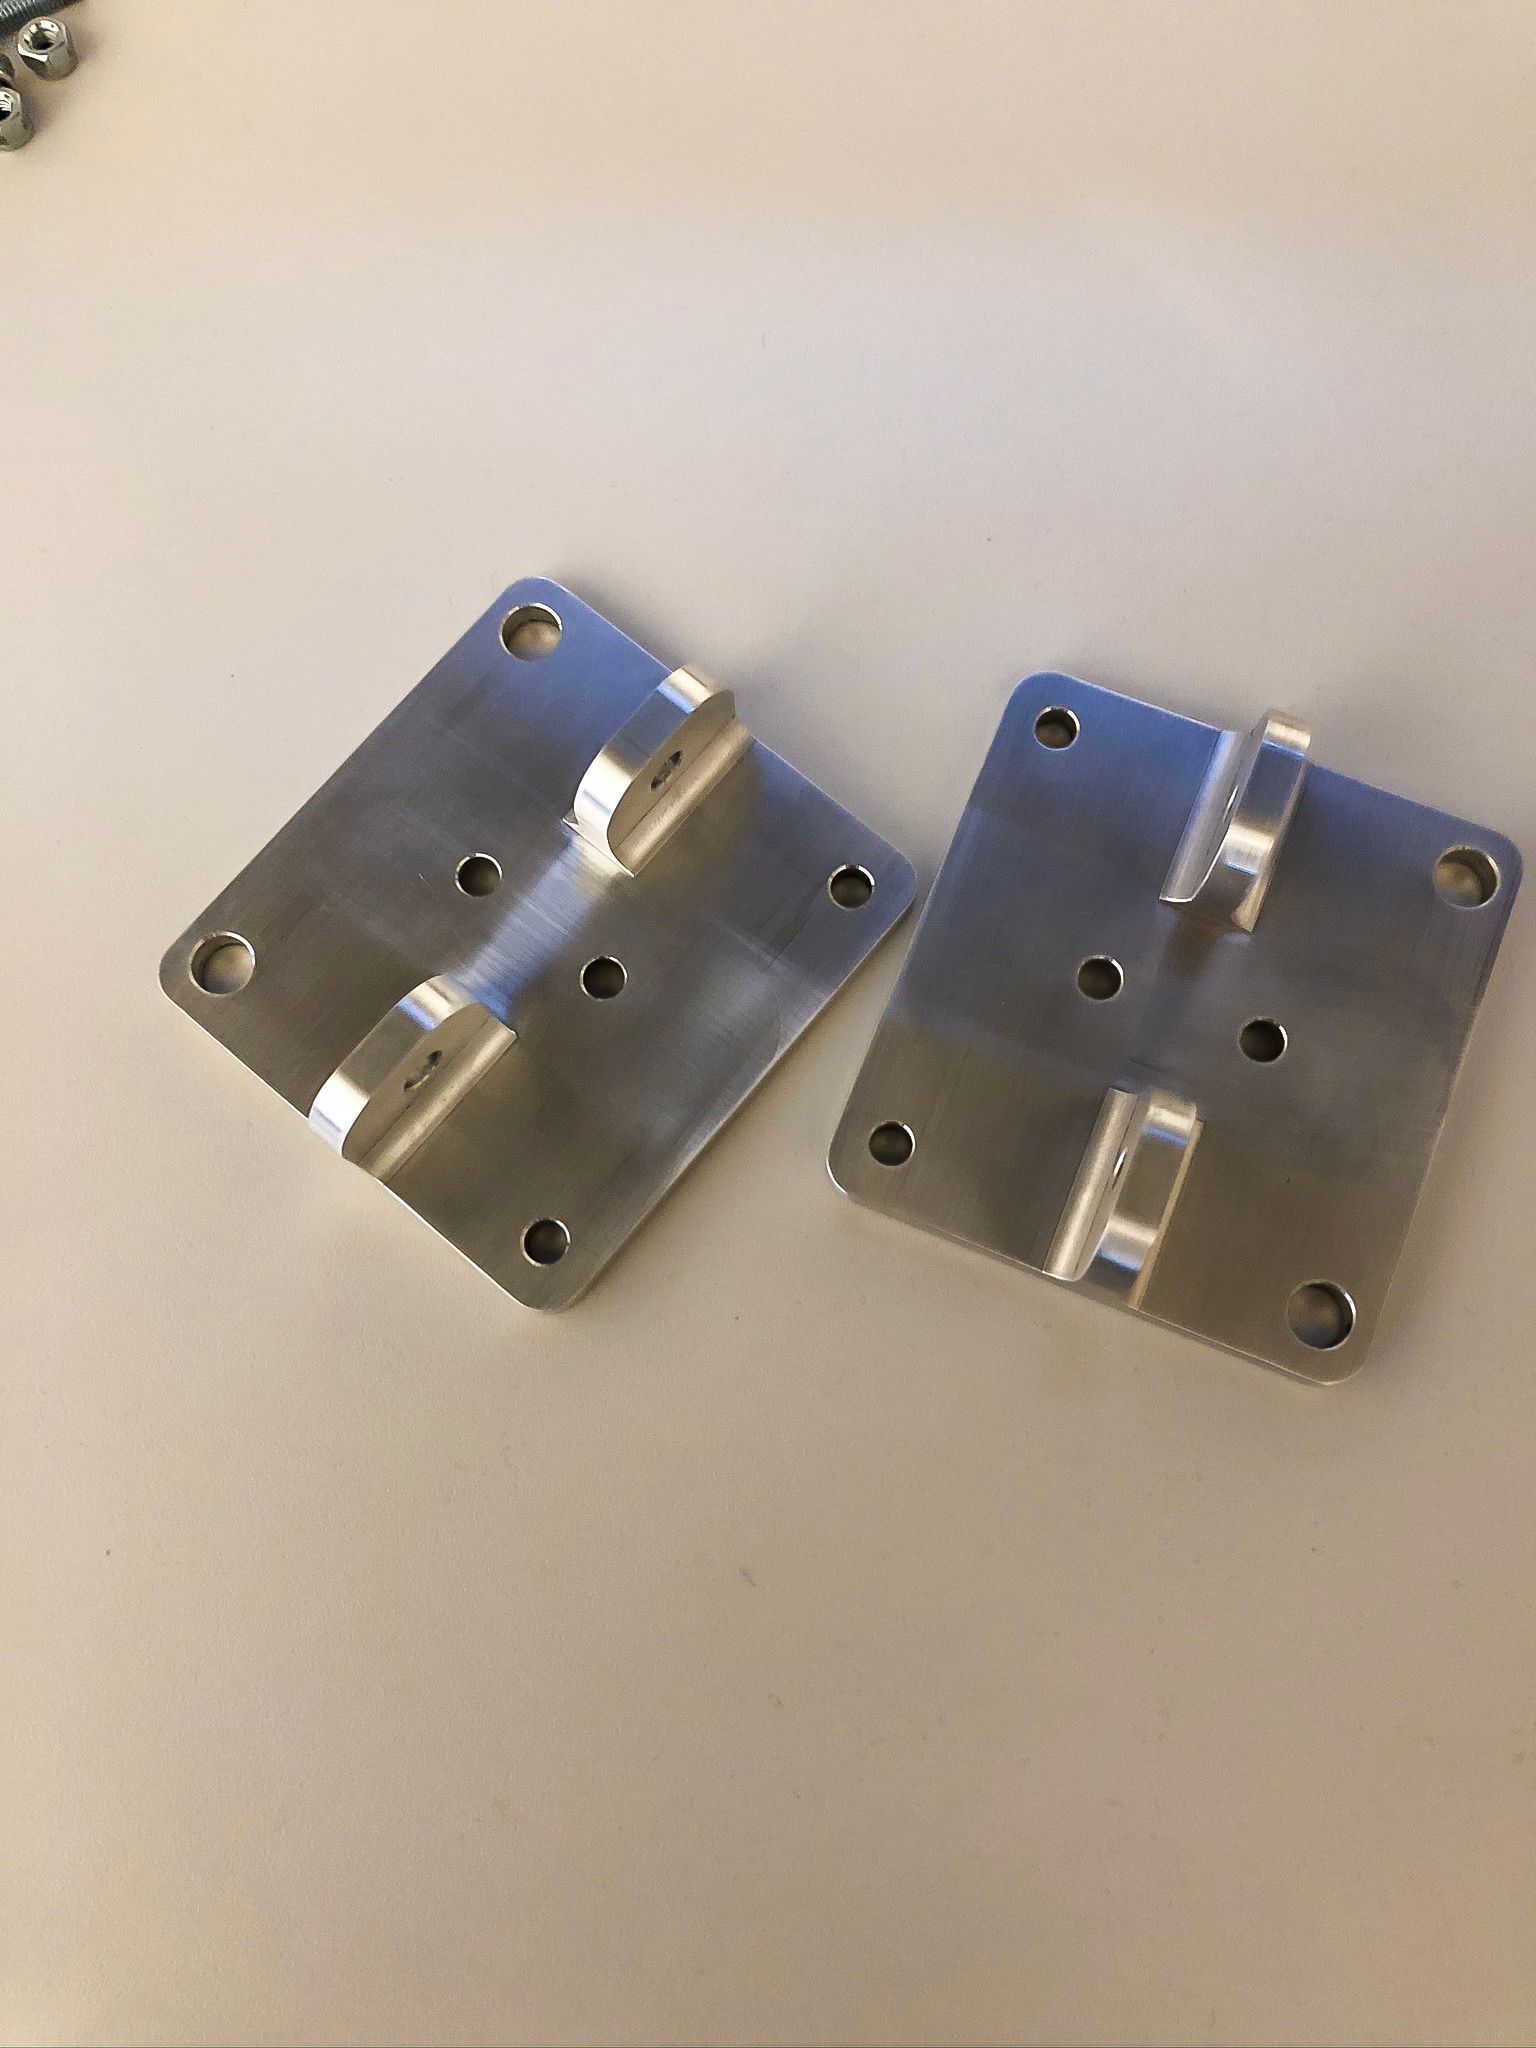
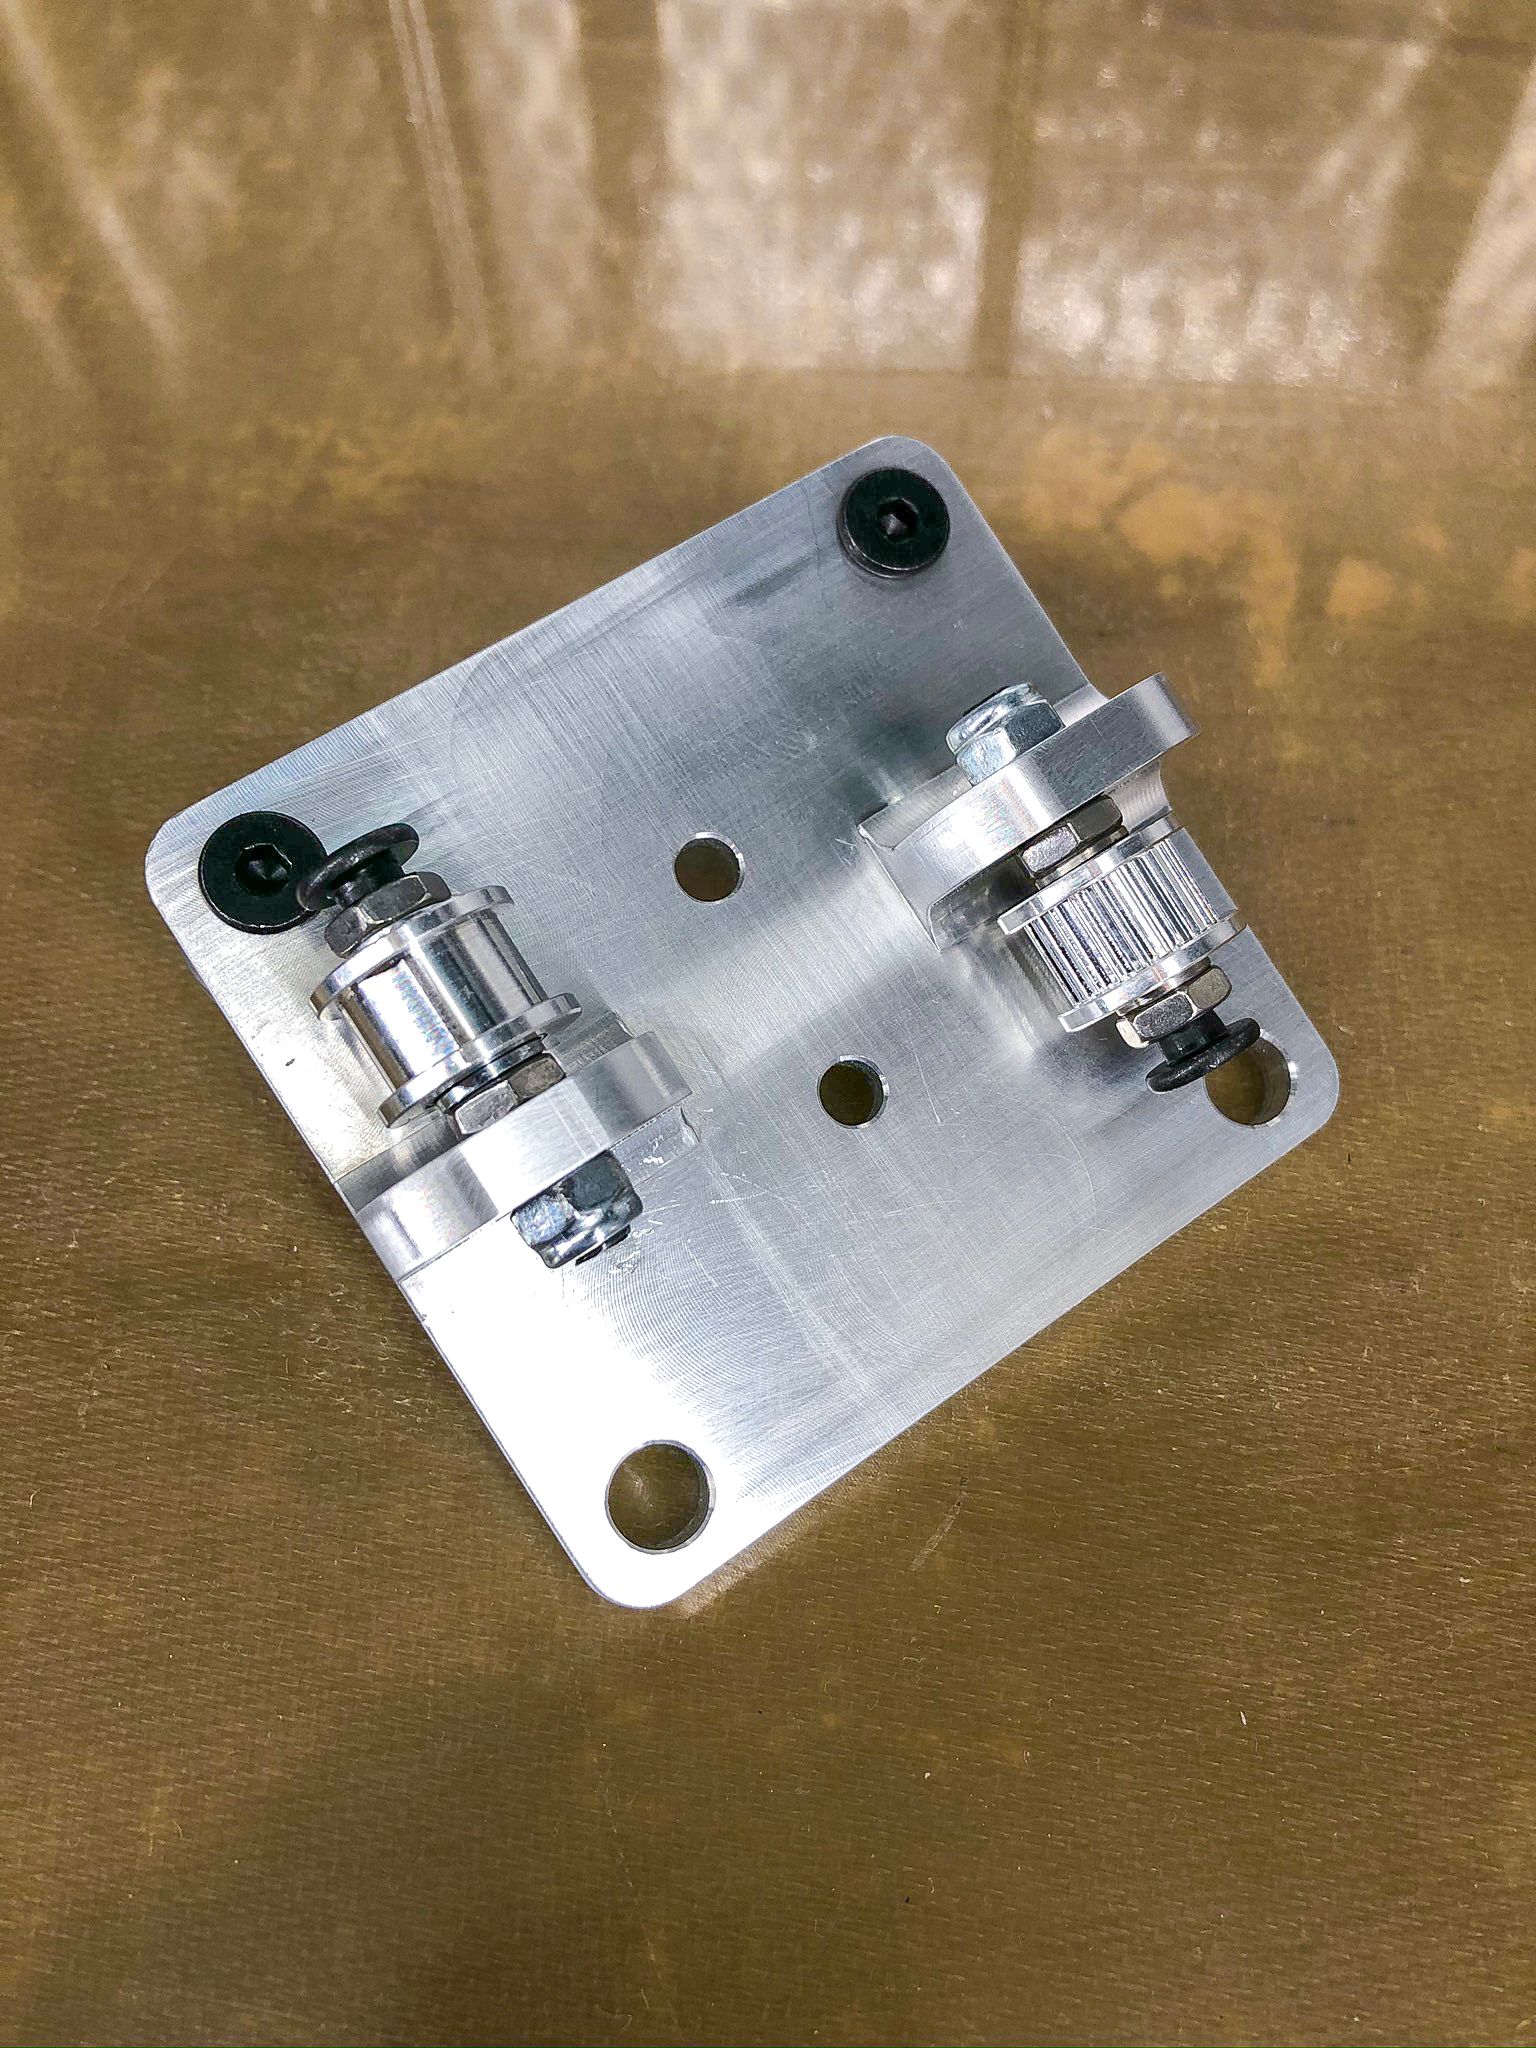
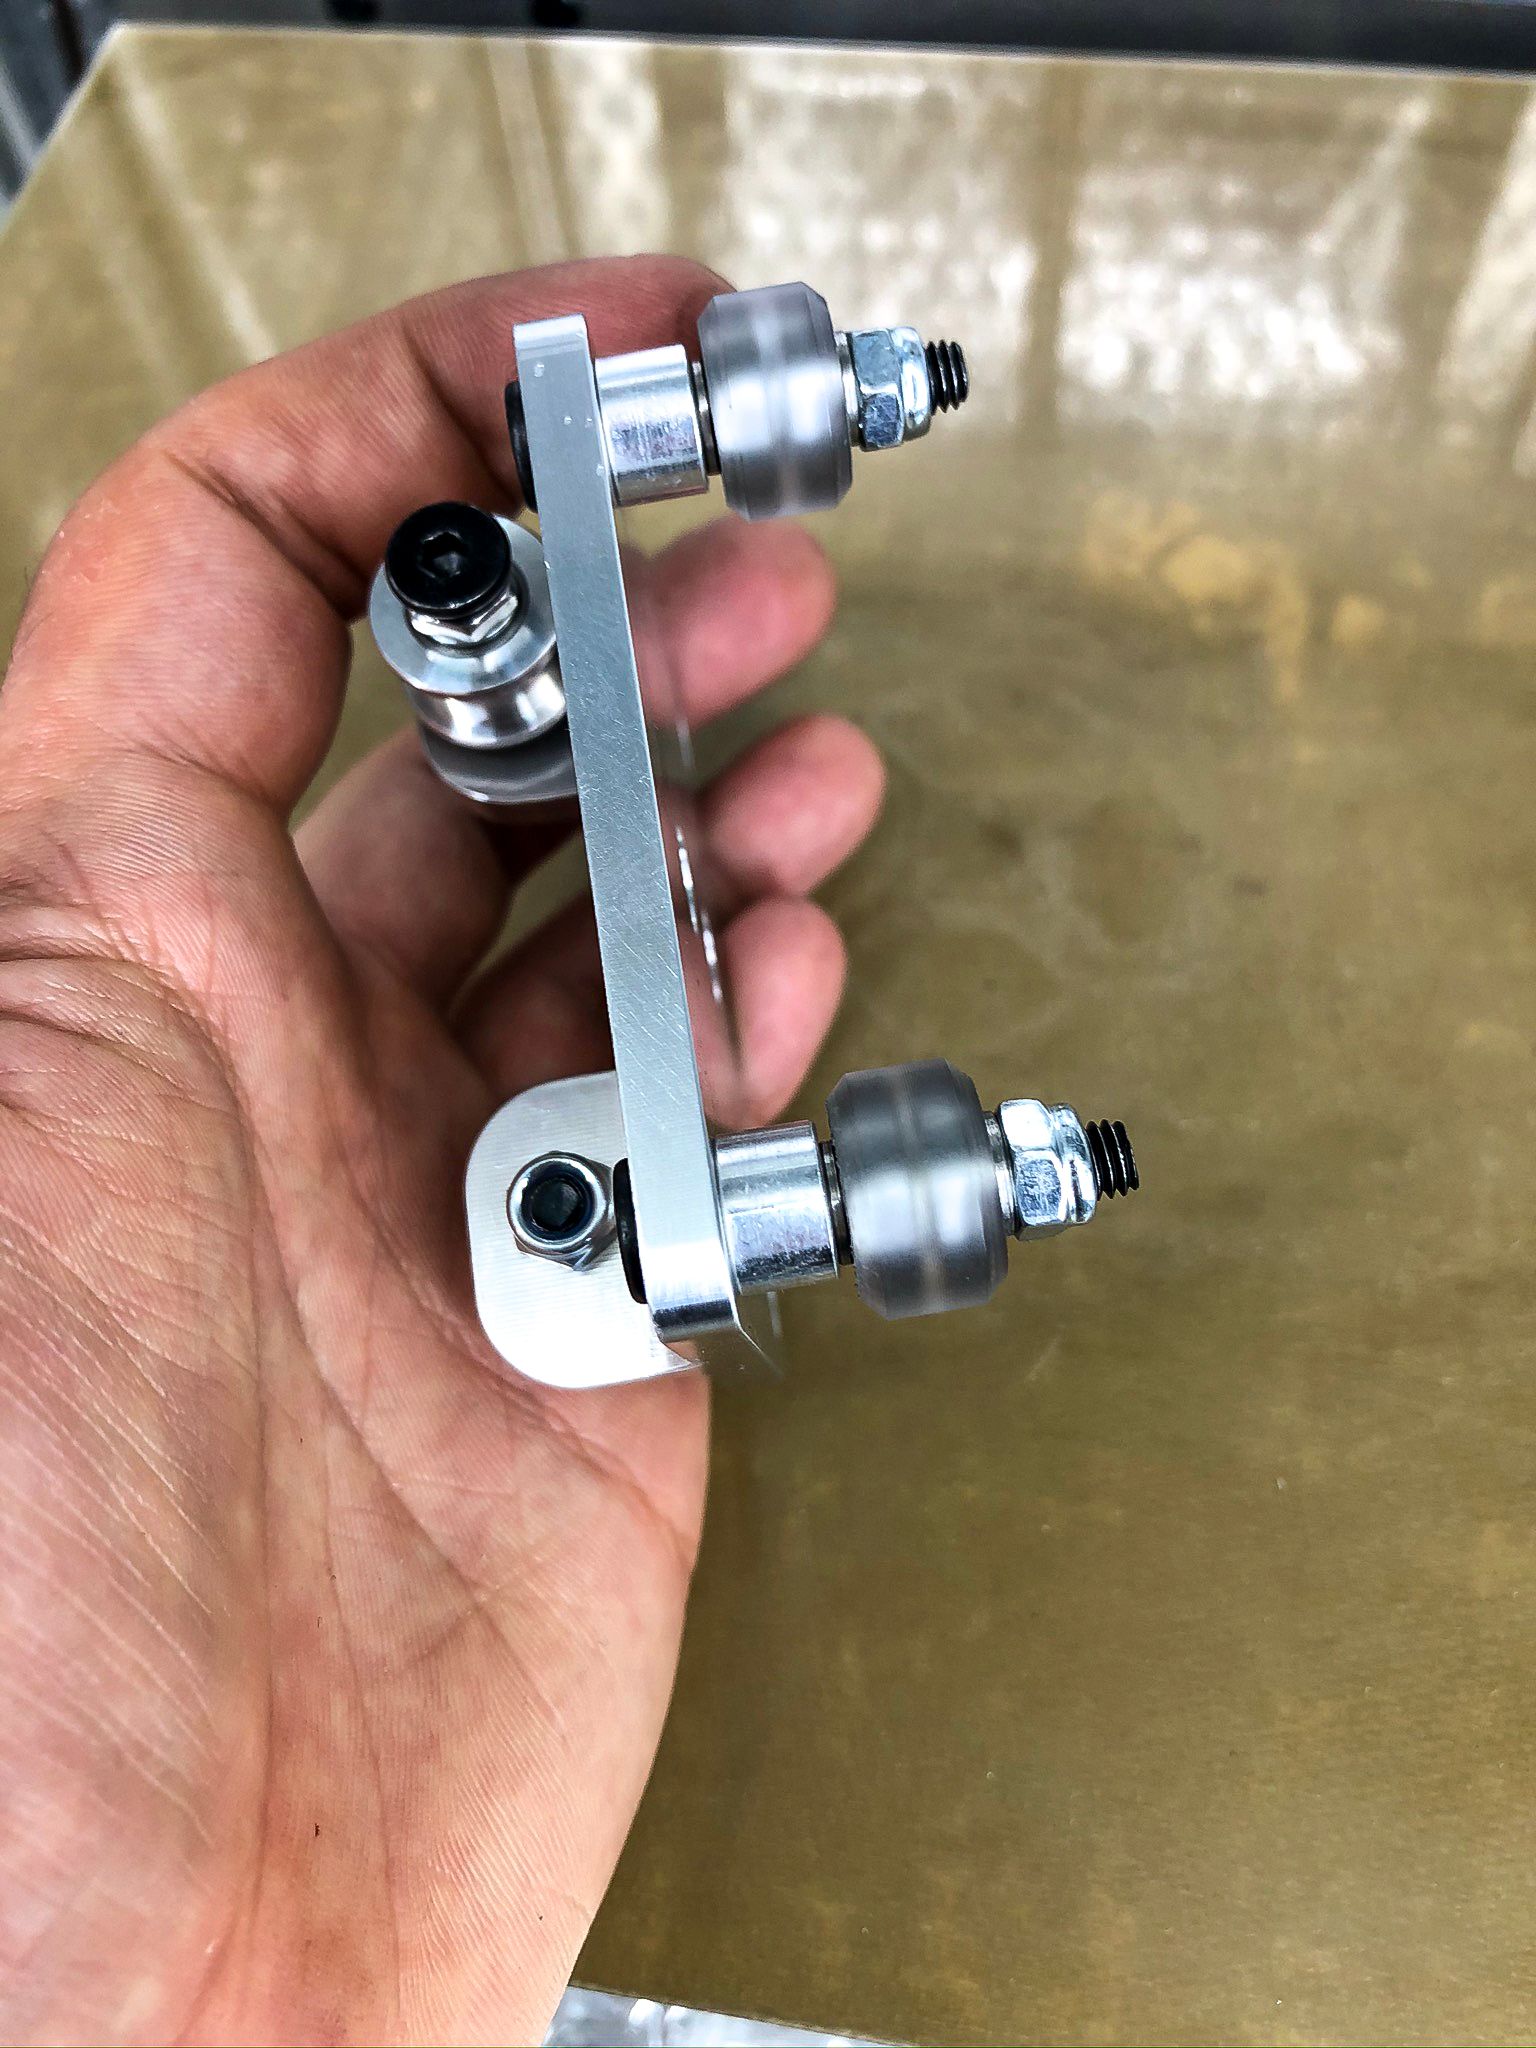
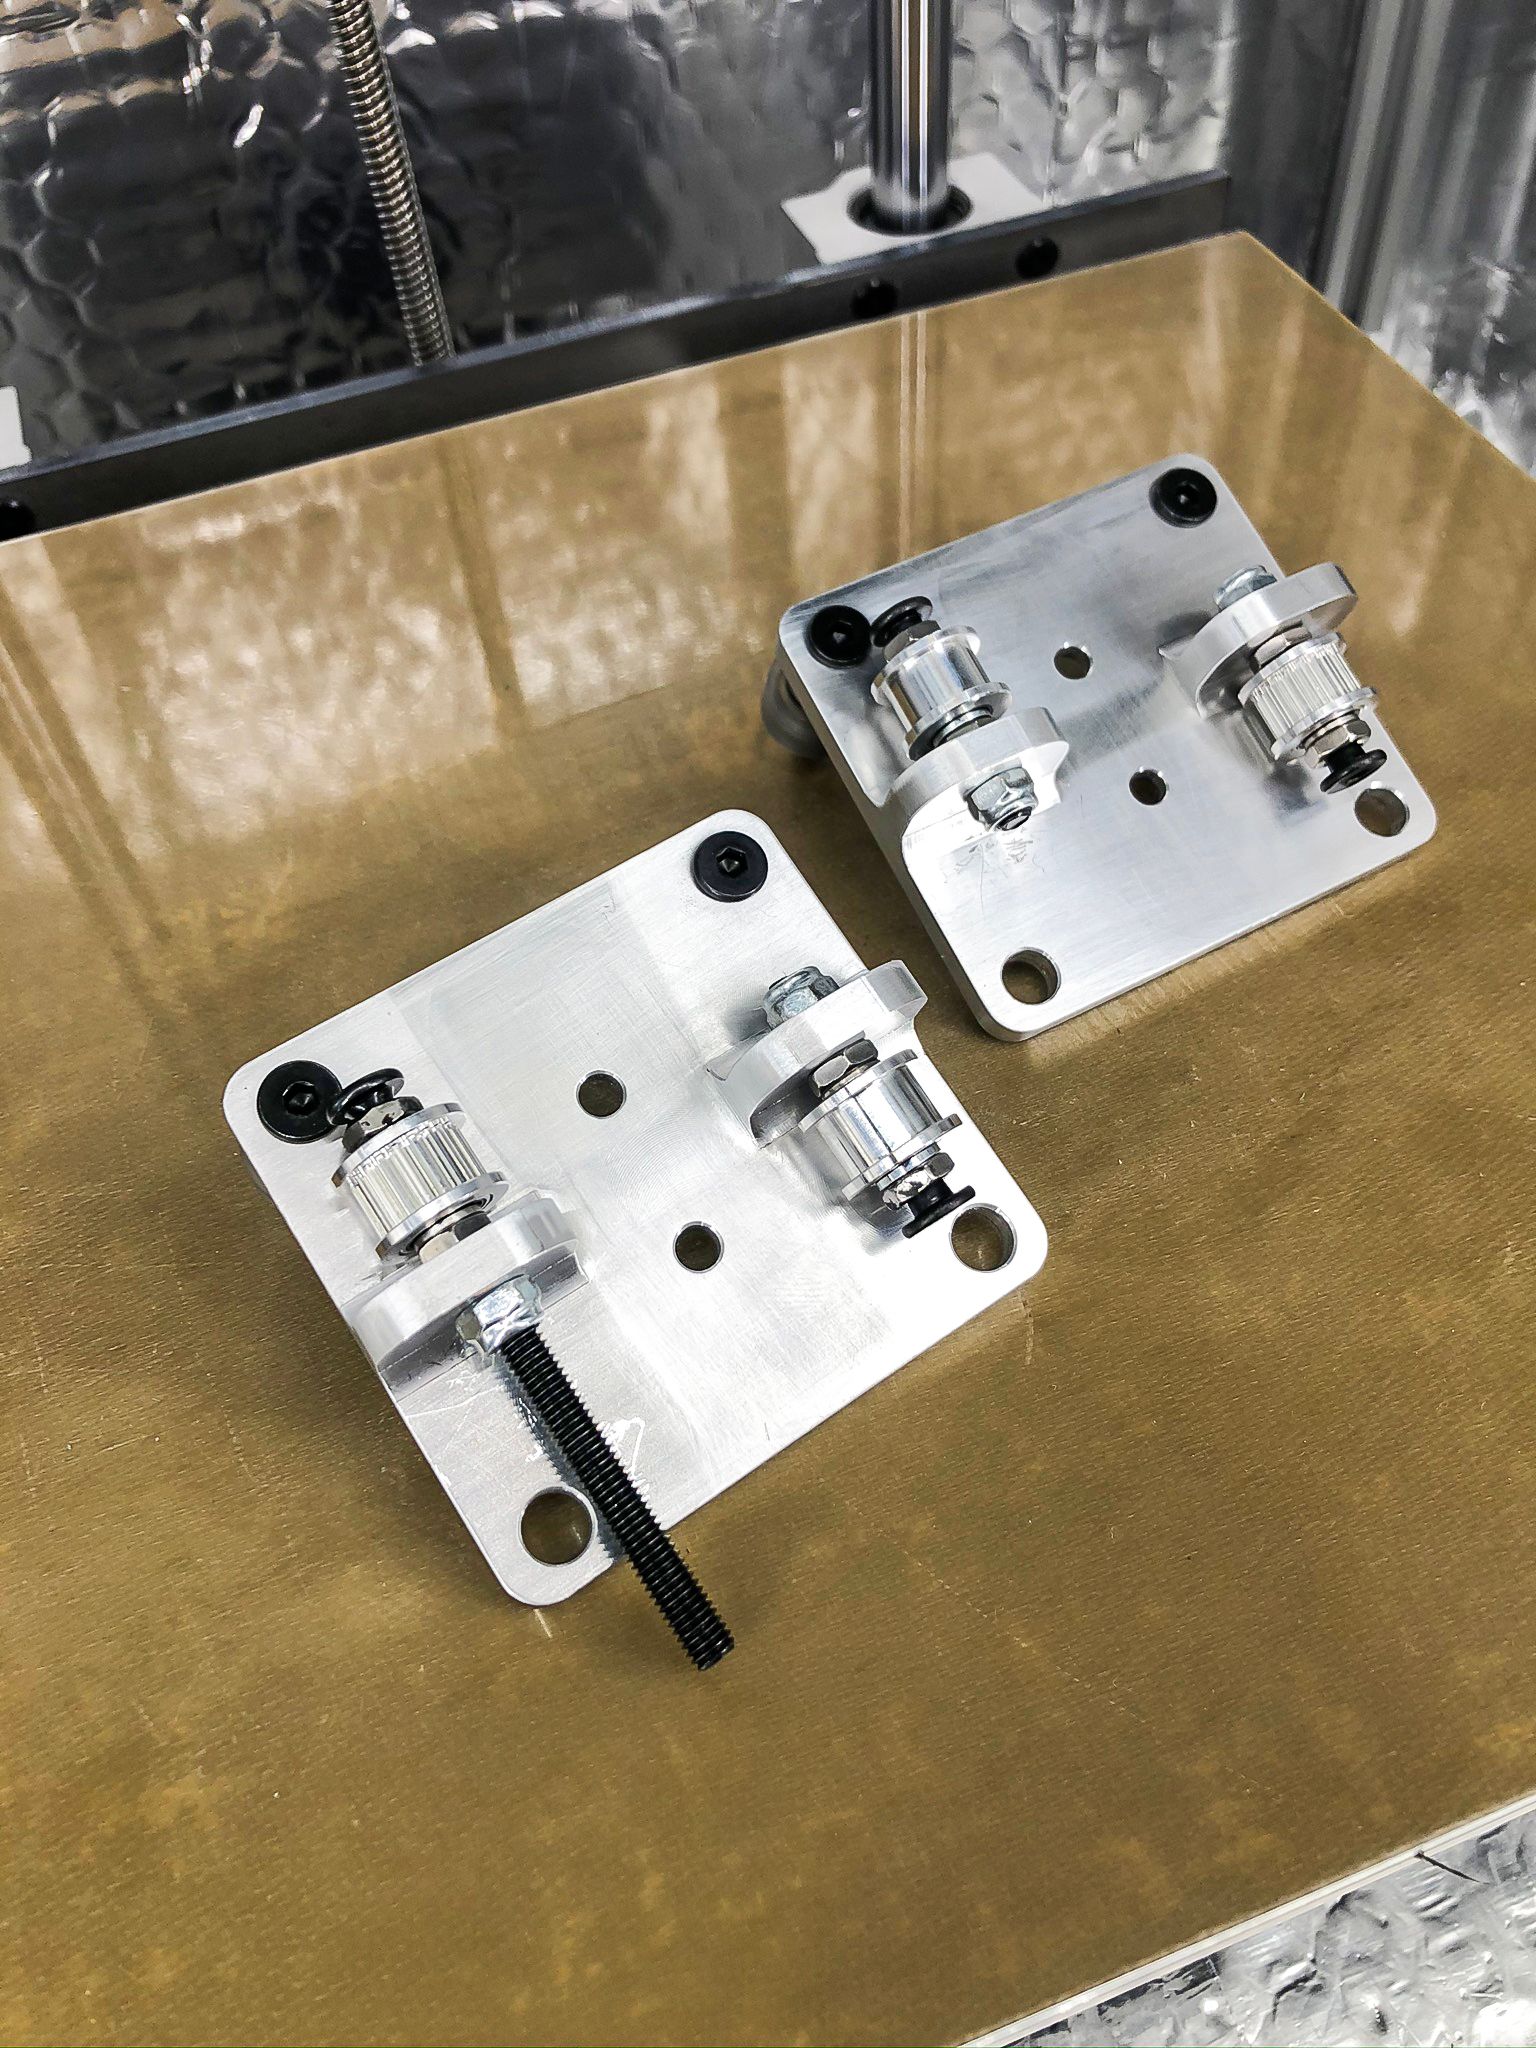
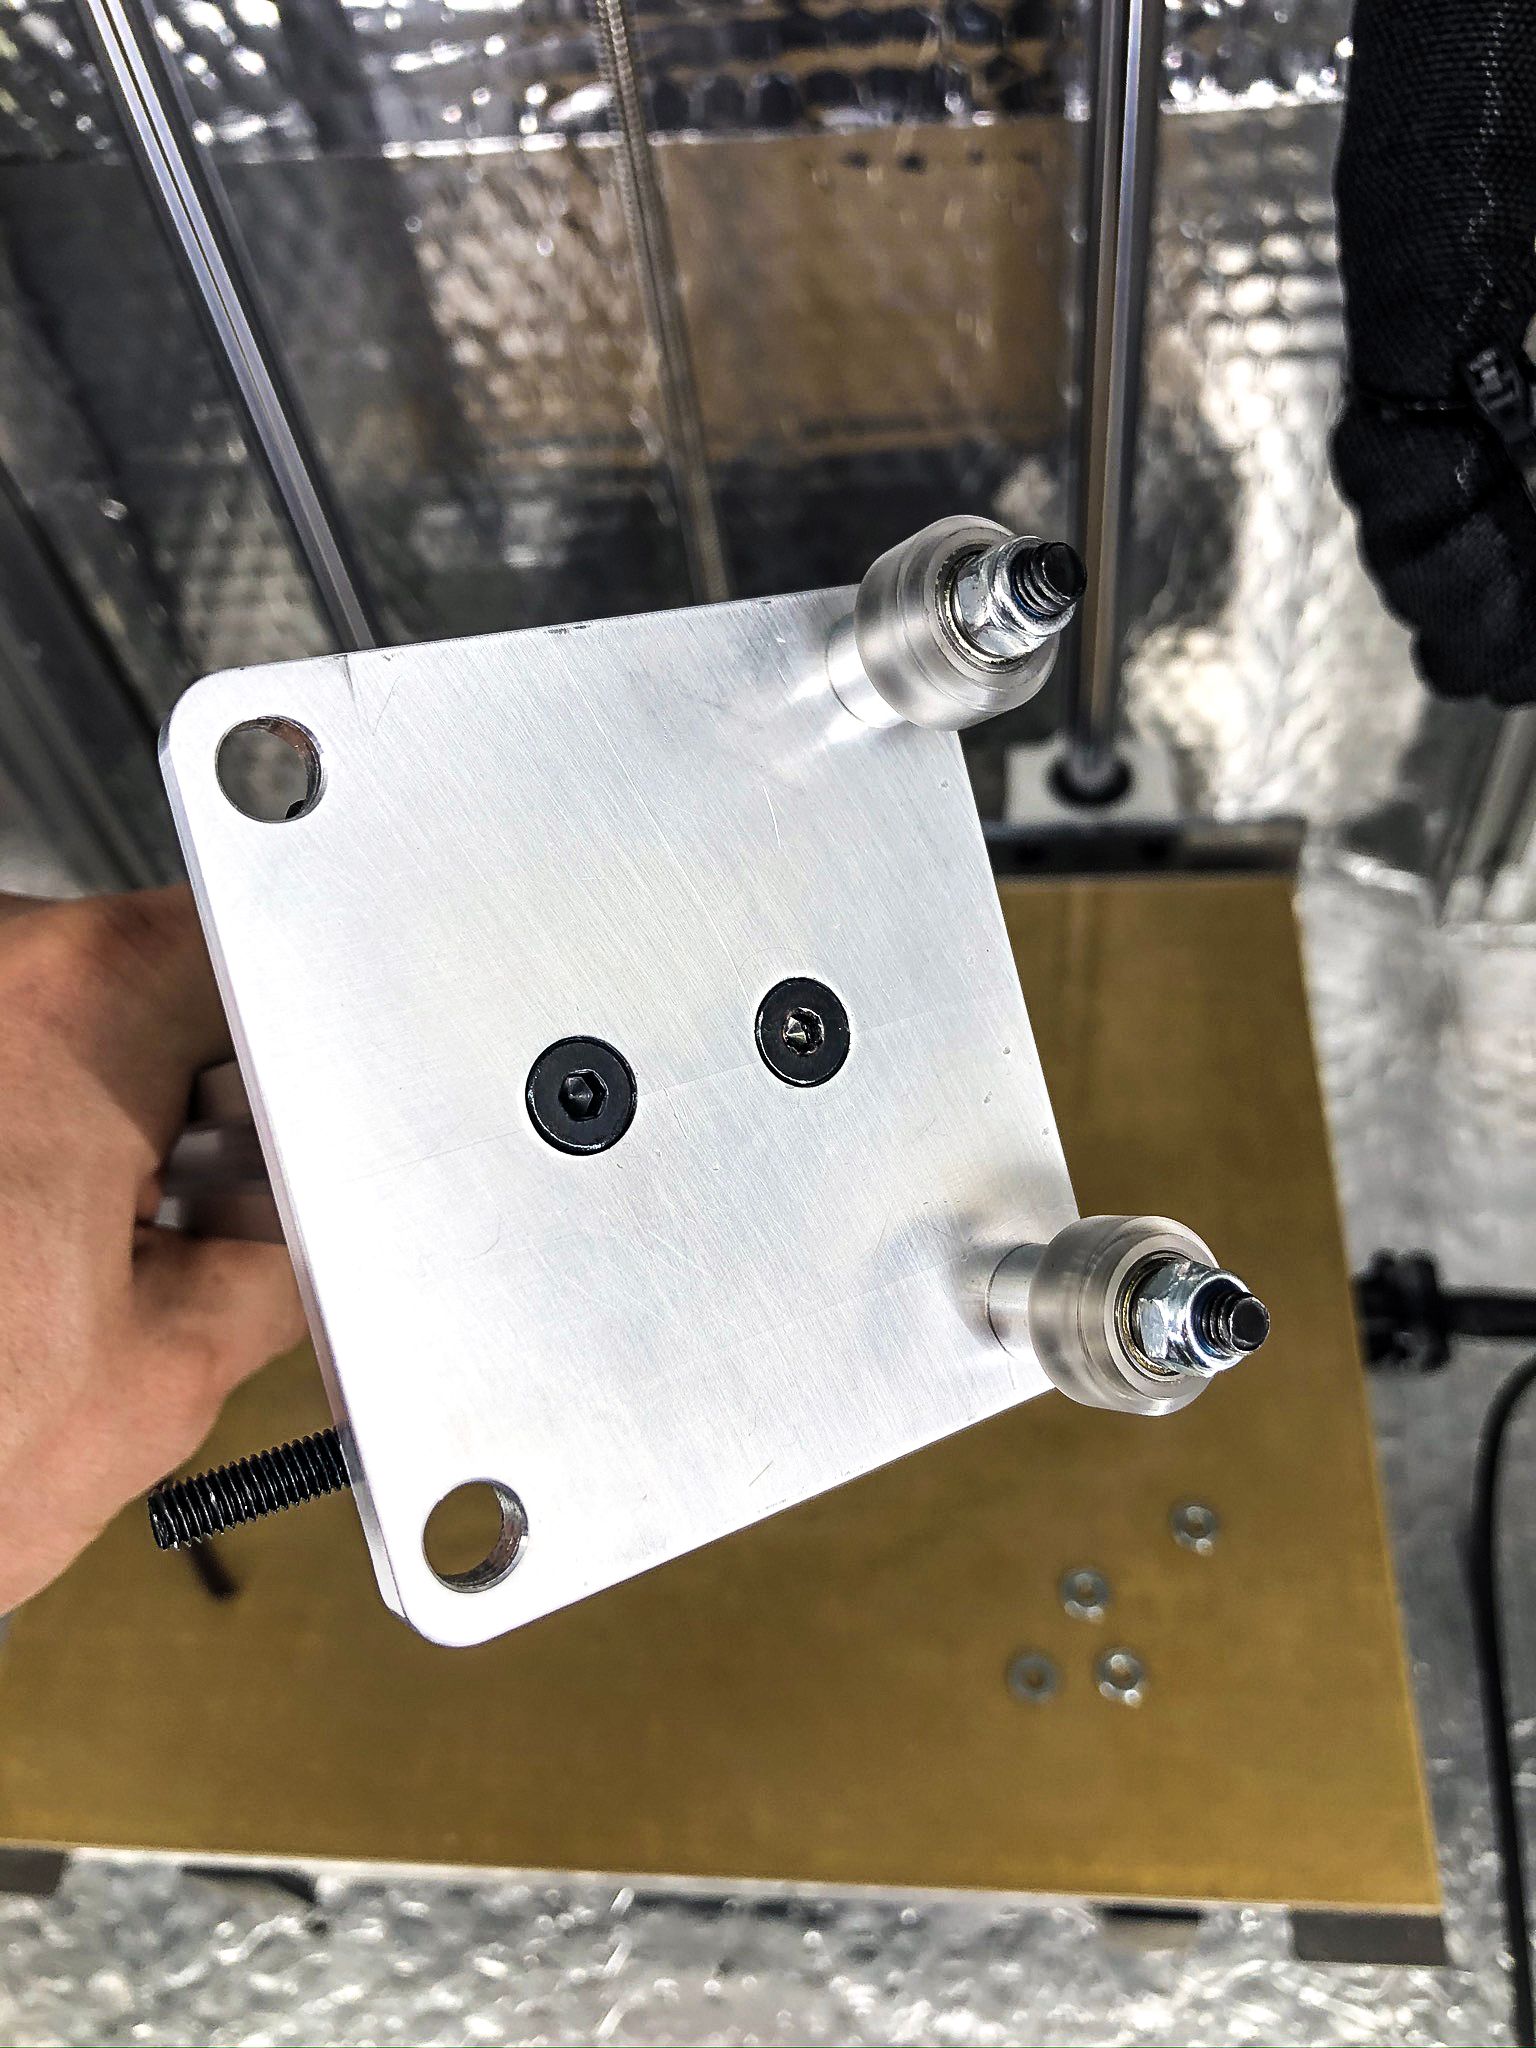
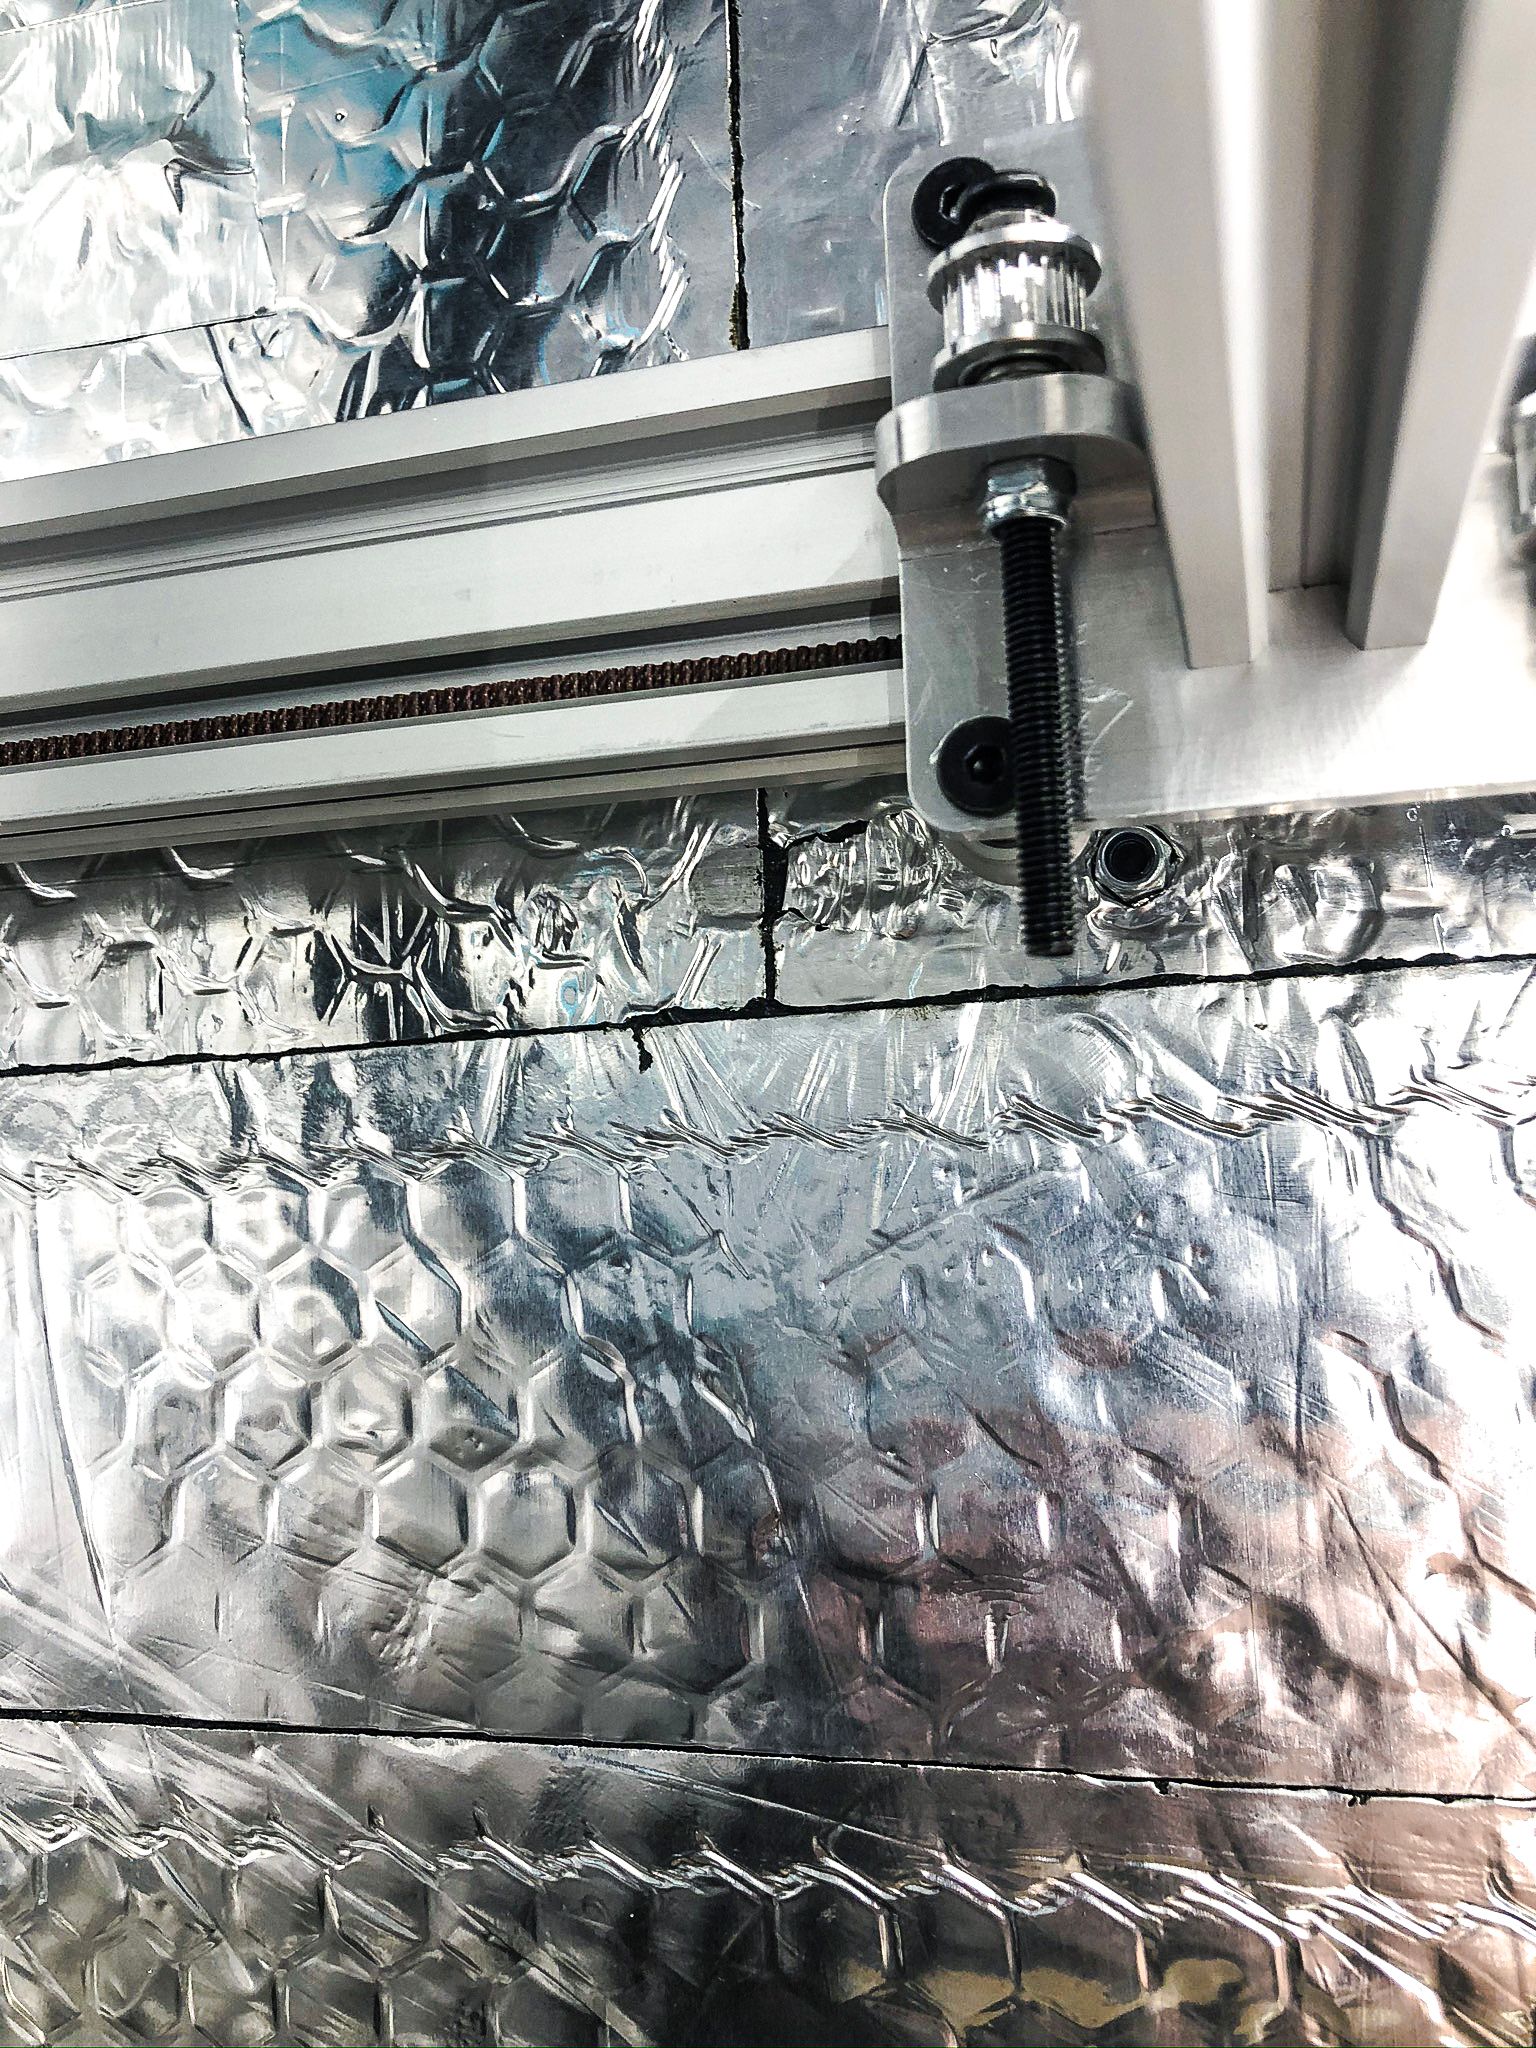
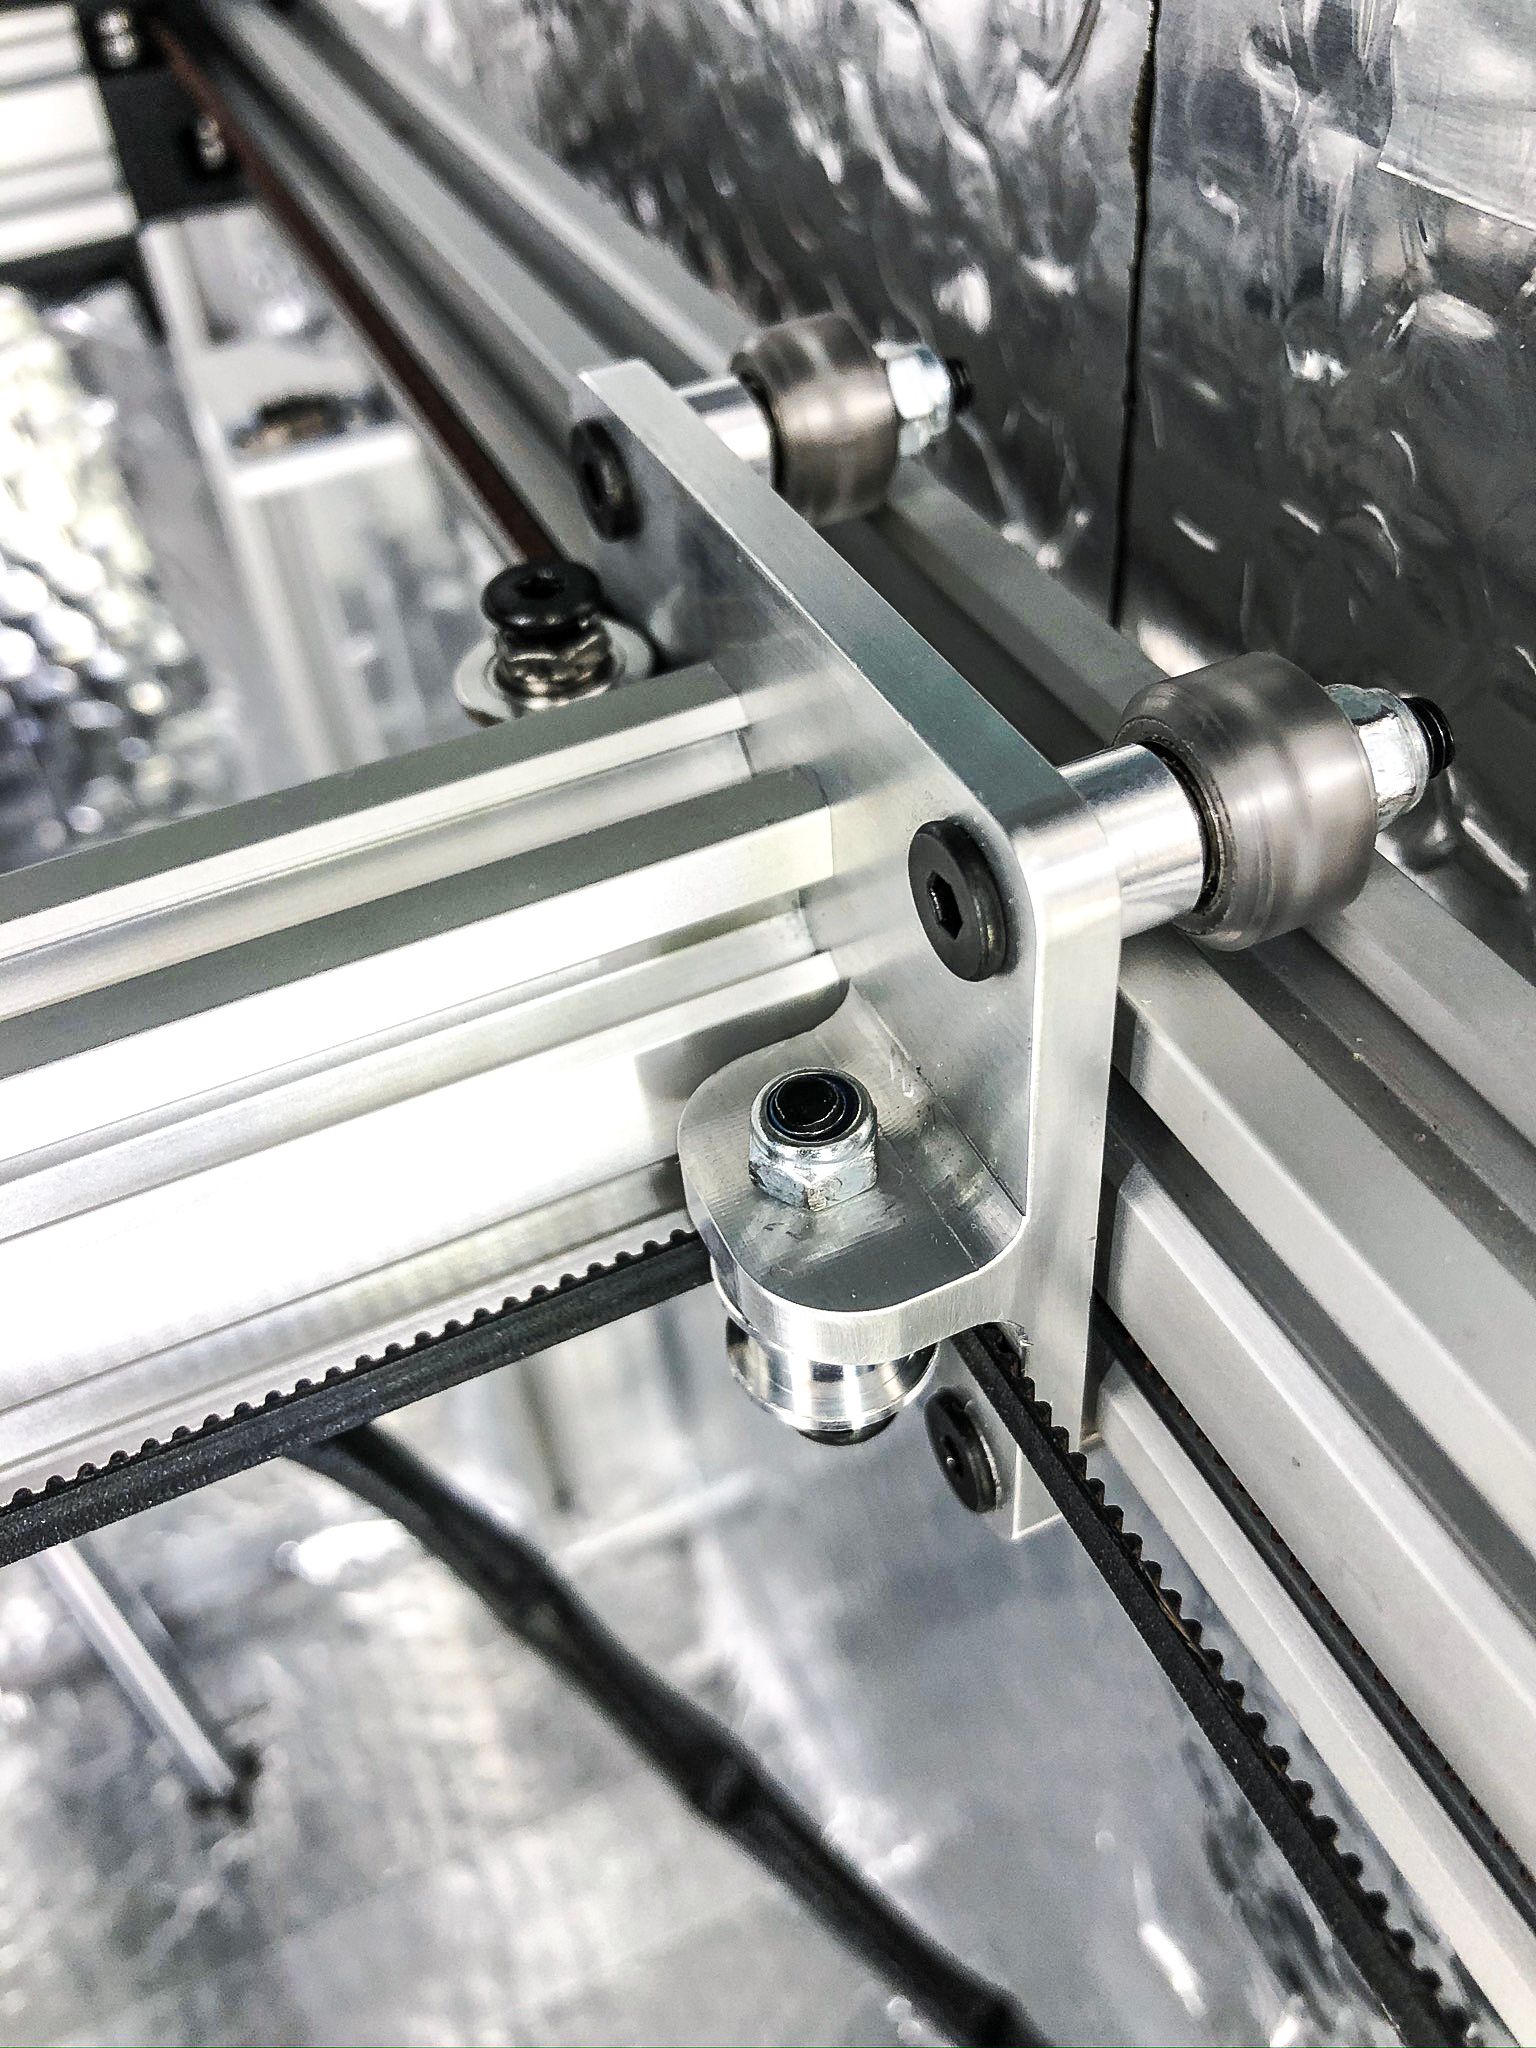
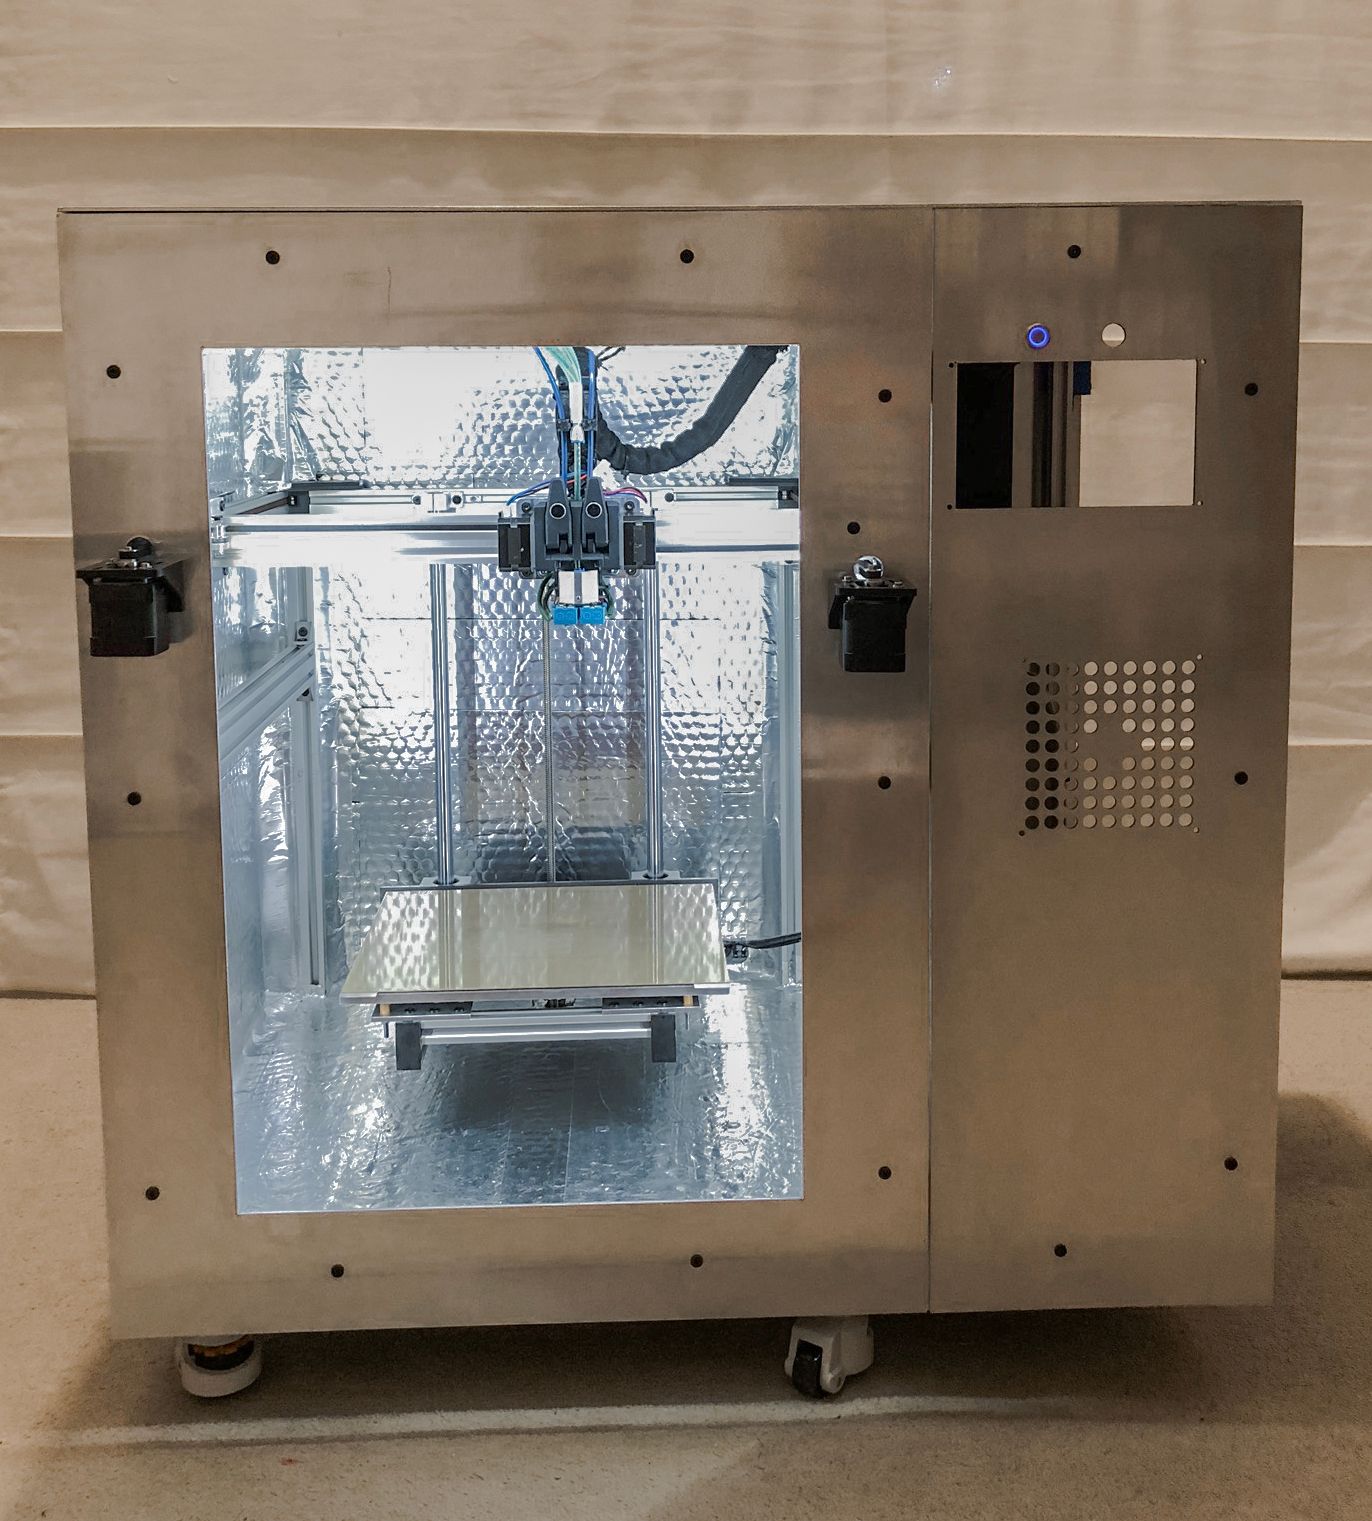
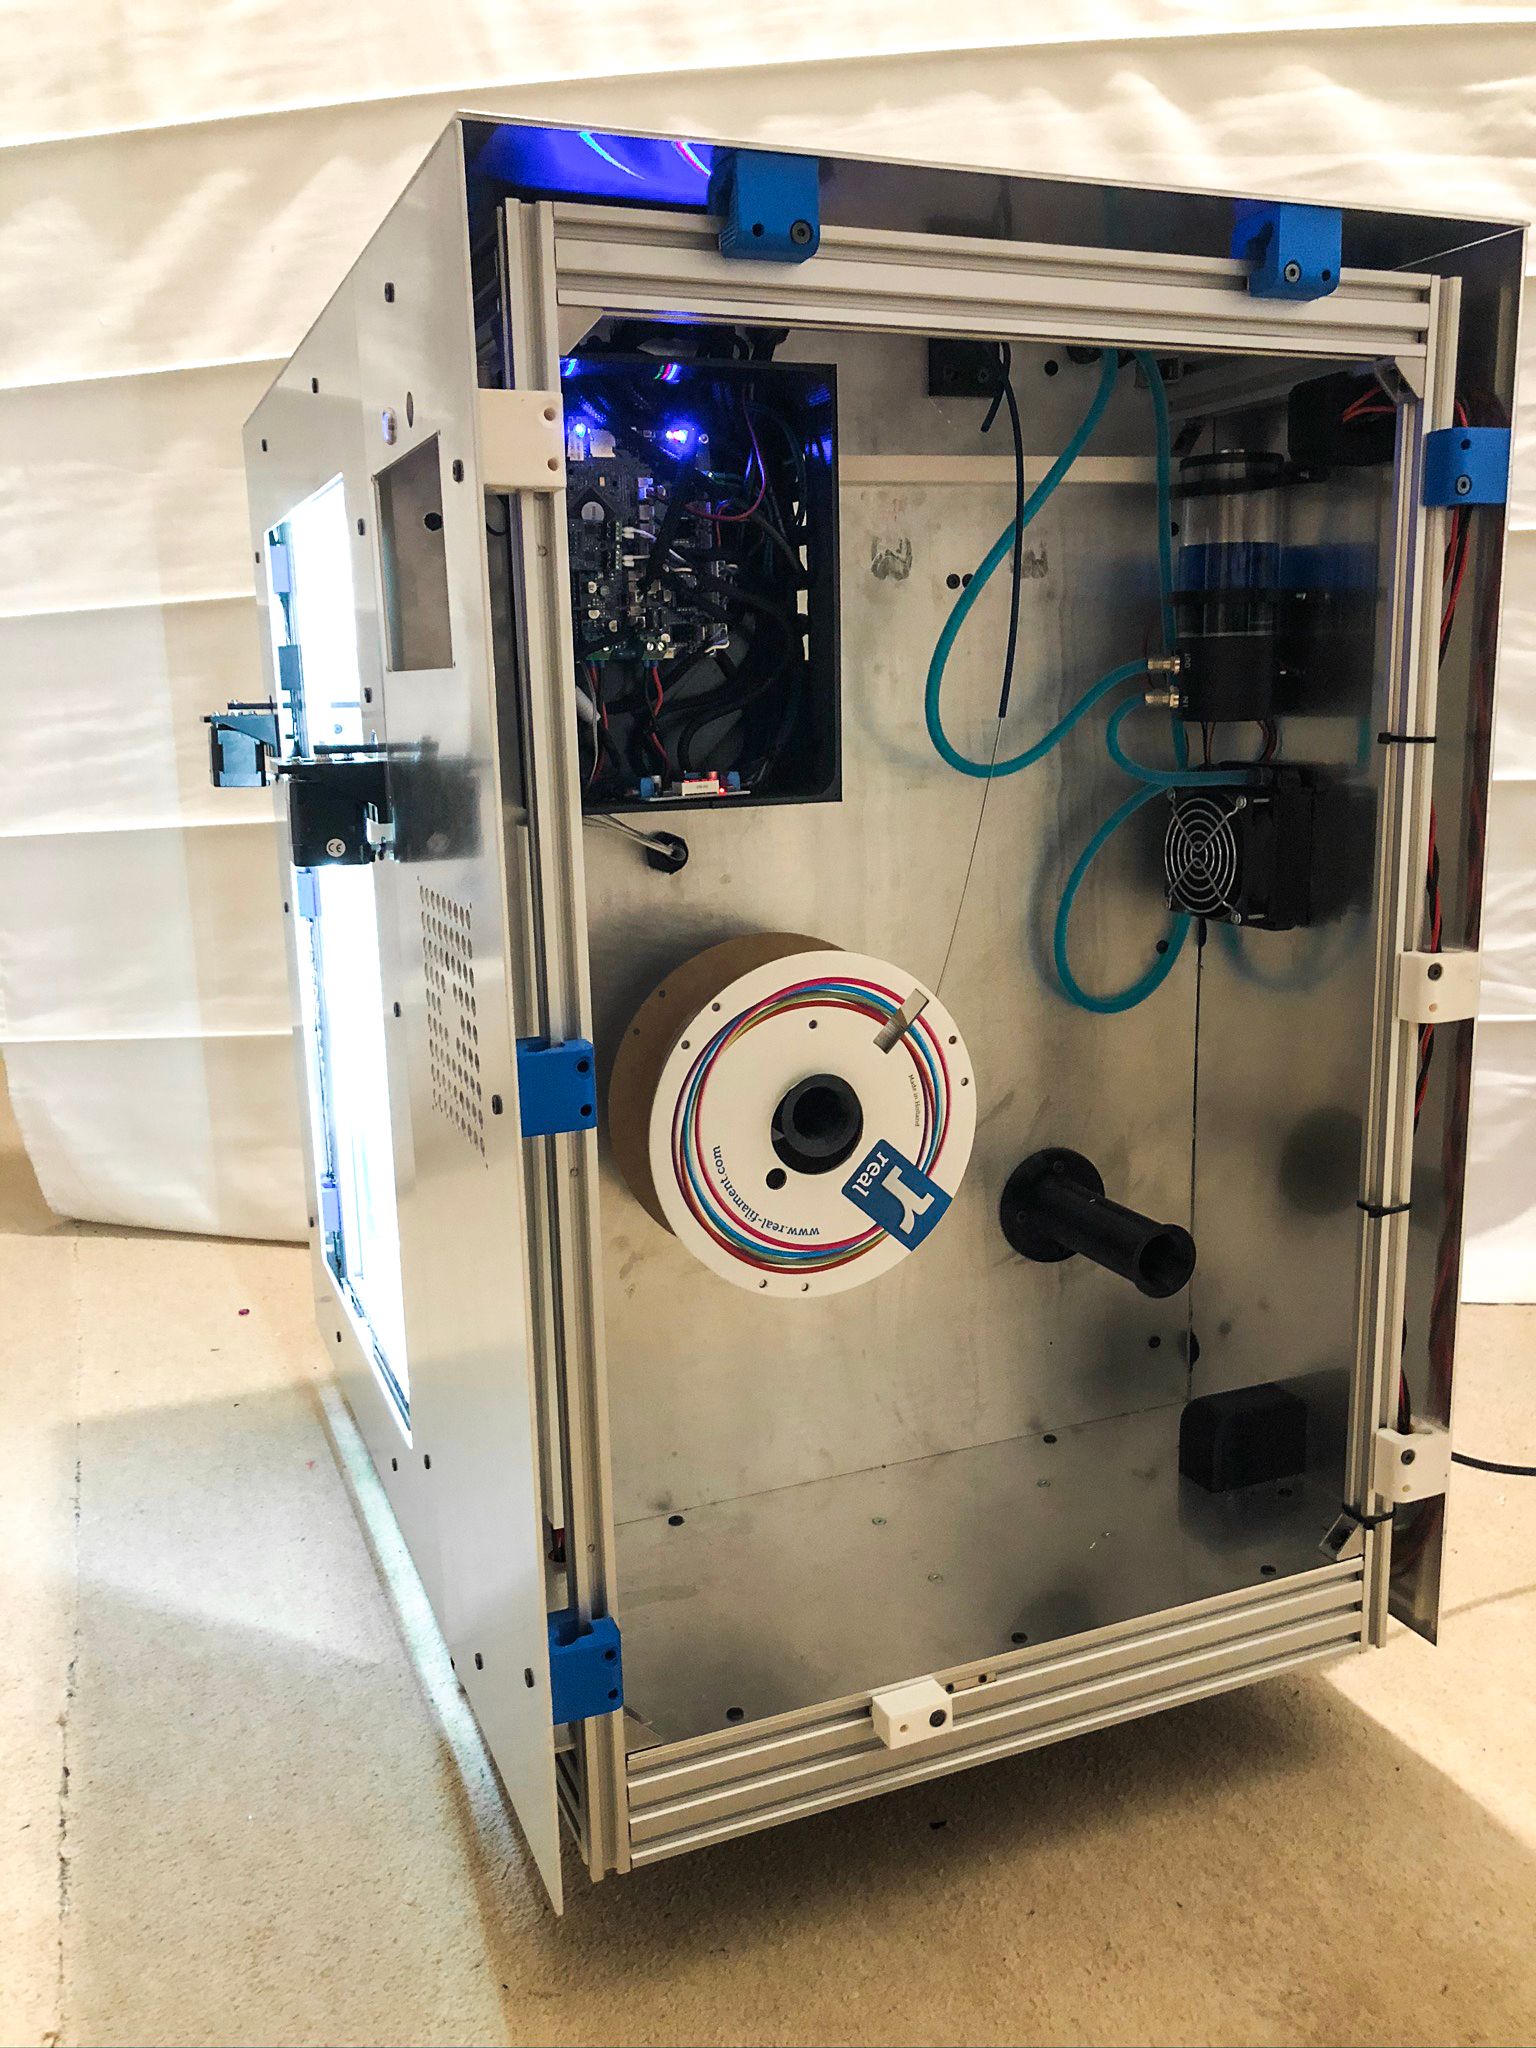
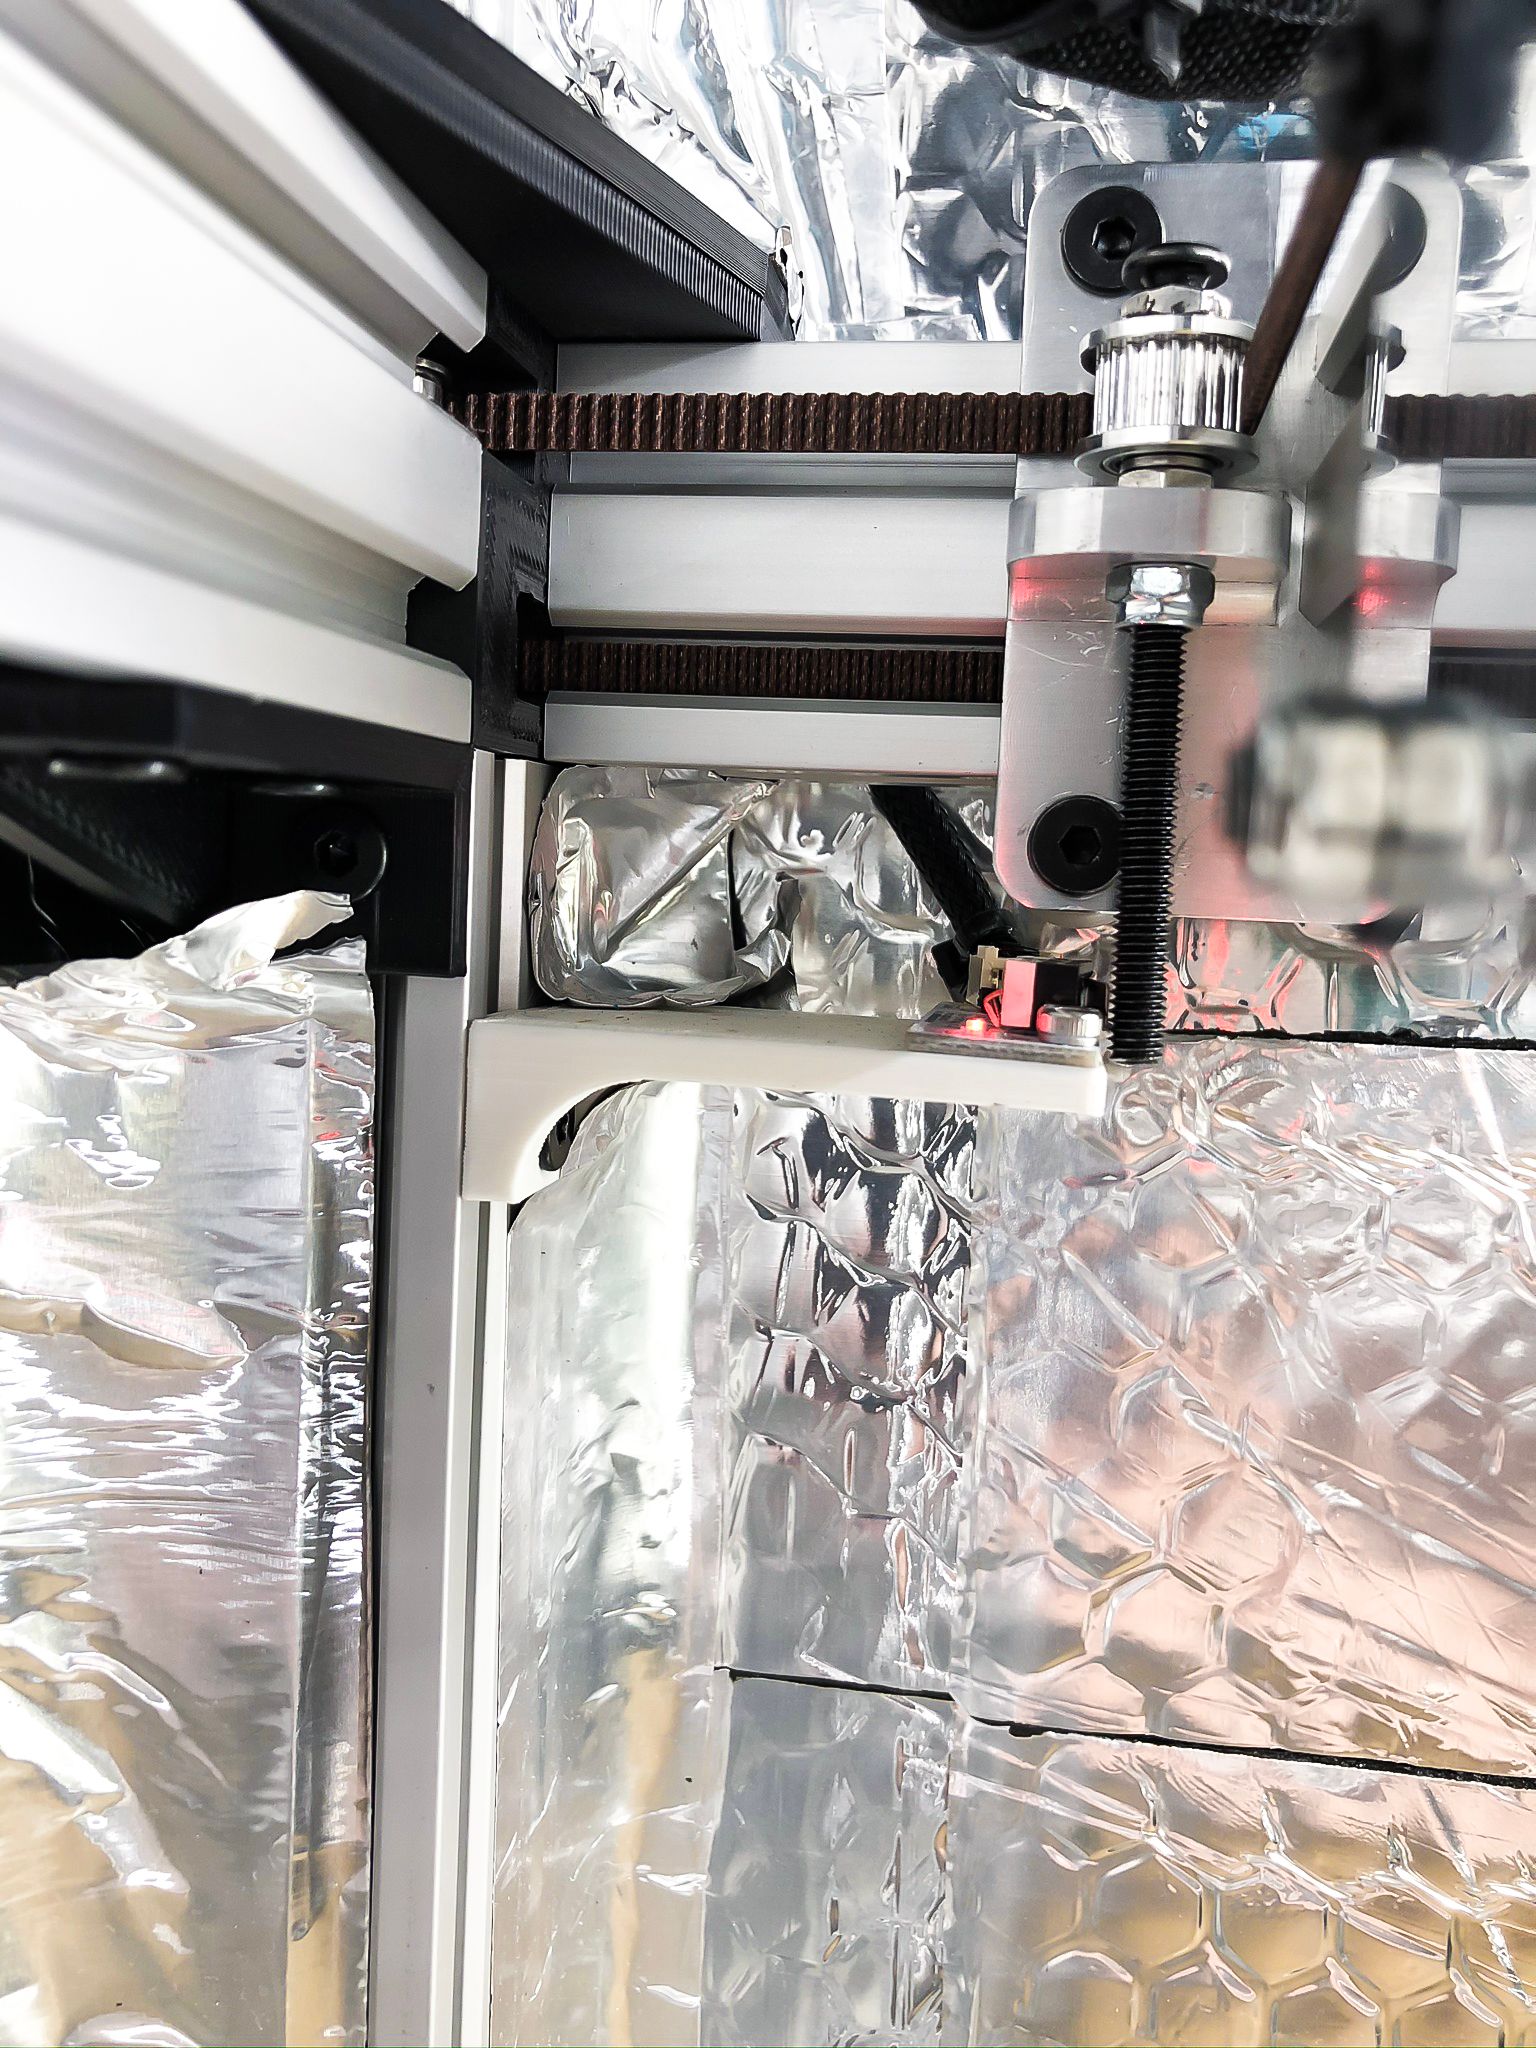
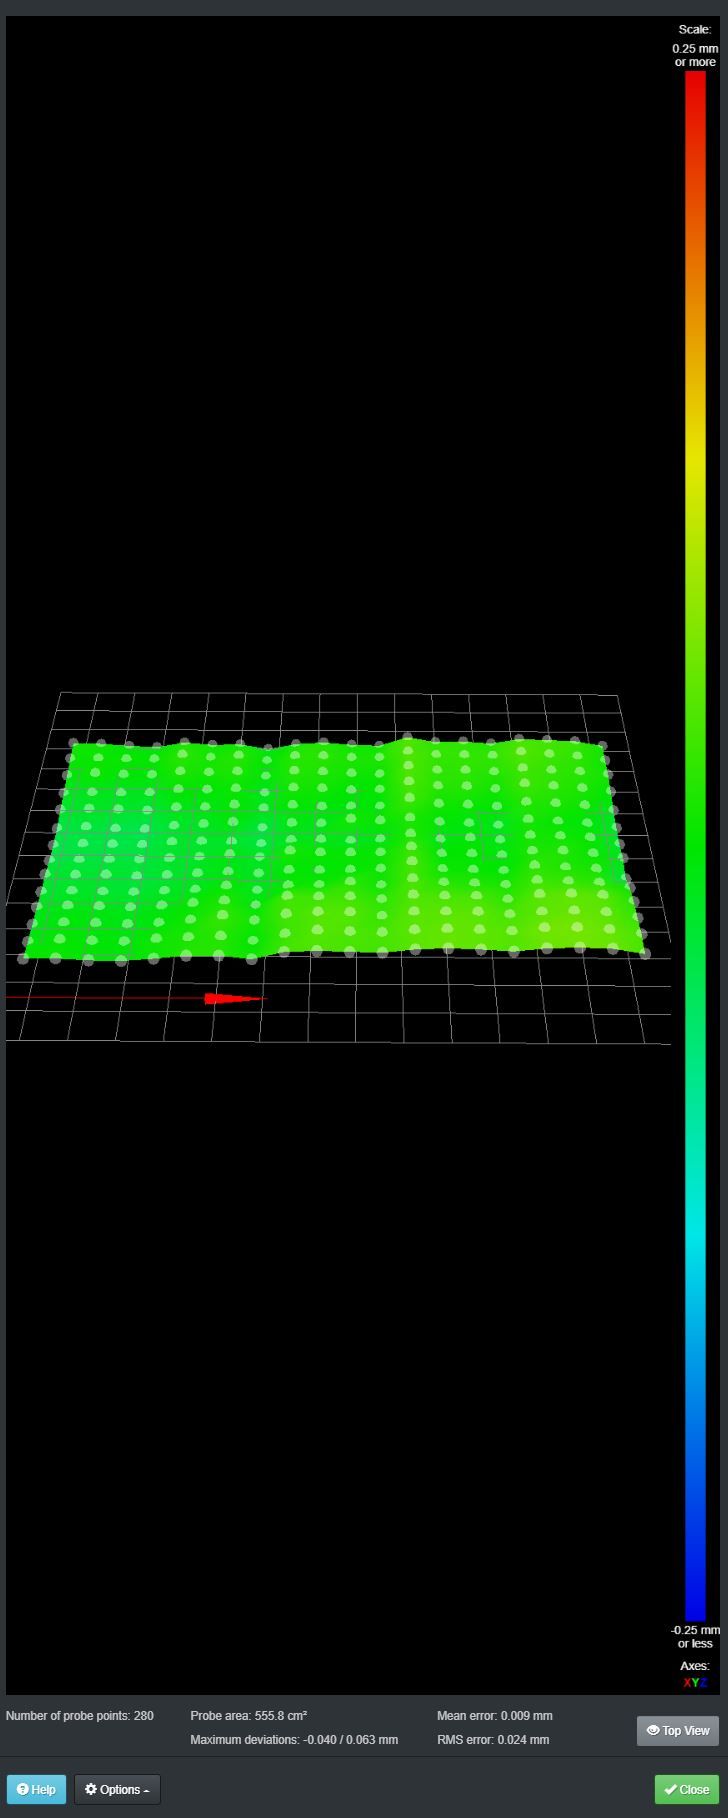
Hi all, things moving but very slow, this is progress so far by today. I got all-aluminum machined parts for the motion system, very happy with them, and moving very smoothly. I can tighten them very hard without worry what plastic will crack, or they will start wobble then the chamber is getting 45 degrees C. Besides this I also installed front panel and wheel to be able moving printer around as its getting quite heavy. Working on the door now and decided what it will be not hinged, but removable on the channel magnets, with transparent polycarbonate sheet.
Some images:


-
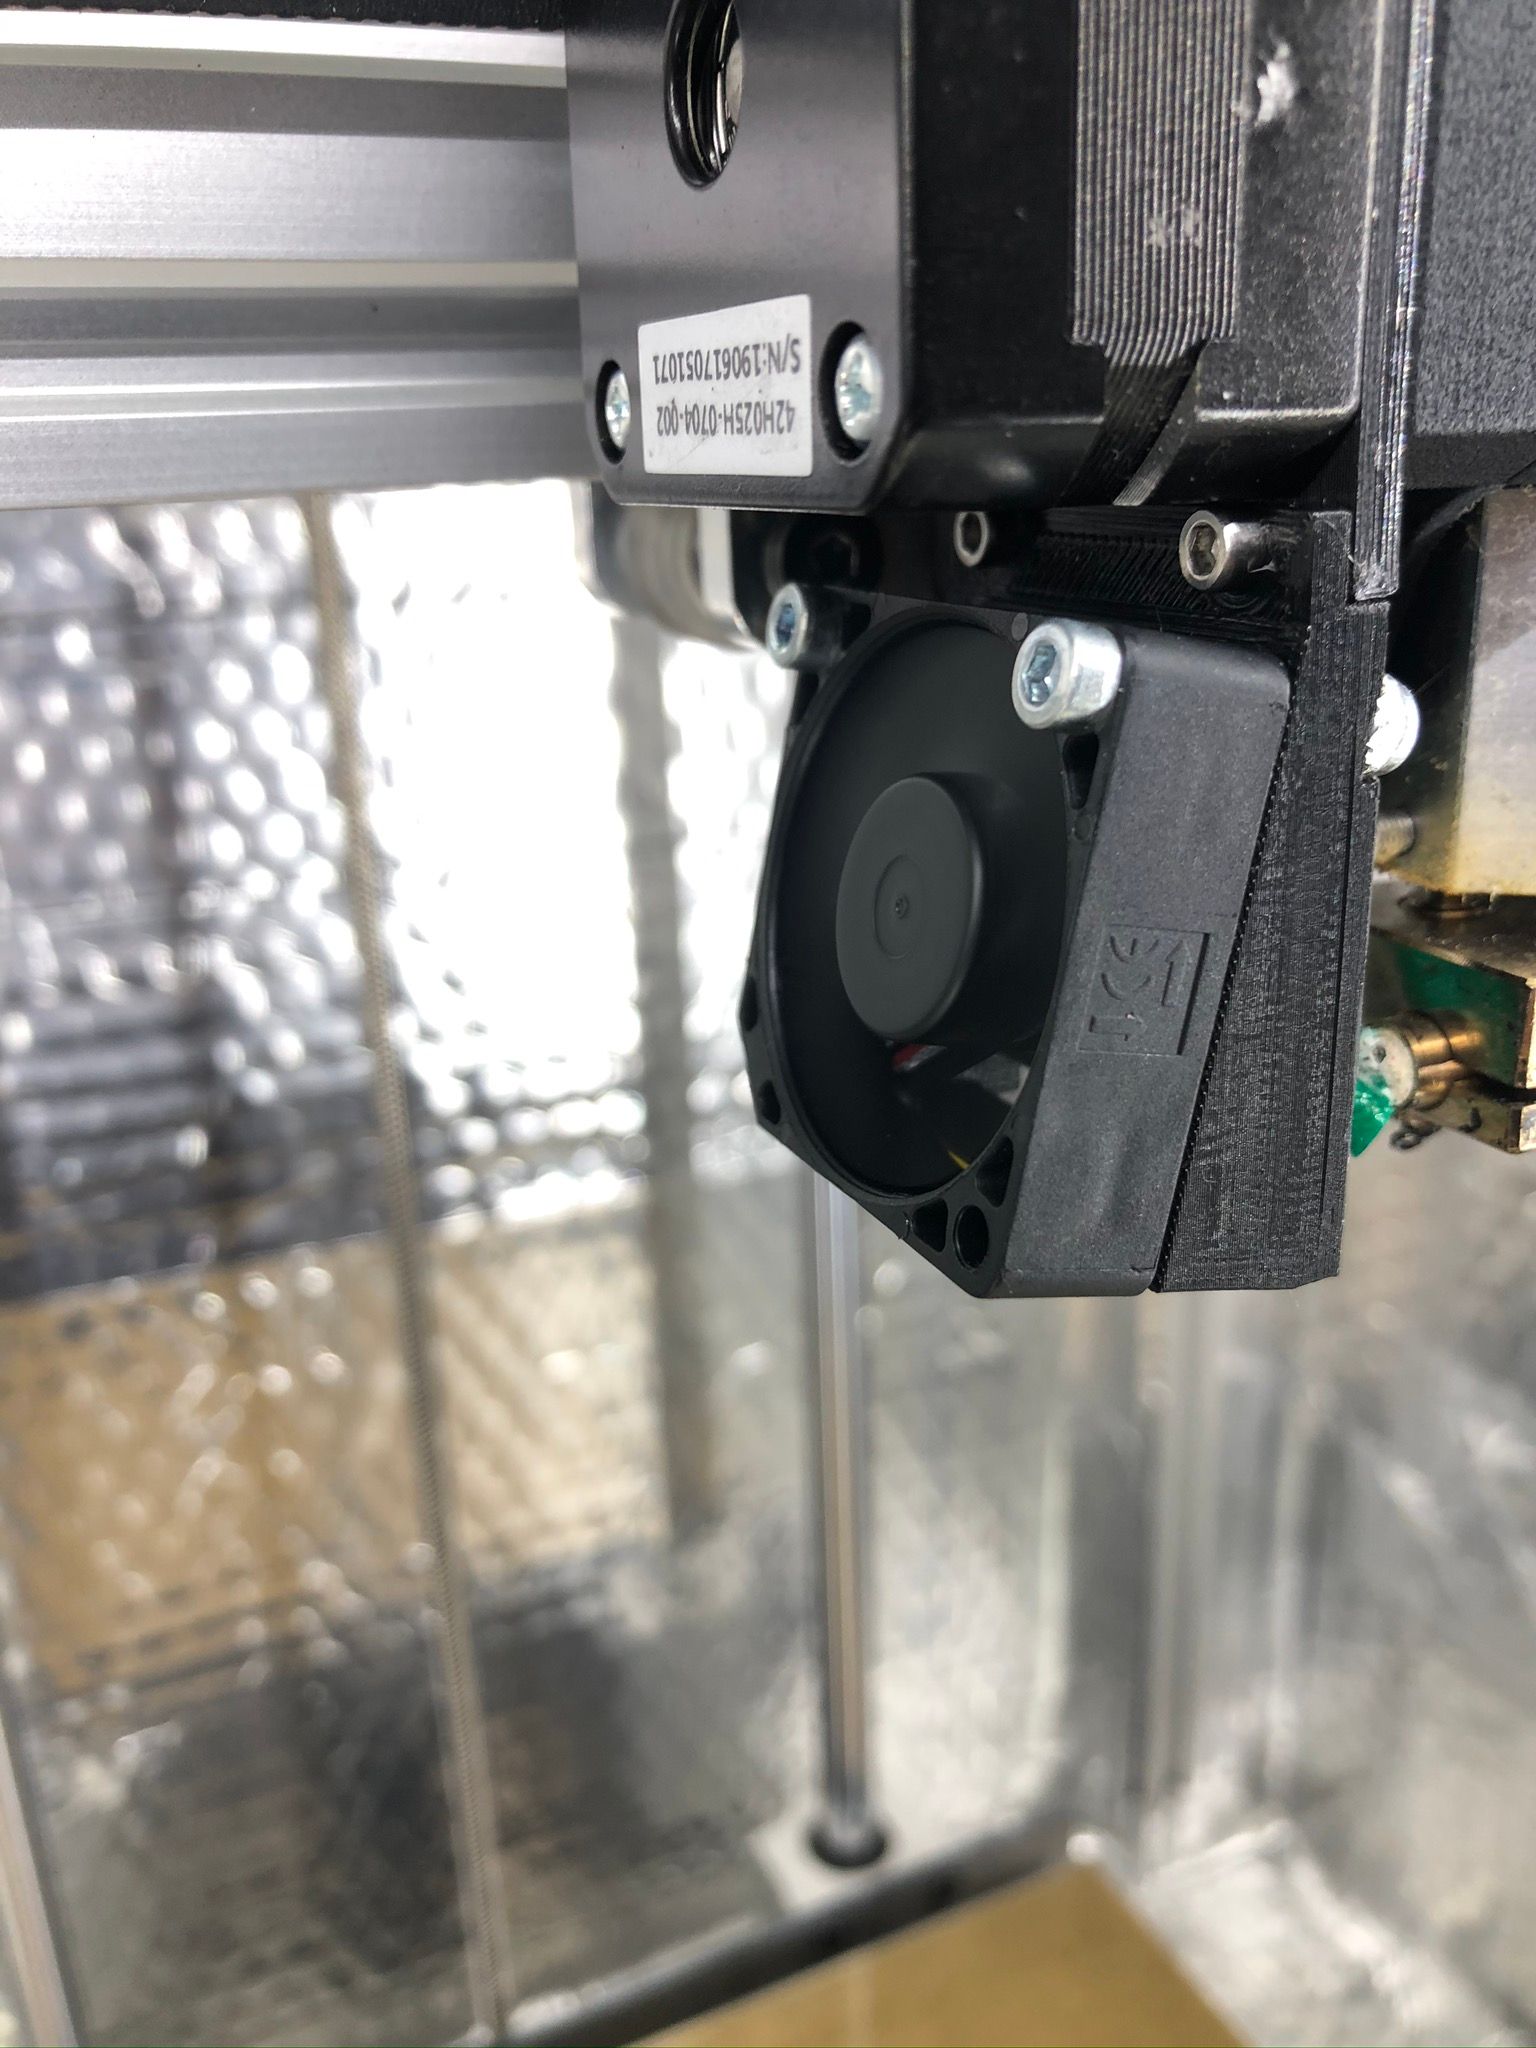
Update - part cooling fan added. Mount and fan shroud printed from PA6.6. I used those fans - https://nl.rs-online.com/web/p/axial-fans/1356898/
They are rated to work at 70C and has a small form factor of 35x35x10mm with good pressure.

-
I read your project very carefully! Really really cool!

I have published a fan duct for the BMG X2 ... maybe it will help you a little

https://www.thingiverse.com/thing:4462527
Regards Christian (CR-3D)
-
Hi Cristian,
Thanks for this, it looks really great, might consider this! I was looking for something already made for BMG, but couldn't find any neat solutions, so I design my own, and there is yours now. Thanks again

-
@felt342 Does any air come out of those print cooling fan ducts? Axial fans don't usually work very well against pressure...
-
@mrehorstdmd @CR3D looks to be using small blower fans at least.
I was trying to find a fan duct option for a friend who is building an ulticlone and they are all axial fans with super restricted ducts. How did this become a popular option?!
https://www.thingiverse.com/search?q=ultimaker+fan+ducts&type=things&sort=relevant
-
@mrehorstdmd It has a lot of air coming out, I did get inspired by Raise 3D pro I have, and it has the same idea sort of, gives a lot of air - also this fan what I am using has a lot of pressure compared to Noctua or similar. I did a small video trying to show it with the lighter.
https://share.icloud.com/photos/0UQ3lXNX68oKFoiqHt2Zj_HAQ -
@felt342 Well it's all about static pressure, so if you've got that, you're all good.
-
@Phaedrux I think the exact same way that using 4 screws to level a print bed became popular. Someone made a mistake, posted it to the web, where others saw and copied it without thinking about it or testing it.
That video of the test with the fan ultimately led me to delete my reddit account. I had people getting nasty about it and claiming that it was impossible, even though anyone could have tested it with a taped up piece of paper. Those are the times we live in...
-
@mrehorstdmd I remember that thread actually.
-
-
Yeah, I am very happy what they do the job. I would be really disappointed if they will fail me, as they quite pricey 16 EUR each!
-
Busy summer and I have a couple of updates:
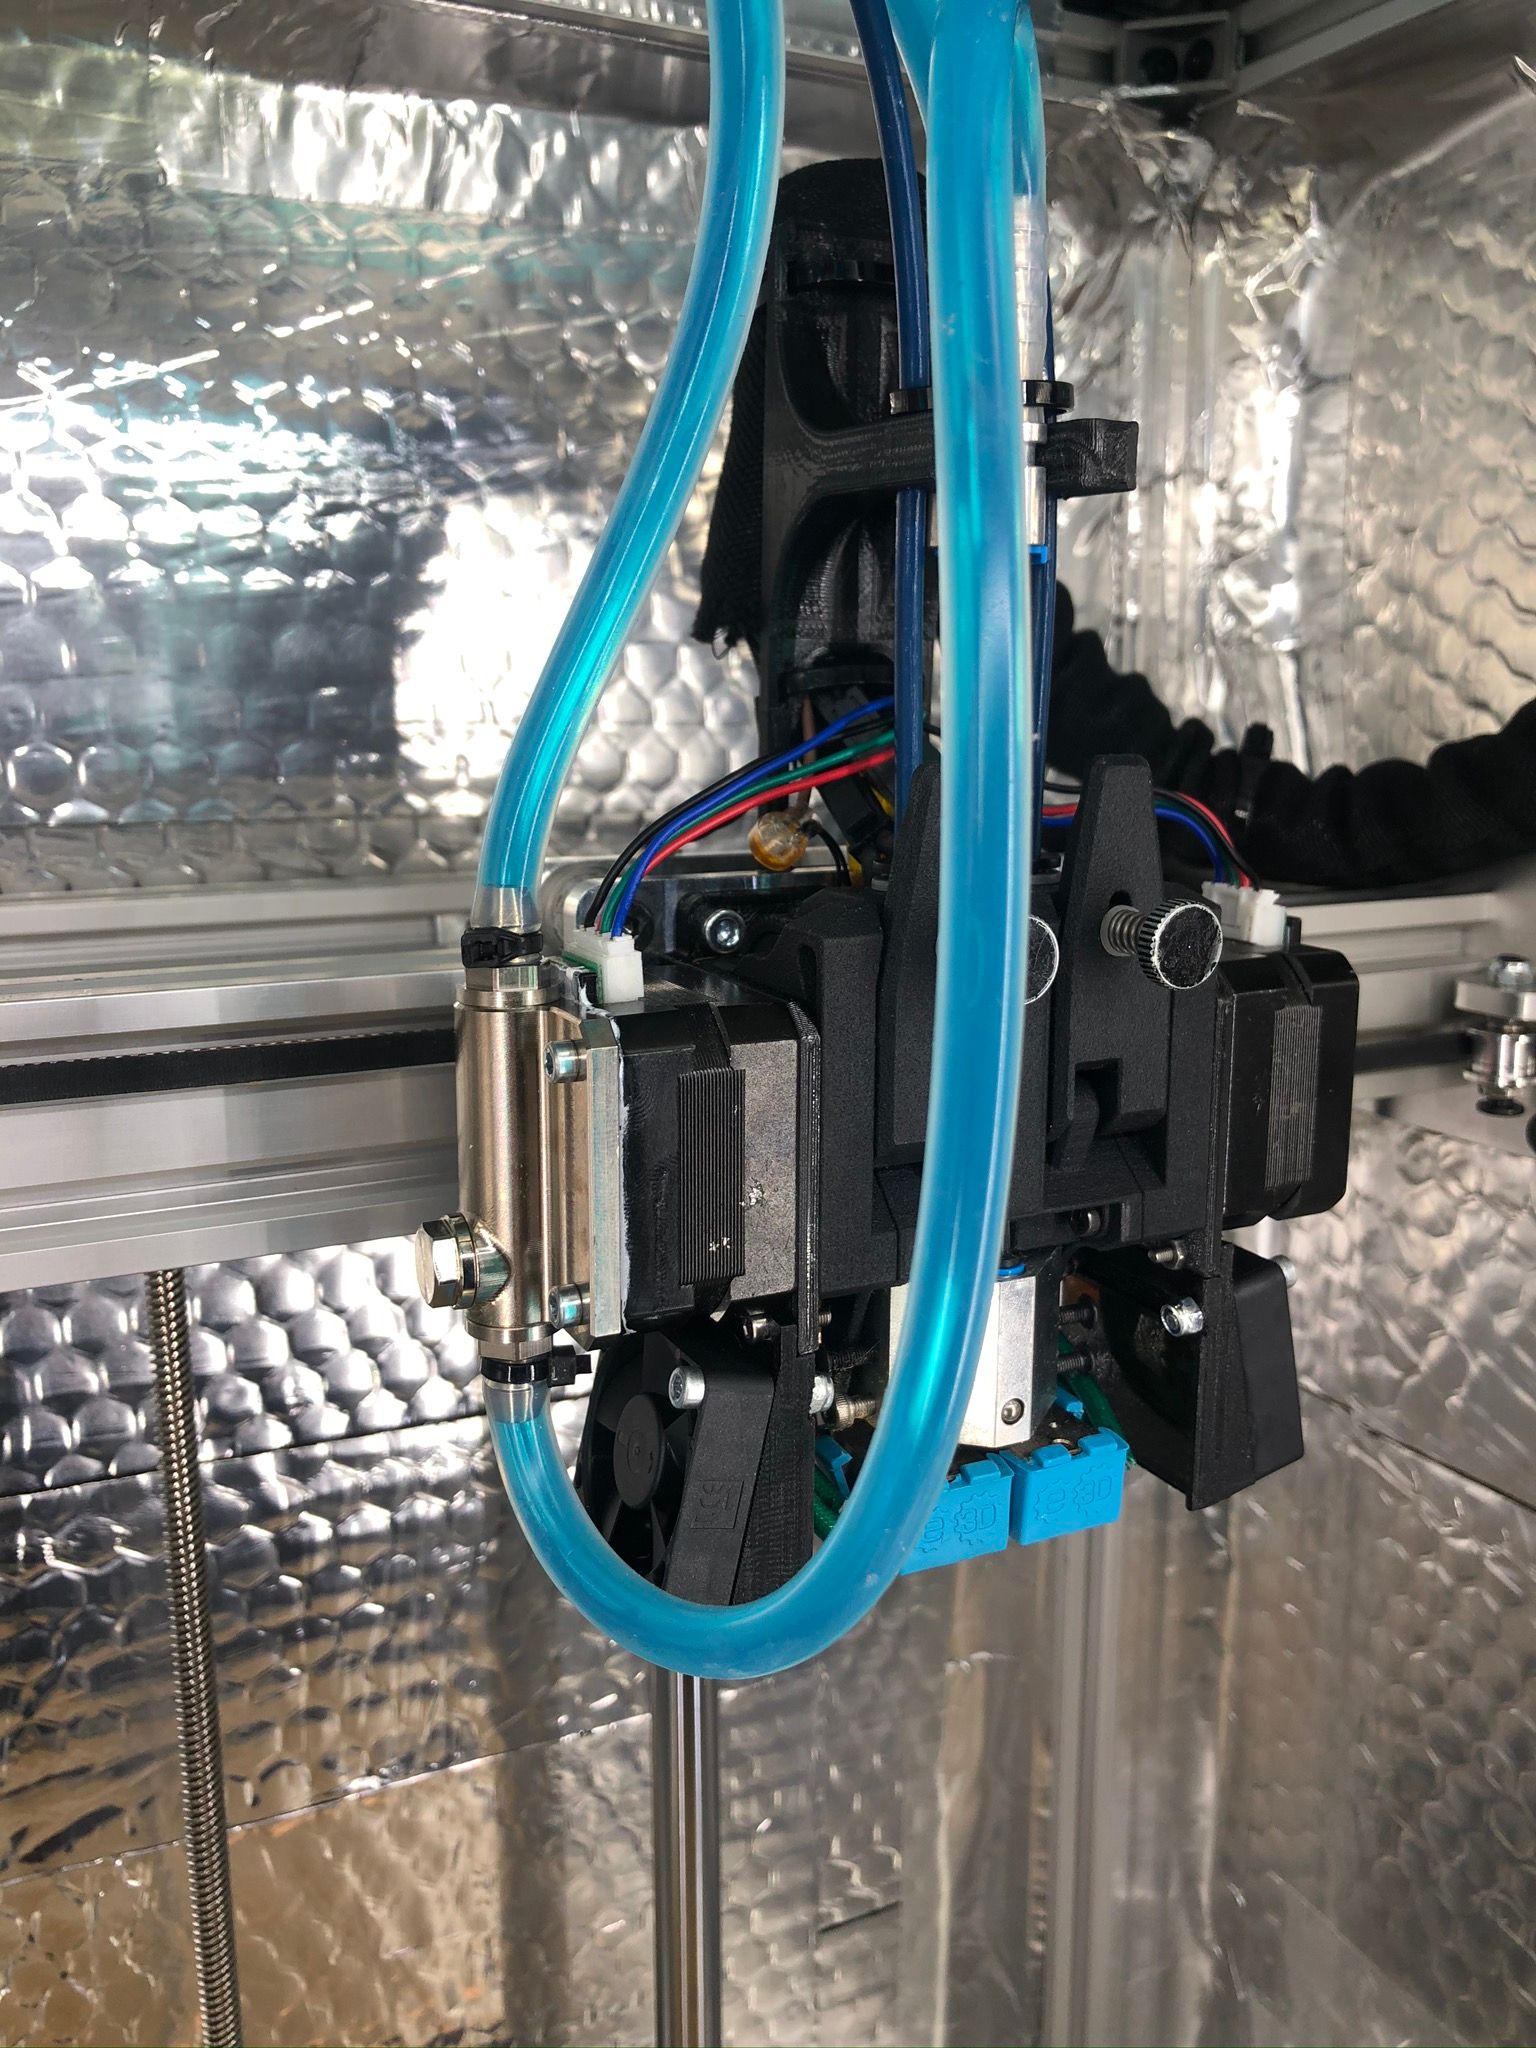
Water cooling for the extruder stepper, I couldn't touch it being printing nylon with 65 degrees chamber. So decide it would a good idea to link water to the stepper too, glad the connection was all there already for the hotend. I used the Dezy Design water block, seems working good and the motor casing in the same chamber now is barely warm.
And finally, I got a door, no more cardboard covering! Its a very simple one, just a 3mm steel frame and 5 mm polycarbonate sheet attached to it through heat resistant double side tape. The door holds on the magnets, which are also on the same double-sided tape behind the aluminum casing. From the bottom, there is ABS printed support. The door handle just quickly designed and printed from nylon.
Now I can really focus on the way to the heat chamber...
Cheers!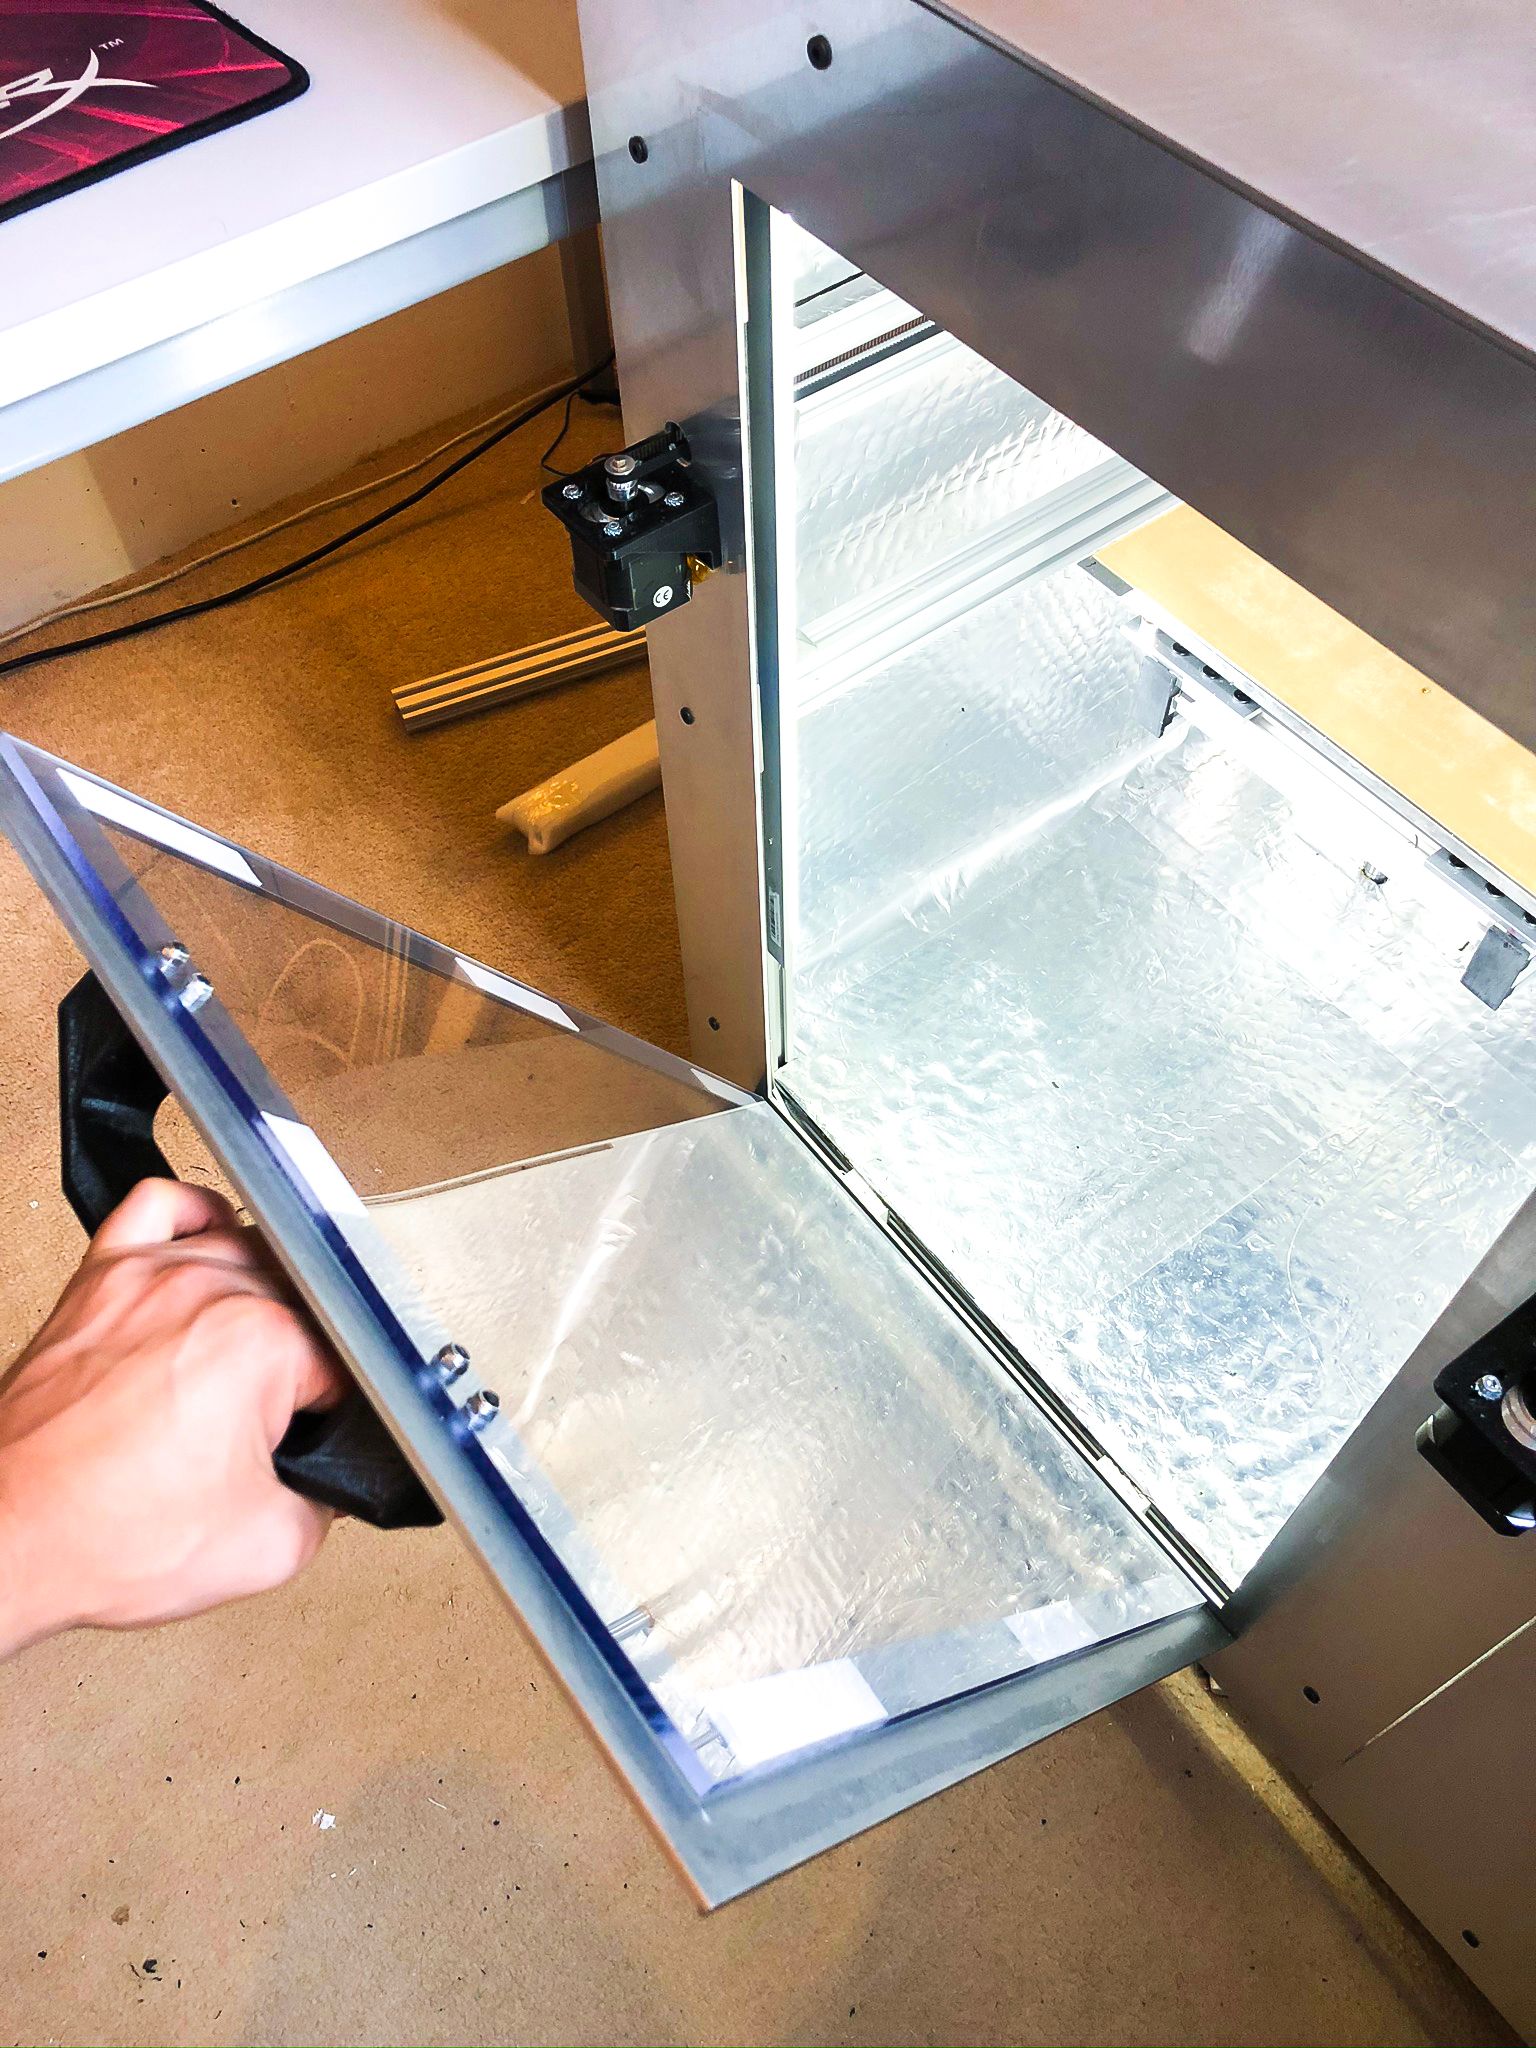
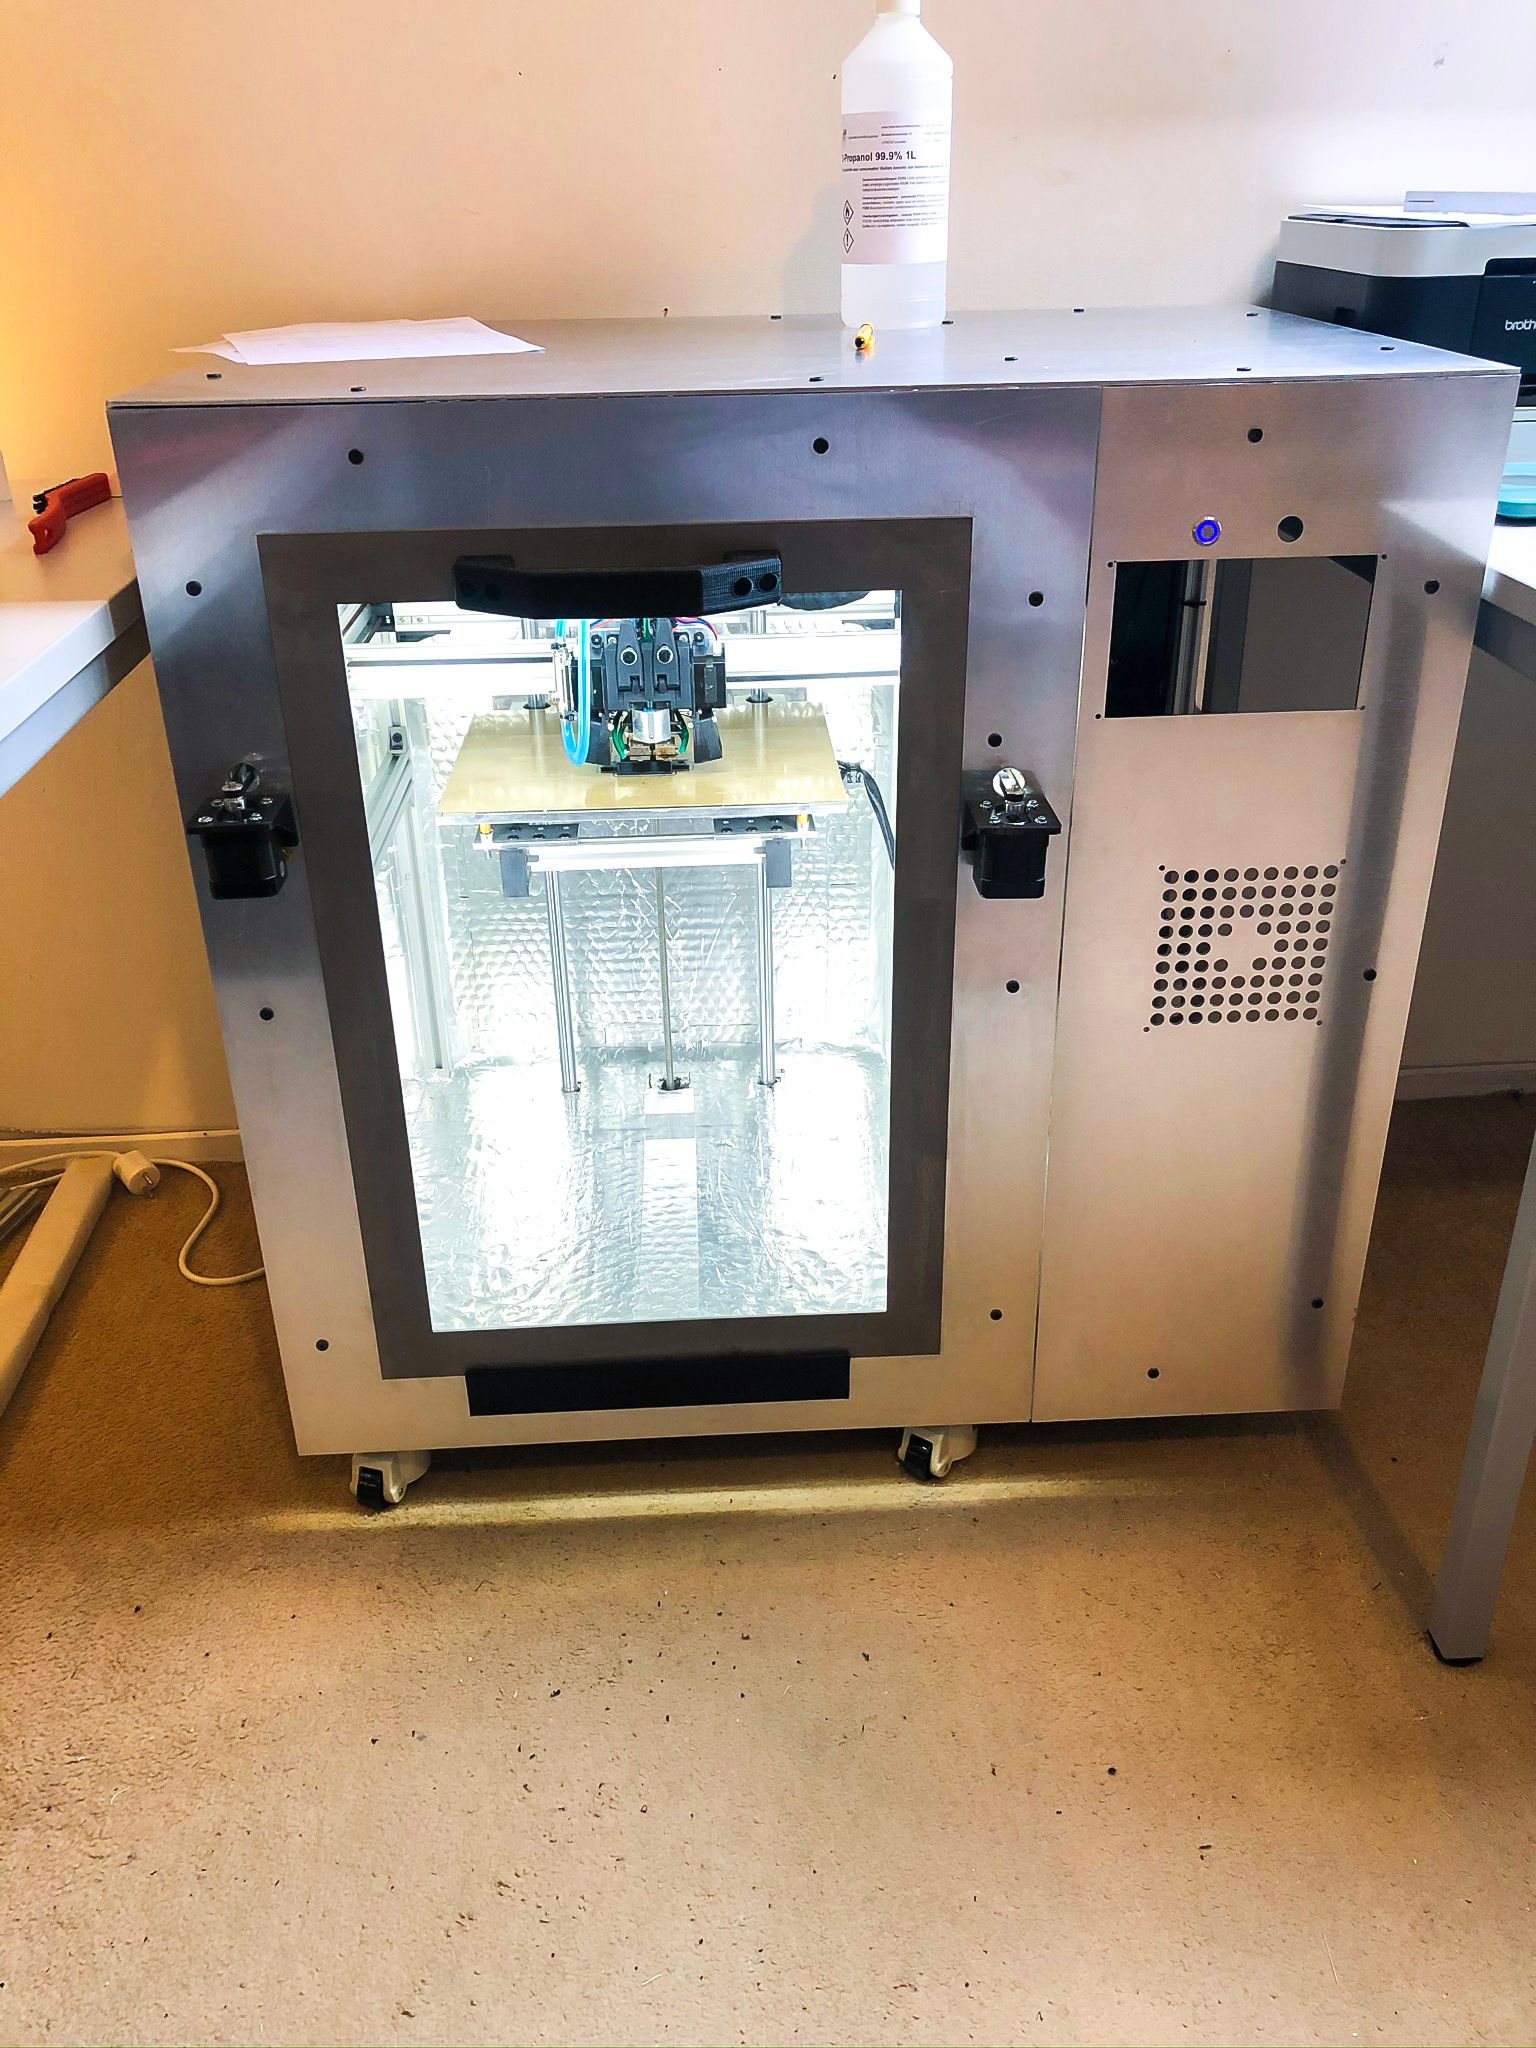

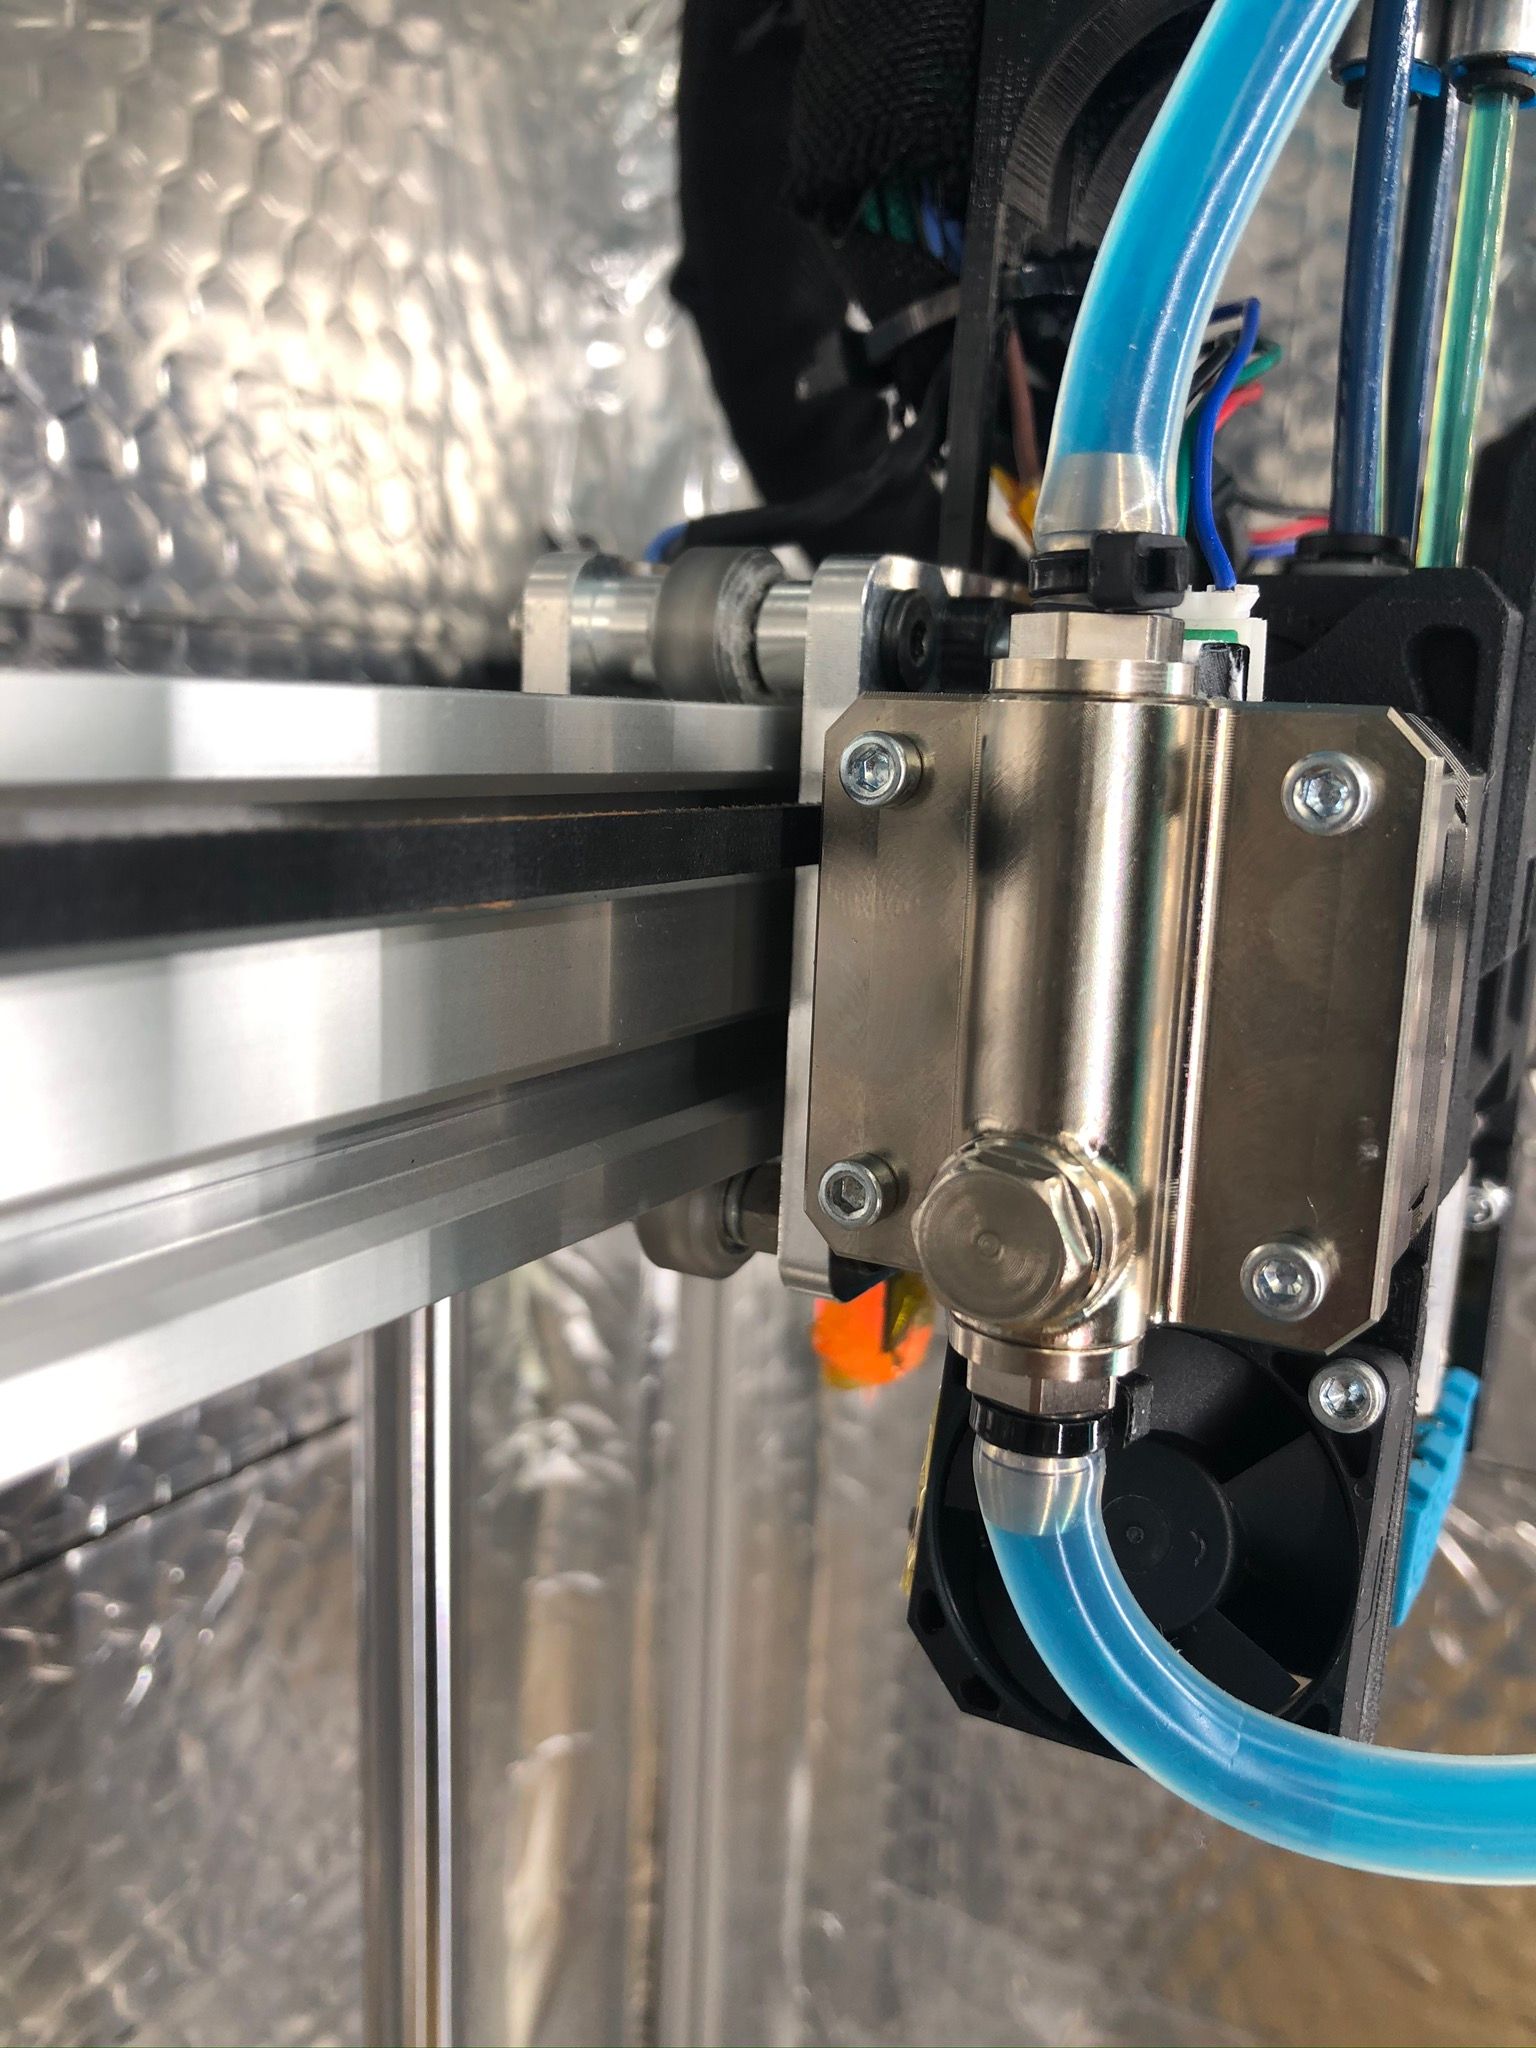
 heers
heers -
..looks s(l)ick, clearly not messing about!

-
@bearer haha thank you!
-
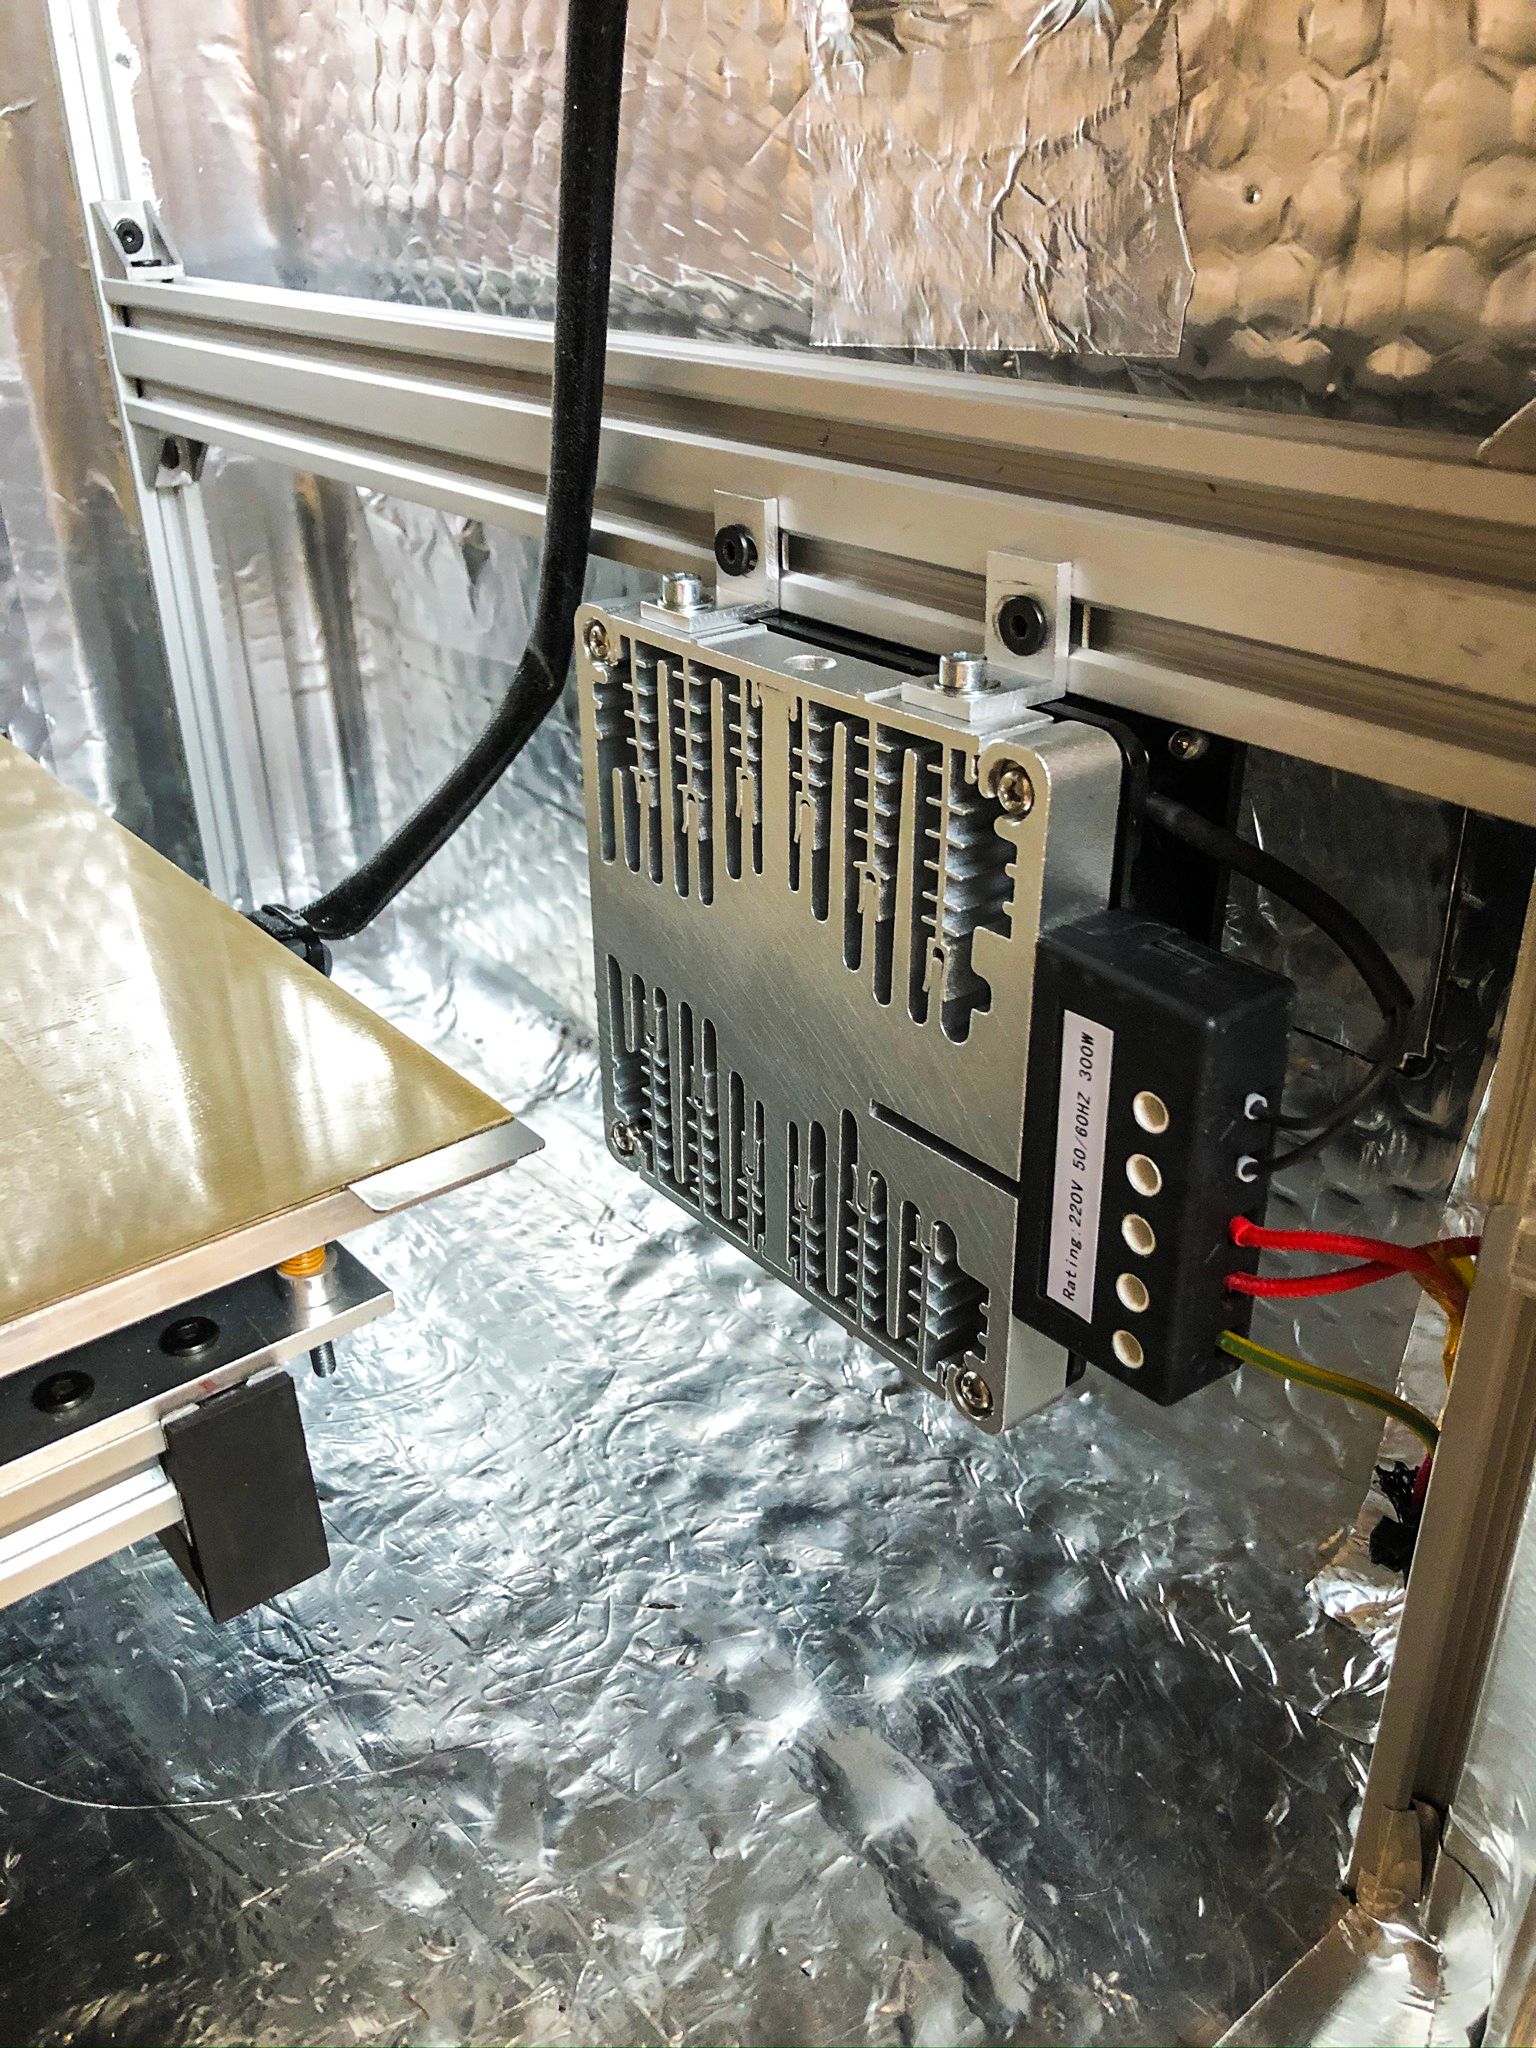
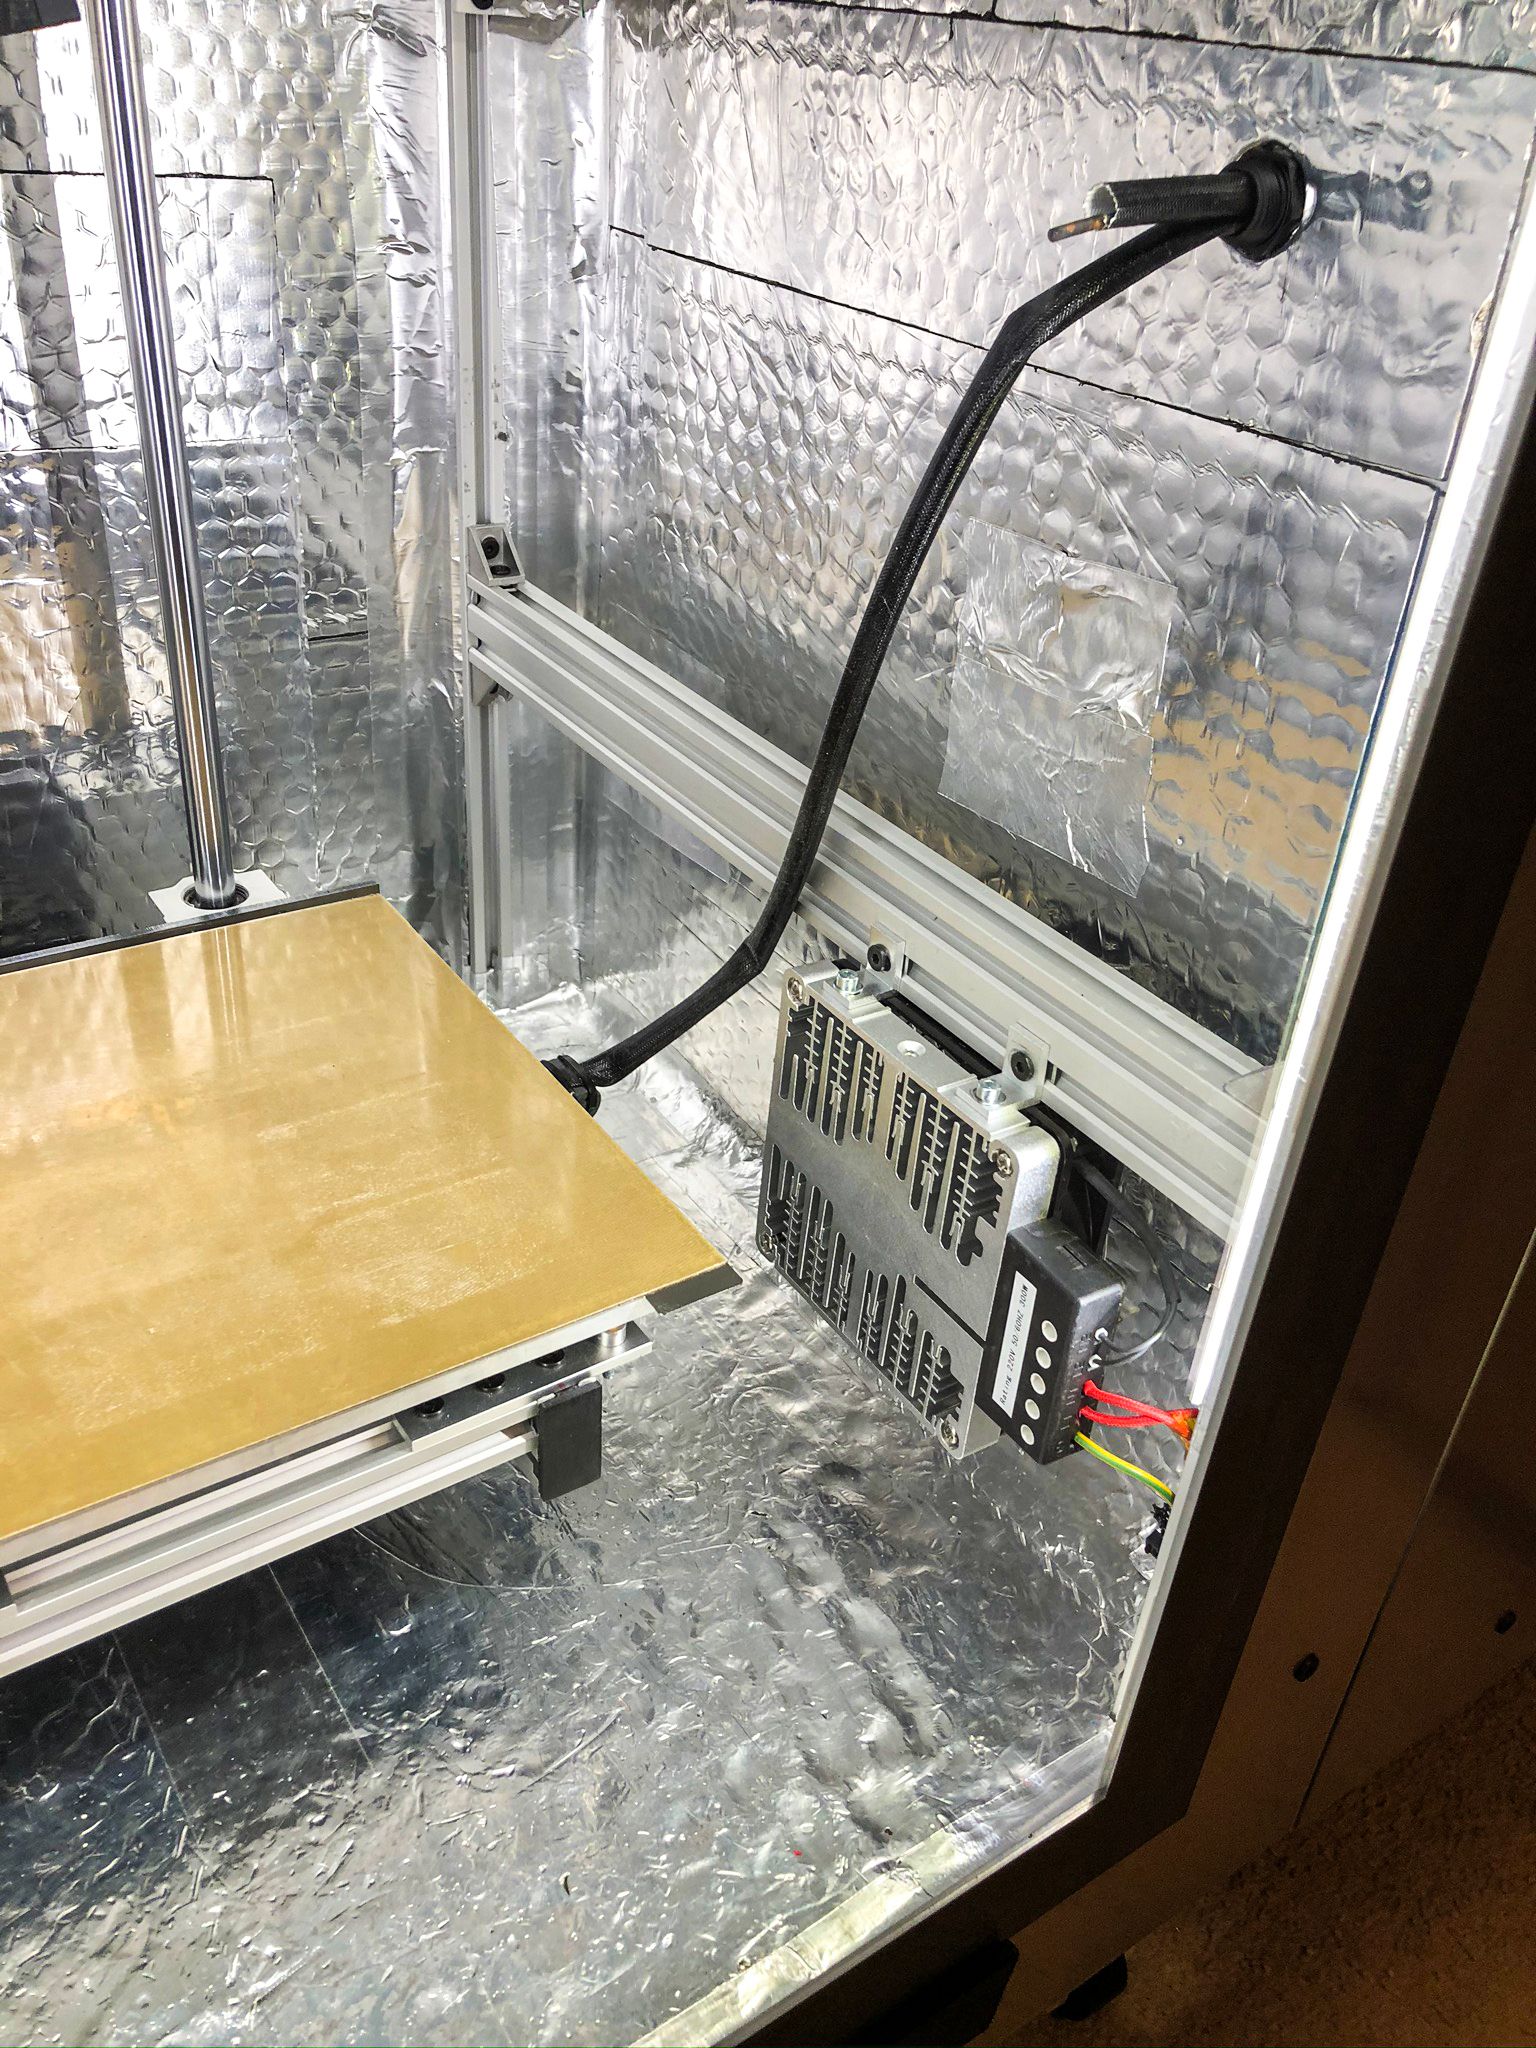
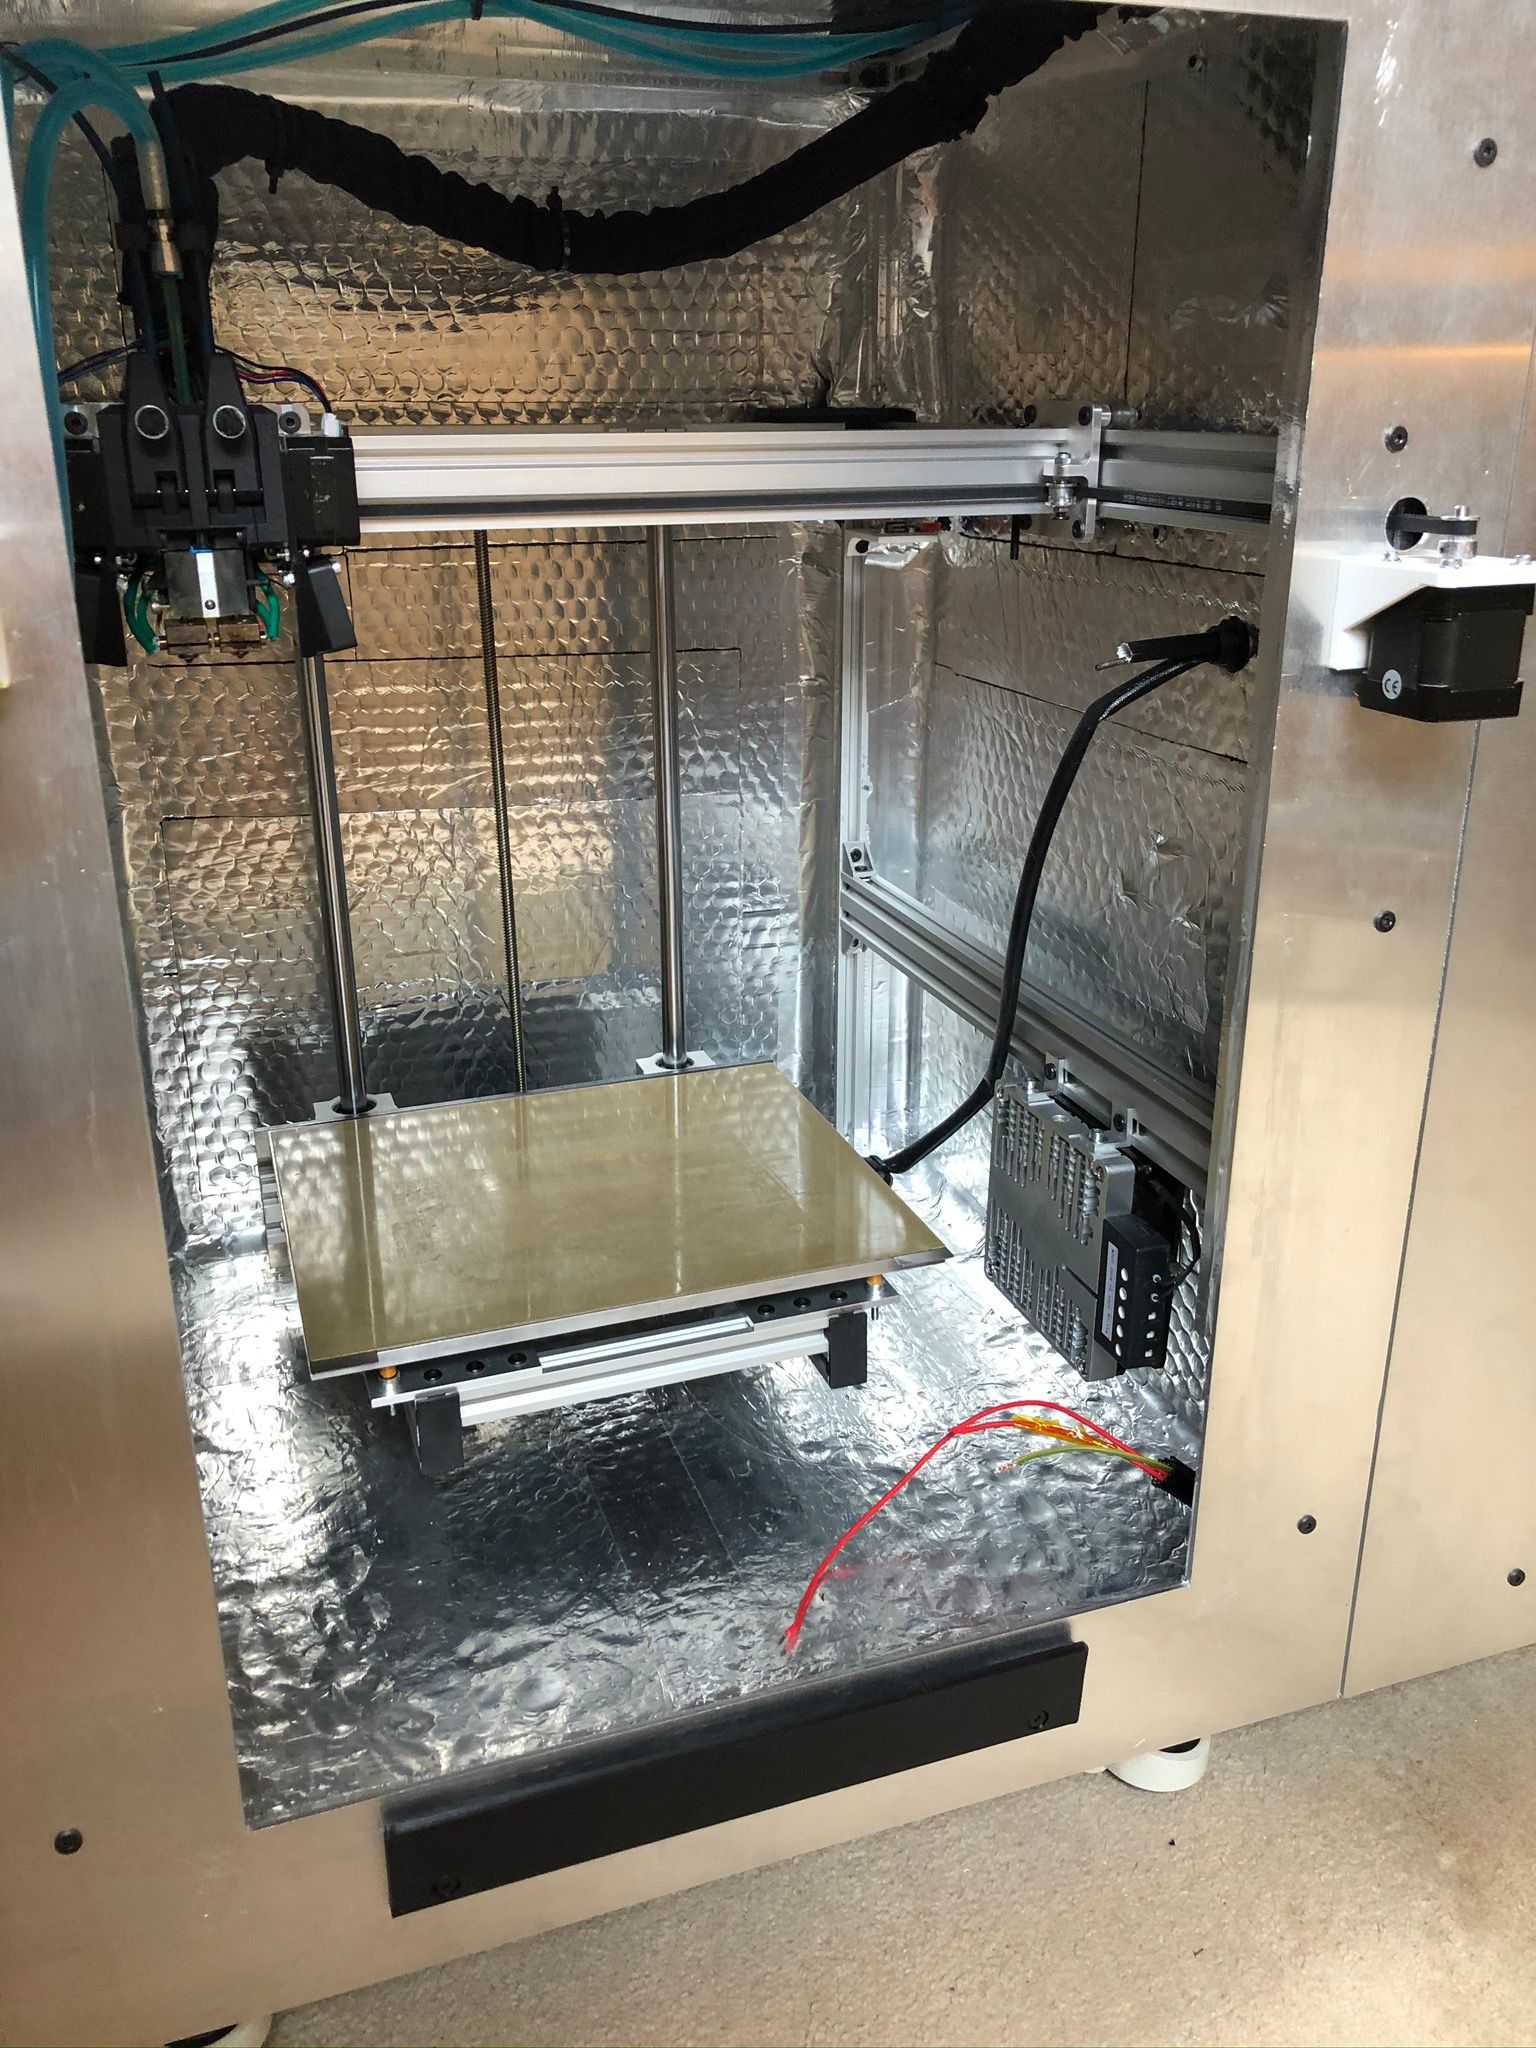
Okay, there I have a couple of new updates. I`ve been working on a heated chamber solution and found this one - https://szxinruite.en.made-in-china.com/product/vykEjoYlrwhx/China-Rhw-032-Industrial-PTC-Fan-Heater-for-Electric-Cabinet-with-UL-Thermostat-Heater-Temperature-Control-Heater.html
I did order 300W version, and it gives me a 55C evenly distributed heat chamber in 15 minutes also with enabled heated bed set to 75 degrees for printing ABS, which gives me zero warp with abs and no distorted first couple of 5mm due to set low bed temperature.
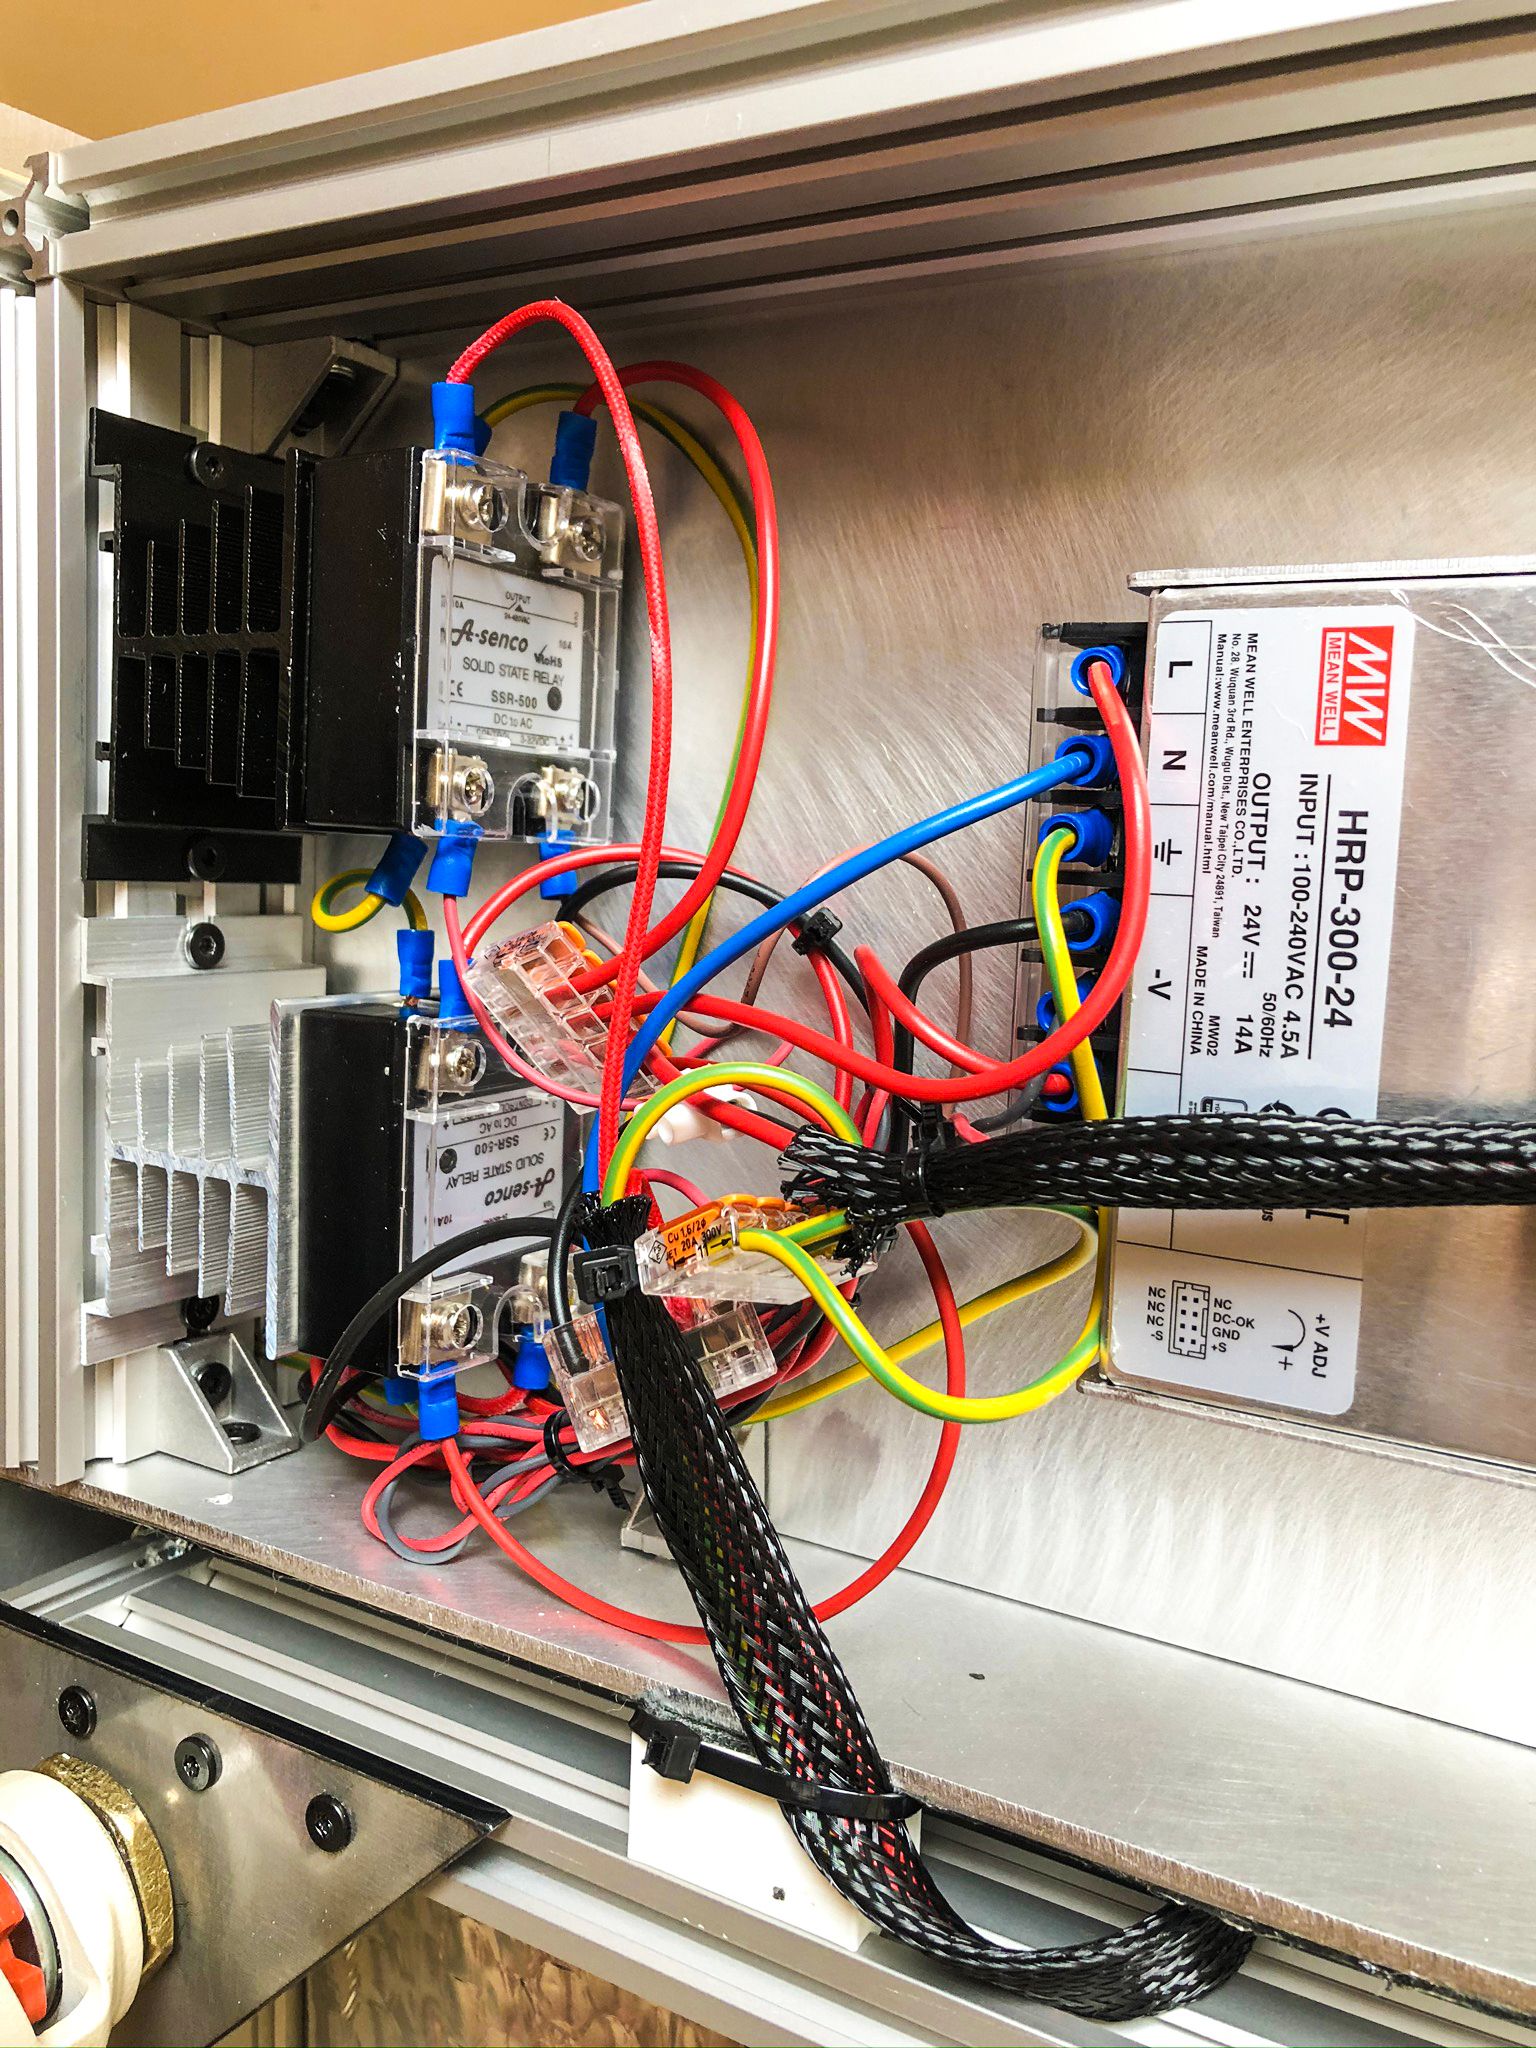
However as my plan was to get to 70C, I am thinking to order another same heater but rated to 600W or 800W and install it on the opposite wall and maybe on a bit different height. And hopefully, it will give me a reasonable speed till 70C.The nice feature of this heater is what it has integrated Temperature safety cut-out if the fan will die. The fan and fan casing made completely from steel.
And a small esthetic addition to Z-axis, please see pictures! And I need to tide up the wiring here

Till next time!