@alankilian
I changed two elements to make it right. and then I did what you say to finish that part of the printer.
change
M574 Y VALUE
and i moved the cable from X to motor Y
thanks for the help.
@alankilian
I changed two elements to make it right. and then I did what you say to finish that part of the printer.
change
M574 Y VALUE
and i moved the cable from X to motor Y
thanks for the help.
@alankilian i did it on 2020 with an old firmware..2.something.
and i upgrade to 3.
; homex.g
; called to home the X axis
;
; generated by RepRapFirmware Configuration Tool v3.1.3 on Sat Jul 04 2020 19:19:39 GMT-0300 (Argentina Standard Time)
G91 ; relative positioning
G1 H2 Z5 F6000 ; lift Z relative to current position
G1 H1 X-348 F1800 ; move quickly to X axis endstop and stop there (first pass)
G1 X5 F6000 ; go back a few mm
G1 H1 X-348 F1800 ; move slowly to X axis endstop once more (second pass)
G1 H2 Z-5 F6000 ; lower Z again
G90 ; absolute positioning
; homey.g
; called to home the Y axis
;
; generated by RepRapFirmware Configuration Tool v3.1.3 on Sat Jul 04 2020 19:19:39 GMT-0300 (Argentina Standard Time)
G91 ; relative positioning
G1 H2 Z5 F6000 ; lift Z relative to current position
G1 H1 Y326 F1800 ; move quickly to Y axis endstop and stop there (first pass)
G1 Y-5 F6000 ; go back a few mm
G1 H1 Y326 F360 ; move slowly to Y axis endstop once more (second pass)
G1 H2 Z-5 F6000 ; lower Z again
G90 ; absolute positioning
; homeall.g
; called to home all axes
;
; generated by RepRapFirmware Configuration Tool v3.1.3 on Sat Jul 04 2020 19:19:39 GMT-0300 (Argentina Standard Time)
G91 ; relative positioning
G1 H2 Z5 F6000 ; lift Z relative to current position
G1 H1 X-348 Y326 F1800 ; move quickly to X or Y endstop and stop there (first pass)
G1 H1 X-348 ; home X axis
G1 H1 Y326 ; home Y axis
G1 X5 Y-5 F6000 ; go back a few mm
G1 H1 X-348 F360 ; move slowly to X axis endstop once more (second pass)
G1 H1 Y326 ; then move slowly to Y axis endstop
G90 ; absolute positioning
G1 X150 Y150 F6000 ; Probe Z on the center of the bed
G30 ; home Z by probing the bed
G29 S1
; Uncomment the following lines to lift Z after probing
;G91 ; relative positioning
;G1 Z5 F100 ; lift Z relative to current position
;G90 ; absolute positioning
I add my config.g file _config.g
@alankilian I do the section 9.. and the movement its ok.
G1 H2 Y10 goes backward to the back
G1 H2 Y-10 goes foward to the front
But, when i push on the dashboard HOME Y - Y+10 > its come forward to the front.
Any idea ?
@alankilian Where can i find that ?
Thanks Alan.
hi.. having trouble with Y axis.
DUET 2 WIFI
in my config.g i have this
M569 P0 S1
M569 P1 S1
When i do HOME X
X => GOES TO THE LEFT in negative value (x=0)
When i do HOME Y
Y => GOES TO THE FRONT in positive value (y=300)
.. So..
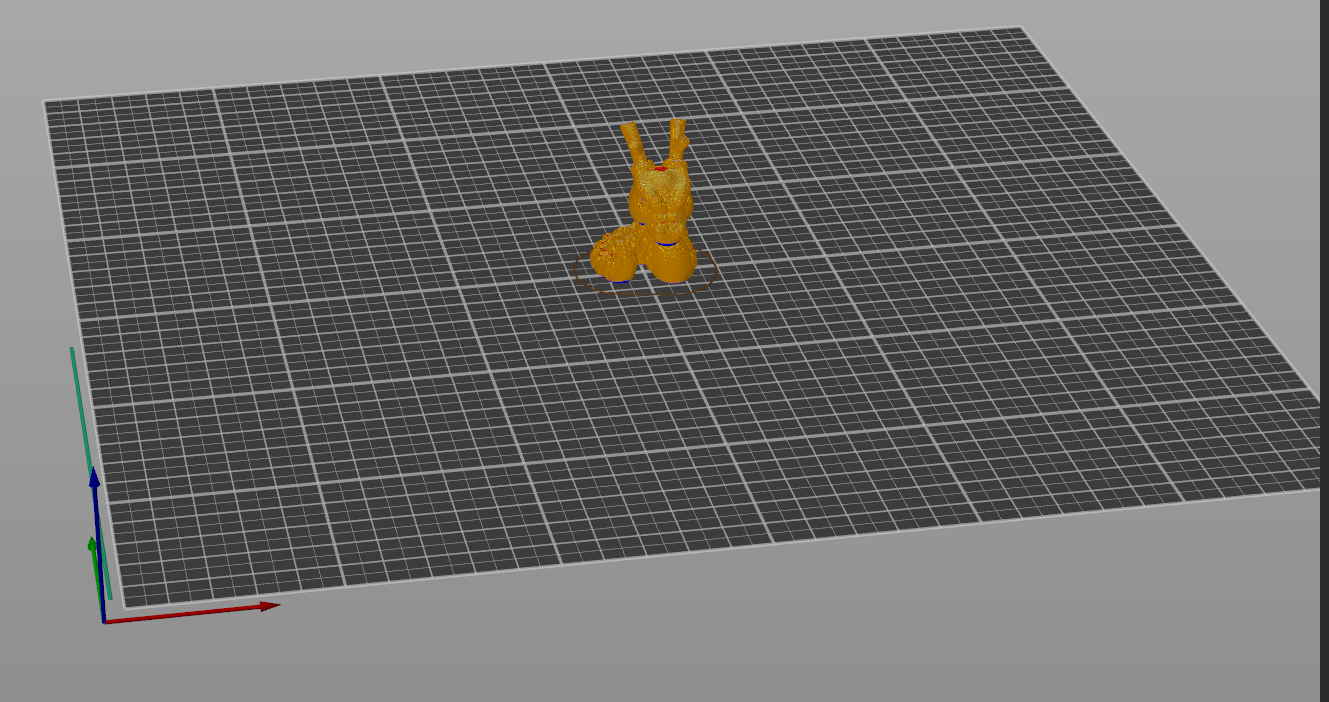
When i print something
i have it fine on the slicer, but on the print i have like a mirror 
For example, The cali dragon i have it fine on the slicer (face looking to the front and purge at the left\front)
when i finish printing it the face are lookig the back and the purge is in the left\back.
Thanks.
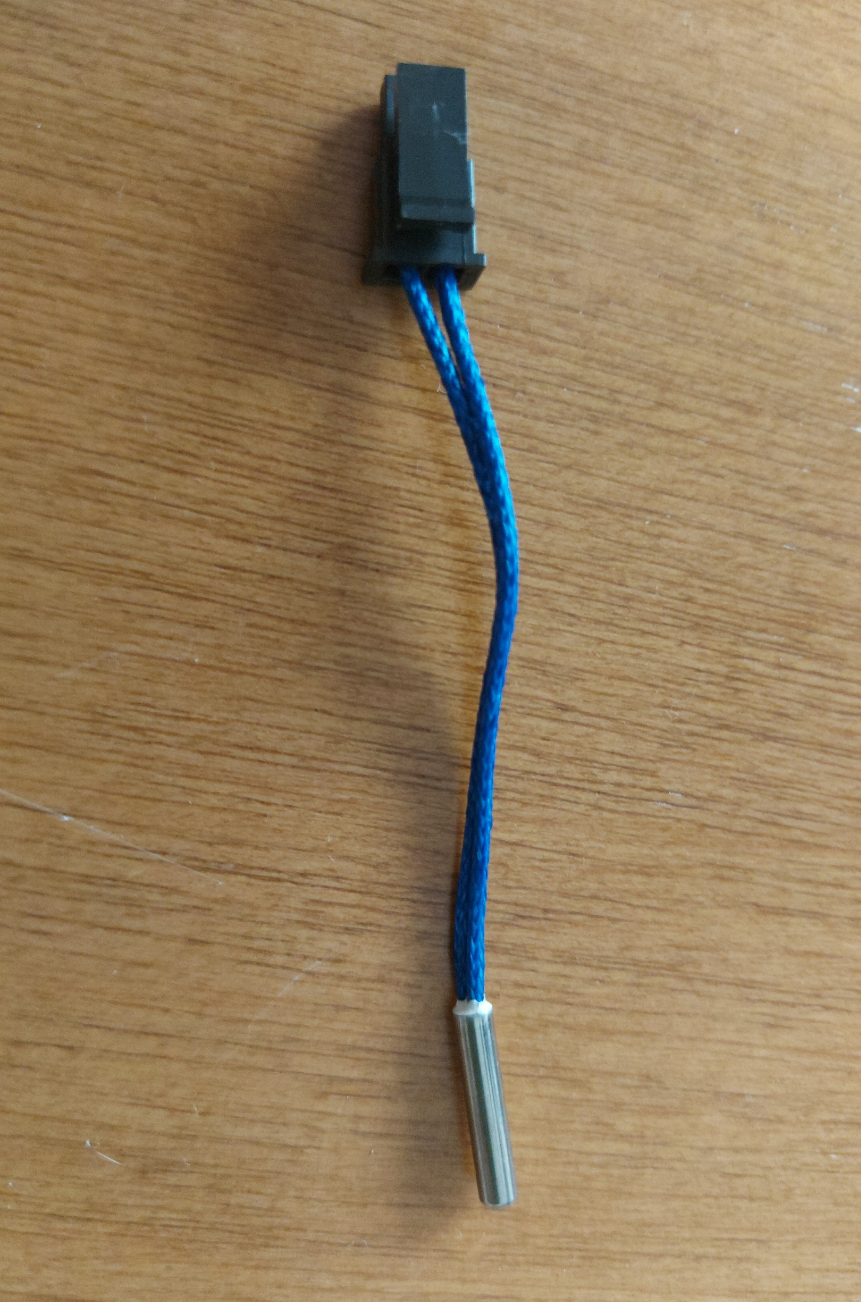
Changed crimp, terminals, wiring with the same thermistator..
Now, i changed thermistor with the same wiring/terminals and works fine.. So it was the thermistor.
The thermistor its new.. i open the box three days ago.. Very weird..
@Phaedrux Thanks for the help.

I will try changing the thermistor for a new one ! Thanks for the help and your time !! I keep you updated
@deckingman Could any other wire be making noise? because the thermistor is new, and the wiring its from stock on this moment.
I did it.. and i get same result.

bad crimp ? bad cable ?
im using cat5e and terminals crimped
i will upload photos


Could be possible about power supply not working well ?
Today i try to print cube from https://duet3d.dozuki.com/Guide/Ender+3+Pro+and+Duet+Maestro+Guide+Part+4:+Calibration/40#s179
and i get this error message

really need help 
I recorded the moment..
I keep getting a warning ...
do i need to heat the bed before send M303 T0 S190 ?
and when finished do i need to send M307 ?
Hi guys..
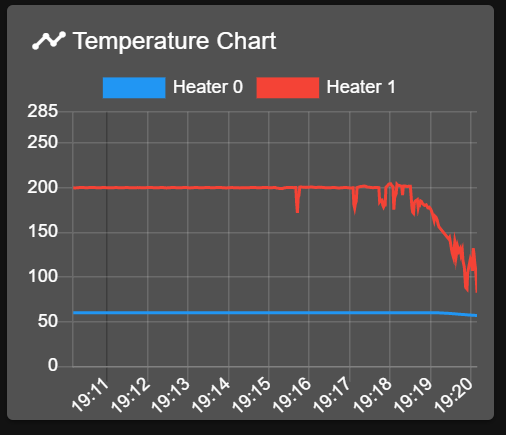
Trying to do PID TUNING of my e3d v6 with E3D cartridge type Semitec 104Gt and standard cartridge with my DUET 2 WIFI.
But the result of the pid is this =
Warning: heater behaviour was not consistent during tuning
Auto tuning heater 1 completed after 3 idle and 25 tuning cycles in 1251 seconds. This heater needs the following M307 command:
M307 H1 R1.897 C235.5 D6.73 S1.00 V12.1
Edit the M307 H1 command in config.g to match this. Omit the V parameter if the heater is not powered from VIN.
Some idea ?
Hello everyone, first of all. Thanks for all the help and for your time. The wiring is ok, I tested it and now I am using another duet 2 wifi. I bought two at that time. And now everything seems to be going well. I didn't need to change a cable or something ... So I think the board was not right at first.
Now I want to fix it, but I need to ask you if all mosfet fans use PMV40UN2. I will change all three at once.
Thanks again!
On the current functional board (the good one) I have all the motors working fine, the mini infrared sensor too. I just need to calibrate.
Is there a video explaining how to do it (bed / motors / heaters / sensor ==> calibration)?