@lael hey sorry for the late reply. the forum didn't notify your reply.
They are FYSETC S6 V2.0 today I would probably get a Spider.
@zapta OHMYGOD I need it!
@lael hey sorry for the late reply. the forum didn't notify your reply.
They are FYSETC S6 V2.0 today I would probably get a Spider.
@zapta OHMYGOD I need it!
@jens55 there's no such thing as "fast enough" in 3d printing 
@chriss it seems it is banging the head twice against the frame... I'd say you need to go a little slower....
@martin7404 said in I present to you my Agony:
I remember you from Peopoly forum with the moai battle
we don't talk about that....
@fma said in I present to you my Agony:
BTW, is this geometry more rigid than a CoreXY (all things equal)? With 2 carriages at 90° for the tool head
I find it to be better in every possible way. More precise, sturdier and stronger (let's not forget there are 4 motors for XY).
The downside is that 1) you need more components 2) everything needs to be perefectly square  so a little more time spent assembling it up.
If you need to put a lot of weight on the gantry you can use bigger backers for the rails, but of course you are adding weight.
@slimshader said in I present to you my Agony:
for the next one
it's funny because it's true  I'm already thinking of building a very small one...
Its name is Agony, it took one year of my life but it's finally working as I'd hoped.
This is it, there are many like it, but this is mine.
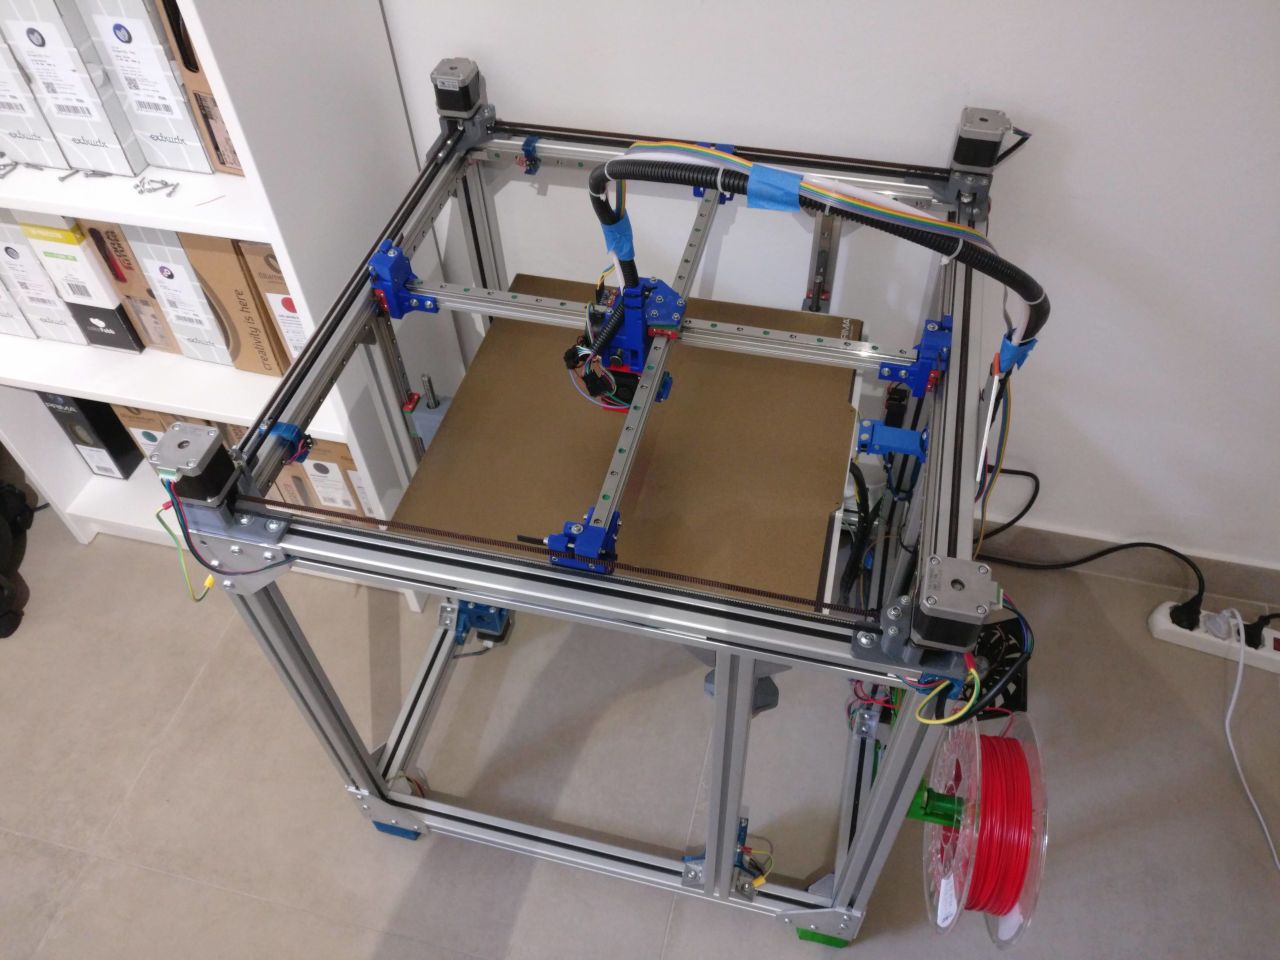
Still beta of course, need better cable management.
It's a relatively large printer. 610x610x610 frame. about 400x400 print area. That was the main challenge. I find that anything larger than about 300x300 becomes exponentially more difficult to build.
Anyway it can happily print at 200mm/s without too much distortion. The following are printed at 150mm/s external perimeter, with a 0.5mm nozzle (my new favorite nozzle size).
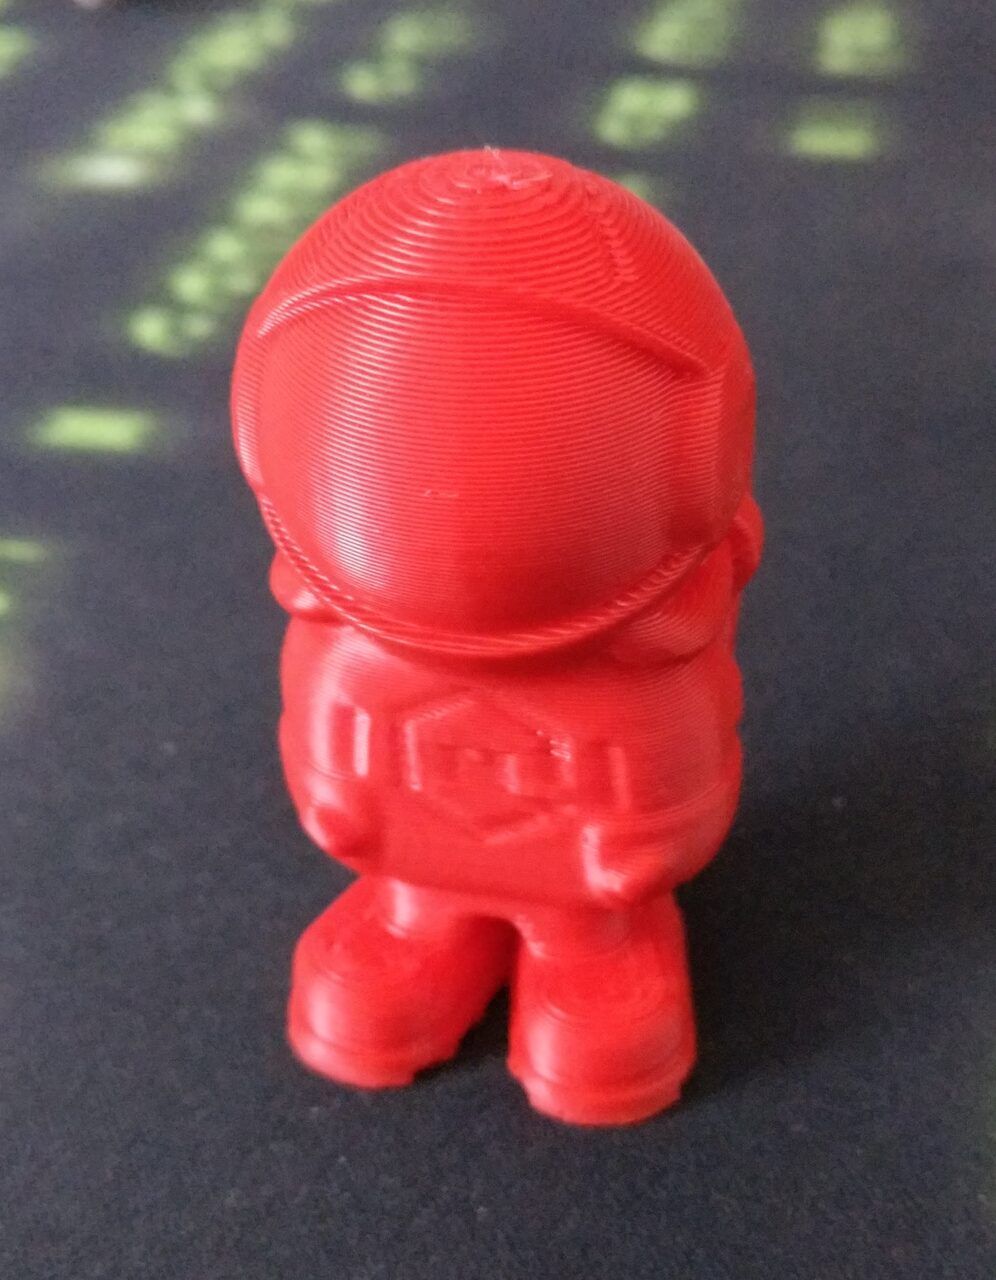
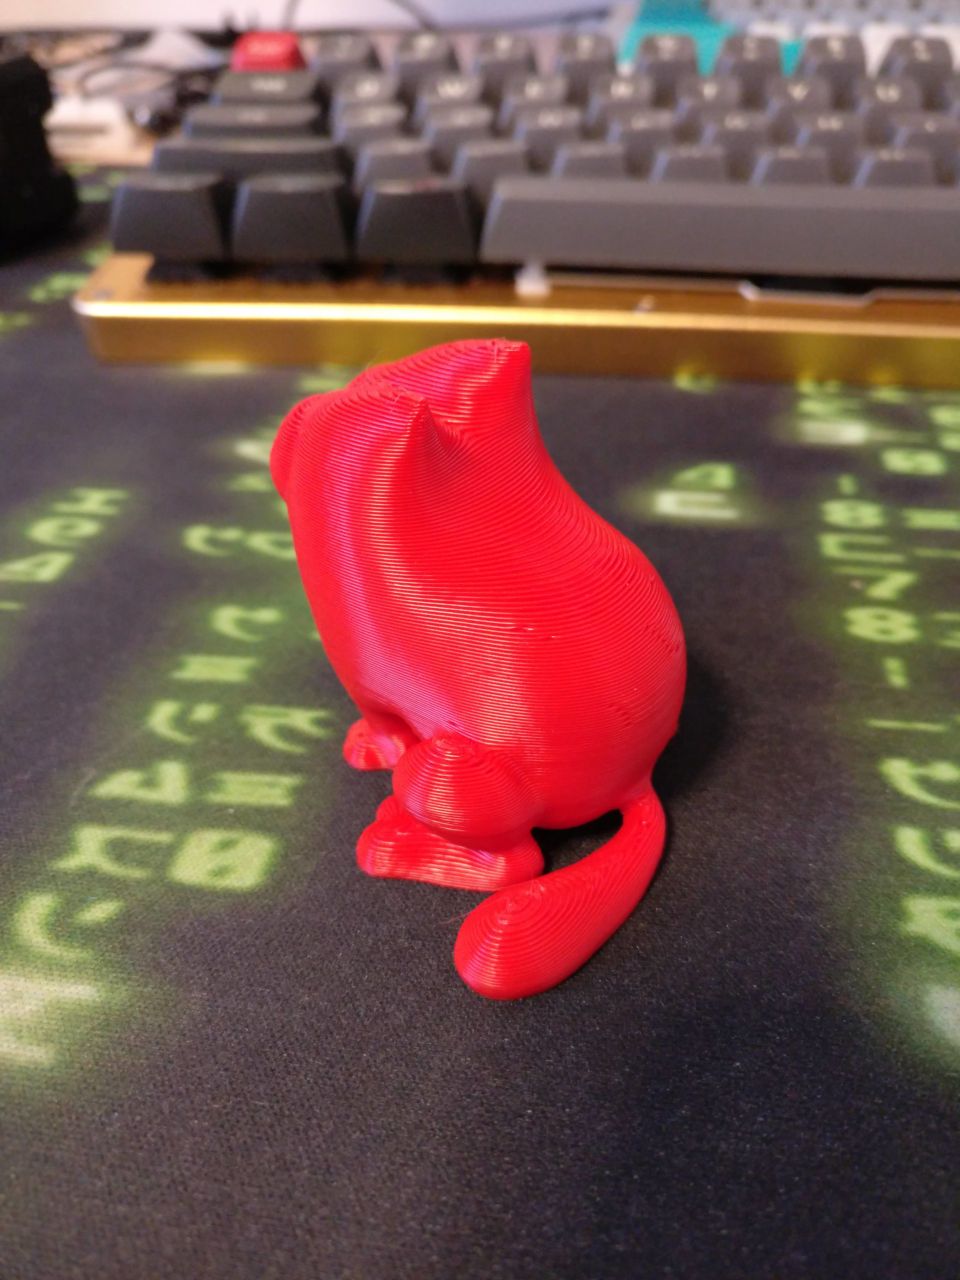
It started because I couldn't find a printer with decent print area and reasonable speed. I also wanted to keep it super simple with few easy to print pieces and easy to source off-the-shelf hardware.
All extrusions are 550mm, all rails are 500mm, you don't need special tools to cut/drill/tap, everything can be easily sourced.
If I had to start over today I would probably build an Annex K2... but it is what it is and learned a lot in the process.
Agony was originally a CoreXY (named Corezilla), but I couldn't solve some resonance issues I had and that generated heavy vibrations at certain speeds. So I converted to a cross-rail cartesian. I then found out that the resonance was due to the belt tensioner design, but it was too late but I'm happy I moved to a cartesian system anyway.
Another issue I had was with z-banding. Apparently it's impossible to get decent leadscrews (or ballscrews) and anyway it's incredibly hard to align 3 of them. The revelation arrived when I saw somewhere a sort of magnetic cushion to be placed on the Z-carriages.
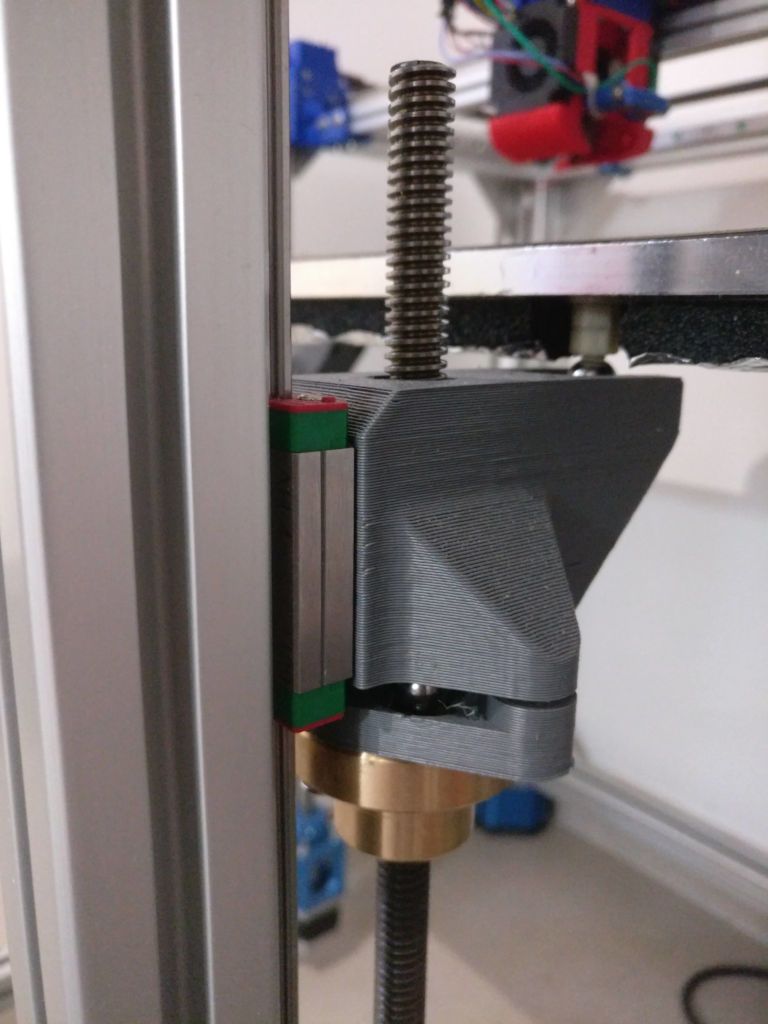
Basically the leadscrew wobbliness is not transmitted to the carriage and now the Z is just perfect.
Finding the right motors was another adventure. Long story short: 0.9° on the XY and 1.8° on the Z. I tried quite a few motors from steppersonline and LDO but ultimately the best I've found are the Moons MS17HA6P4200.
One suggestion, if you need a big print area but you don't need a lot of height, just make the printer as short as possible. That helps a lot with stability. If I had to redo it, I'd probably limit it to like 250 on the Z.
Lastly the gantries.
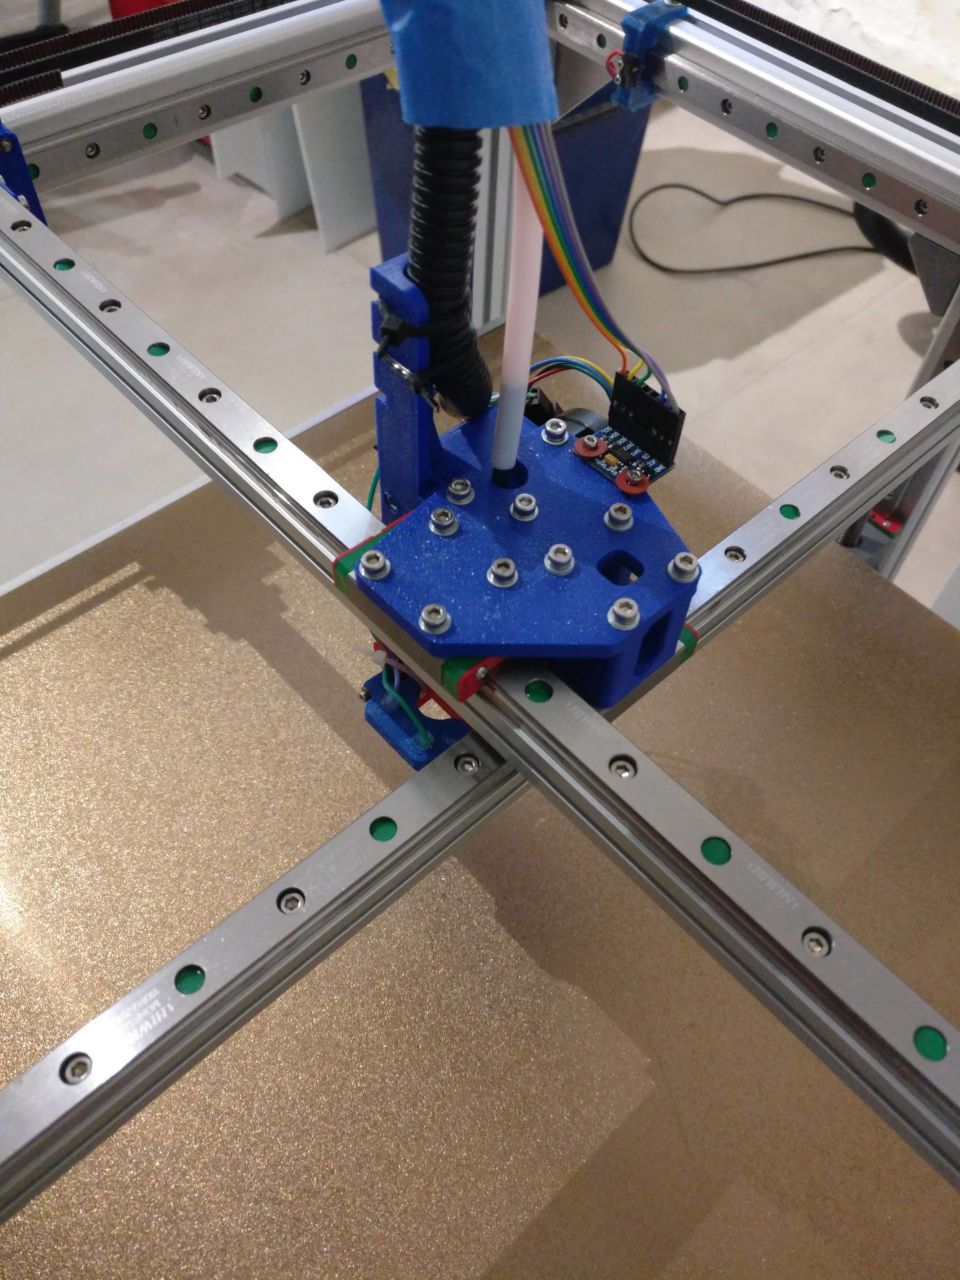
I tried with the bare rail and with a 15x15 backer. While the bare-rail solution is better in many ways, at the end I had to use supports for the rails. That was a game changer in terms of stability. I was using the rails vertically and at high speed they tend to "flap" at sudden moves change. So I put them on 15x15 extrusions and placed them flat.
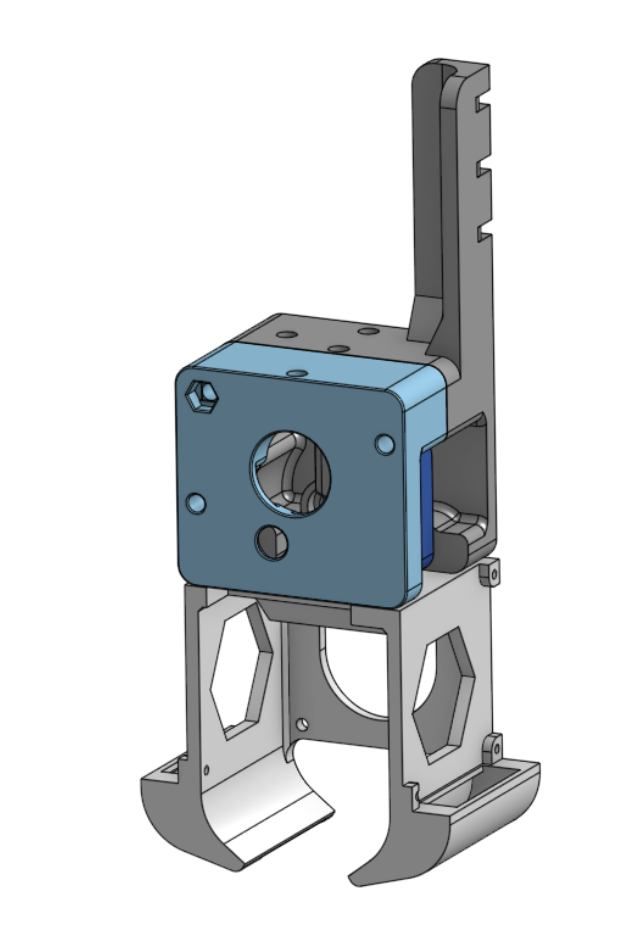
It's basically a custom extruder based on the now famous small LDO NEMA14 and the guts of a bondtech extruder. The hotend is an original Mosquito (the standard one) and from my initial tests everything's fine up to 200mm/s, over that I start getting extrusion problems on acceleration... but haven't tested it carefully yet.
Despite being so small the 45mm Delta blowers push a lot of air, so at the moment I'm happy with them but I might switch to bigger fans if speed requires it.
Now the hard part.
I wanted to use a Duet3 mainly because of the toolboard. I jumped in a little too early unfortunately and the experience was really painful. I was able to fix most of the issues but at the end I hit my head on a firmware bug that produced inconsistent extrusion. I understand that bug is now fixed (and a new toolboard is out), but it was the last straw so to speak so I removed everything and redesigned the printer for the Duet2+Duex5 (that I already had on another printer) but this time I wiped RRF and put Klipper on it.
Now. I owe 90% of what I know about 3d printing to this forum and the help of the generous community and I do love the "everything is gcode" RRF philosophy... but Klipper really made my printer fly.
It was painful at the beginning and the community is much less supportive, you are mostly on your own, but the documentation is good. It's in a constant beta(alpha?)-stage but at the end it worked wonderfully and I feel that any problem I have is now caused 100% by me.
The Duet is a wonderful piece of hardware, something that most of the chinese boards can only dream of BUT my suggestion is: if you need a quick replacement for your printer totally get a duet2/3 with RRF; if you want something complex and custom... in my experience a fysetc board and Klipper is a better option. I hope you'll forgive my candor. I'll still be using the Duet boards I have for other projects but I guess to each its own.
I would never ever suggest anyone to build Agony, but if you want to look around, head to onshape and search "Agony" in the public projects. You'll find it, it's the only one... but be warned it's a very messy project.
Thanks, sorry for the long post.
@bot https://duet3d.dozuki.com/Wiki/Accelerometers
the accelerometer doesn't need to be fixed on the head, you can put it on only when calibrating (and every time you change something that can vary the machine kinetics)
@t3p3tony sorry if I am a little out of the loop but it's hard to stay up to date with all the changes... is the toolboard issue where the motor was missing steps fixed?
I think I got the heater naming....
exp.heater3 is an alias on !duex.e2heat (note the !). So to invert it you either use !exp.heater3 with an ! or duex.e2heat without it. At least this is my interpretation...
@Phaedrux okay, the behavior was too erratic, I took the time to re-wire everything. On both the duet and duex. What drove me off is that all heaters were shorted when this started happening.
I use CAT6 wires for all not power hungry connections. I realized that they are convenient but also not easy to peel and crimp. They are just one stiff strand of wire. When you peel or crimp they tend to weaken in one tiny spot and break. Everything seems fine at the beginning but they eventually fail if damaged.
Now I've been very careful when peeling and I loosened the crimping tool so it applies less force.
I believe that was the problem. Everything seems to be working now. BTW, it works without the ! in the heater name. That part is a bit confusing in the doc... well at least for a total noob like me.
Thanks everybody for the help... I hope this is fixed...
I'm lost, it's inverted so it should not have the " ! ", right?
@phaedrux sure thing
; --------------------------------------------------
; General preferences
; --------------------------------------------------

G90                                                       ; send absolute coordinates...
M83                                                       ; ...but relative extruder moves
M550 P"Agony"                                            ; set printer name

M552 S1                                                   ; enable network
M586 P0 S1                                                ; enable HTTP
M586 P1 S0                                                ; disable FTP
M586 P2 S0                                                ; disable Telnet


; --------------------------------------------------
; Drives
; --------------------------------------------------

M569 P2 S1                                                ; X1 (Z stepper)
M569 P1 S0                                                ; X2 (Y stepper)
M569 P0 S0                                                ; Y1 (X stepper)
M569 P3 S1                                                ; Y2 (E0 stepper)
M569 P4 S1                                                ; Z1 (E1 stepper)
M569 P5 S1                                                ; Z2 (E2 stepper DEX)
M569 P6 S1                                                ; Z3 (E3 stepper DEX)
M569 P7 S1                                                ; Extruder1 (E4 stepper DEX)

M584 X2:1 Y0:3 Z4:5:6 E7                                  ; set drive mapping

M906 X1300 Y1300 Z1300 E500 I40                           ; set motor currents (mA) and motor idle factor in per cent
M350 X16 Y16 Z16 E16 I1                                   ; configure microstepping with interpolation
M92 X160.00 Y160.00 Z1600.00 E698                         ; set steps per mm
M84 S30                                                   ; Set idle timeout

M566 X900.00 Y900.00 Z60.00 E120.00                       ; set maximum instantaneous speed changes (mm/min)
M203 X30000.00 Y30000.00 Z600.00 E7200.00                 ; set maximum speeds (mm/min)
M201 X6000.00 Y6000.00 Z20.00 E600.00                     ; set accelerations (mm/s^2)


; --------------------------------------------------
; Axis Limits
; --------------------------------------------------

M208 X0 Y0 Z0 S1                                          ; set axis minima
M208 X380 Y385 Z350 S0                                    ; set axis maxima

; Leadscrews position
M671 X368.5:-21.5:173.5 Y341.85:341.85:1.85 S20

; Endstops
M574 X2 S1 P"xstop"                                       ; configure active-high endstop for high end on X via pin xstop
M574 Y1 S1 P"ystop"                                       ; configure active-high endstop for low end on Y via pin ystop
M574 Z1 S2                                                ; configure Z-probe endstop for low end on Z

; Z-Probe
M558 P5 C"^zstop" H5 F120 T6000 A3                        ; set Z probe type to switch and the dive height + speeds
G31 P500 X-5.85 Y33 Z3.85                                 ; set Z probe trigger value, offset and trigger height
M557 X20:370 Y20:370 S50                                  ; define mesh grid


; --------------------------------------------------
; Heaters
; --------------------------------------------------

M308 S0 P"bedtemp" Y"thermistor" T100000 B4138            ; configure sensor 0 as thermistor on pin bedtemp
M950 H0 C"bedheat" T0 Q10                                 ; create bed heater output on bedheat and map it to sensor 0
M307 H0 B0 R0.724 C695.9 D3.76 S0.80                      ; auto-tune
M140 H0                                                   ; map heated bed to heater 0
M143 H0 S120                                              ; set temperature limit for heater 0 to 120C
M308 S1 P"e4temp" Y"thermistor" T500000 B4723 C1.19622e-7 ; configure sensor 1 as thermistor on pin e0temp
M950 H1 C"e0heat" T1                                      ; create nozzle heater output on e0heat and map it to sensor 1
M307 H1 B0 R2.573 C190.5:106.0 D4.28 S1.00                ; auto-tune
M143 H1 S350                                              ; set temperature limit


; --------------------------------------------------
; Fans
; --------------------------------------------------

M950 F0 C"duex.fan3" Q500                                  ; create fan 0 on pin fan0 and set its frequency
M106 P0 S0 H-1                                            ; set fan 0 value. Thermostatic control is turned off
M950 F1 C"duex.fan4" Q500                                      ; create fan 1 on pin fan1 and set its frequency
M106 P1 S1 H1 T45                                         ; set fan 1 value. Thermostatic control is turned on


; --------------------------------------------------
; Tools
; --------------------------------------------------
M563 P0 S"Mosquito" D0 H1 F0                               ; define tool 0
G10 P0 X0 Y0 Z0                                           ; set tool 0 axis offsets
G10 P0 R0 S0                                              ; set initial tool 0 active and standby temperatures to 0C


; --------------------------------------------------
; Closing
; --------------------------------------------------
M593 F48 ; input shaper
T0                                             ; select tool
it's configured with the heater on the duet2, all I have to do to make it fail is to use any duex heater name like (duex.e2heat)
@jens55 thanks for your help anyway, really appreciated it. I'll do some more testing but I'm out of ideas
this is all very weird and erratic.
so first time it happened I checked the heaters with a multimeter and all of them were shorted (I just check resistance @jens55 ).
I tried to disconnect the ribbon cable as @Phaedrux suggested and everything's fine, of course the duet doesn't com with the duex but the heaters are all open (off).
I reconnected the ribbon (with printer off of course) and now the heaters are all open (off) except for the one that is configured that goes in full blast as soon as I give power. In fact the heater LED turns on right away.
If I set the heater to any one on the duet2 everything works as expected.
@phaedrux said in all duex heaters shorted...:
Is it all heaters or only the configured heater?
What happens when the ribbon is disconnected as well? If it's a heater mosfet that has failed closed circuit it would enable the heaters automatically.
If it's only your configured heater than perhaps the configuration is not correct. Perhaps the pin has been inverted so that it's on by default.
Please post your config.
I checked with a multimeter and all heaters are shorted (at the same time). I thought it was just the one configured because it's the only one that lights the LED. I tried all the heaters anyway and they all behave the same except the 2 on the duet
I'm pretty sure it's not the config because as soon as I set the heater to one on the duet2 (not the duex) everything works and the only thing that changes is the heater name. I'll try to disconnect the ribbon and also post the config just in case
@jens55 I disconnected everything except the ribbon and power.
any heater I configure goes full throttle as soon as I give power
@phaedrux said in all duex heaters shorted...:
If you disconnect everything from the Duex except VIN do the heaters still enable immediately?
damn! that was a good idea, unfortunately the heaters are still enabled (just to be clear, only the heater that is configured in the config is enabled... the LED turns on immediately)
@dessiverse try with a different cable then and maybe add ferrite beads
well let's see if someone can help find the problem, visually the 74HCT02 seems totally fine and the USB connection actually works... so could be something else. I'm located in Italy, btw
@jens55 thanks  but I don't think I have the equipment (or the skill) to desolder and solder that kind of SMD components. I can do a diode, resistor, capacitor, mosfet...
If it's really the 74HCT02 I don't think I can really make it