Advanced nozzle design
-
@adam-v3d said in Advanced nozzle design:
@plasticfactory Increased thermal mass will improve temperature stability over time, but i don' think there were problems with that on standard nozzles, certainly won't be any worse. Your CAD clearly differs quite a lot to the real thing at the tip as nozzles have wide flat ends which aids in keeping the tip warm.
the conductivity is not changing.
I think the main change in taking down the diameter of the flow sooner in the path so you have less distance to melt the filament before demanding it to change form. If you just install it straight into a normal v6 you might end up with issues. This is why volcano and super volcano exist, it just increases the surface area to volume ratio to get more energy to the filament per unit of time.
The advantage you do have is that in the thin area you have significantly changed the surface area to volume ratio. You'll be able to control the temperature better, and will have greater chance of getting consistent temperature right to the core of the filament, but you may be too late in the flow path for that to make a difference.
Laminar flow may well produce a better extrude from the nozzle, but the higher mixing of turbulent flow makes it better for heat transfer. I think nozzle flow is quite laminar already though, apart from where the filament contracts into the orifice.
one think I did read in a paper a while back was a suggestion that a large amount of heat transfer into the material actually occurs at the point where the orifice starts, the turbulent flow there and increased pressure cause it. I don't recall the full conclusion of the paper but the smooth change may not necessarily be better.I really appreciate this response. I agree it's not much of a problem currently, so I'm hoping that this will maintain things, if not negligibly improve them (clearly I'm overly optimistic in general, lol). To explain, the angle used for the tip on the model is clearly not what we are using for blanks. It needs to be updated. The angle, and thus landing area for the flat, is still up for experimentation. I imagine the next step if we see improvements with the extrudate will be to experiment with the tip area.
Again, thank you for the thorough response. It gives me a lot to think about, in particular pull testing. I think layer bonding strength testing will absolutely be required here as a preliminary.
@oliof I have actually used the Maxiwatt pretty extensively. I love the concept, but consistently had issues with it maintaining temperature (260-300*C) and eventually had to move on. It sounds like my unit may have been faulty -- do you think it would be worth trying another? What temperatures are you running with yours?
As an aside, and I may regret posting too much here, but you may find this interesting. It's a nozzle/heater block combo (and 3d printed!). It will use the same flow path as the nozzle above. Now, before anyone says a word I know this may be very impractical in practice. But, I want to see how it performs!

@jens55 I welcome any and all thoughts, fresh perspective helps tremendously! Everything you said are valid concerns -- it's simply not the same process, and we may see no improvement. But, if the amount coming through the orifice is more consistent, I am confident it will improve the print (even if only by some negligibly but measurable amount). It definitely felt like using conventional standards would be a good baseline -- design can always be tweaked based off this is a foundation. And if my optimism bears no fruit... I will let everyone know.
-
@plasticfactory so you can even 3d print the nozzle? All that's left is the controller and wiring, then we can get a proper reprap!
")
In all seriousness, this is all very interesting and thank you for sharing! Do keep us posted
-
@plasticfactory I had no issues whatsoever with the Maxiwatt on a Hemera, but I only ever printed at 250ish max. With a proper PID tune to 270C it didn't buckle once...
-
@oliof Works for me. I'll try another and if issues persist, I will be thorough about config/hardware review. I'm very confident everything was exactly as it should have been, but at high temps it really struggled to keep up. I was also using mine on a Hemera (not that it particularly matters).
Good enough concept to try again, imo.
-
@plasticfactory Re your combined nozzle/heater block idea, this is effectively what a Diamond mixing hot end is and IMO, one of its major drawbacks. Changing a nozzle when it wears out or for other reasons, takes hours rather than seconds (and costs a relative fortune compared to simply changing the nozzle). It also makes it difficult if not impossible to achieve both high thermal conductivity needed to melt the filament with high abrasion resistance needed for some filaments.
-
Regarding the basic premise of following the design rules for an extrusion die - are you referring to dies used for things like aluminum? I'm not an expert, but my understanding is that, those metals are not melted in the process, but are cold-formed as they go through the die. Also, in the case of 3D printing, the plastic is heated into it's plastic region and is not liquid, so I is the laminar vs turbulent flow question really applicable? I guess I should pull out my old heat transfer and fluid mechanical textbooks and see what the equations say. Anyone know a resource for the mechanical properties of our plastics of interest at various temperatures?
-
@mikeabuilder I am using extrusion die standards typical for plastic extrusion; the same standards we start with when designing dies for our extrusion machinery, scaled down. For basic mechanical properties of material, (in my opinion) the best starting point is a) knowing the grade of resin specifically, and b) searching here: https://plastics.ulprospector.com/ (account required, its free) Though this will not provide properties at various temperatures, only its proper processing and formed states. Either way its an excellent resource for this type of thing.
-
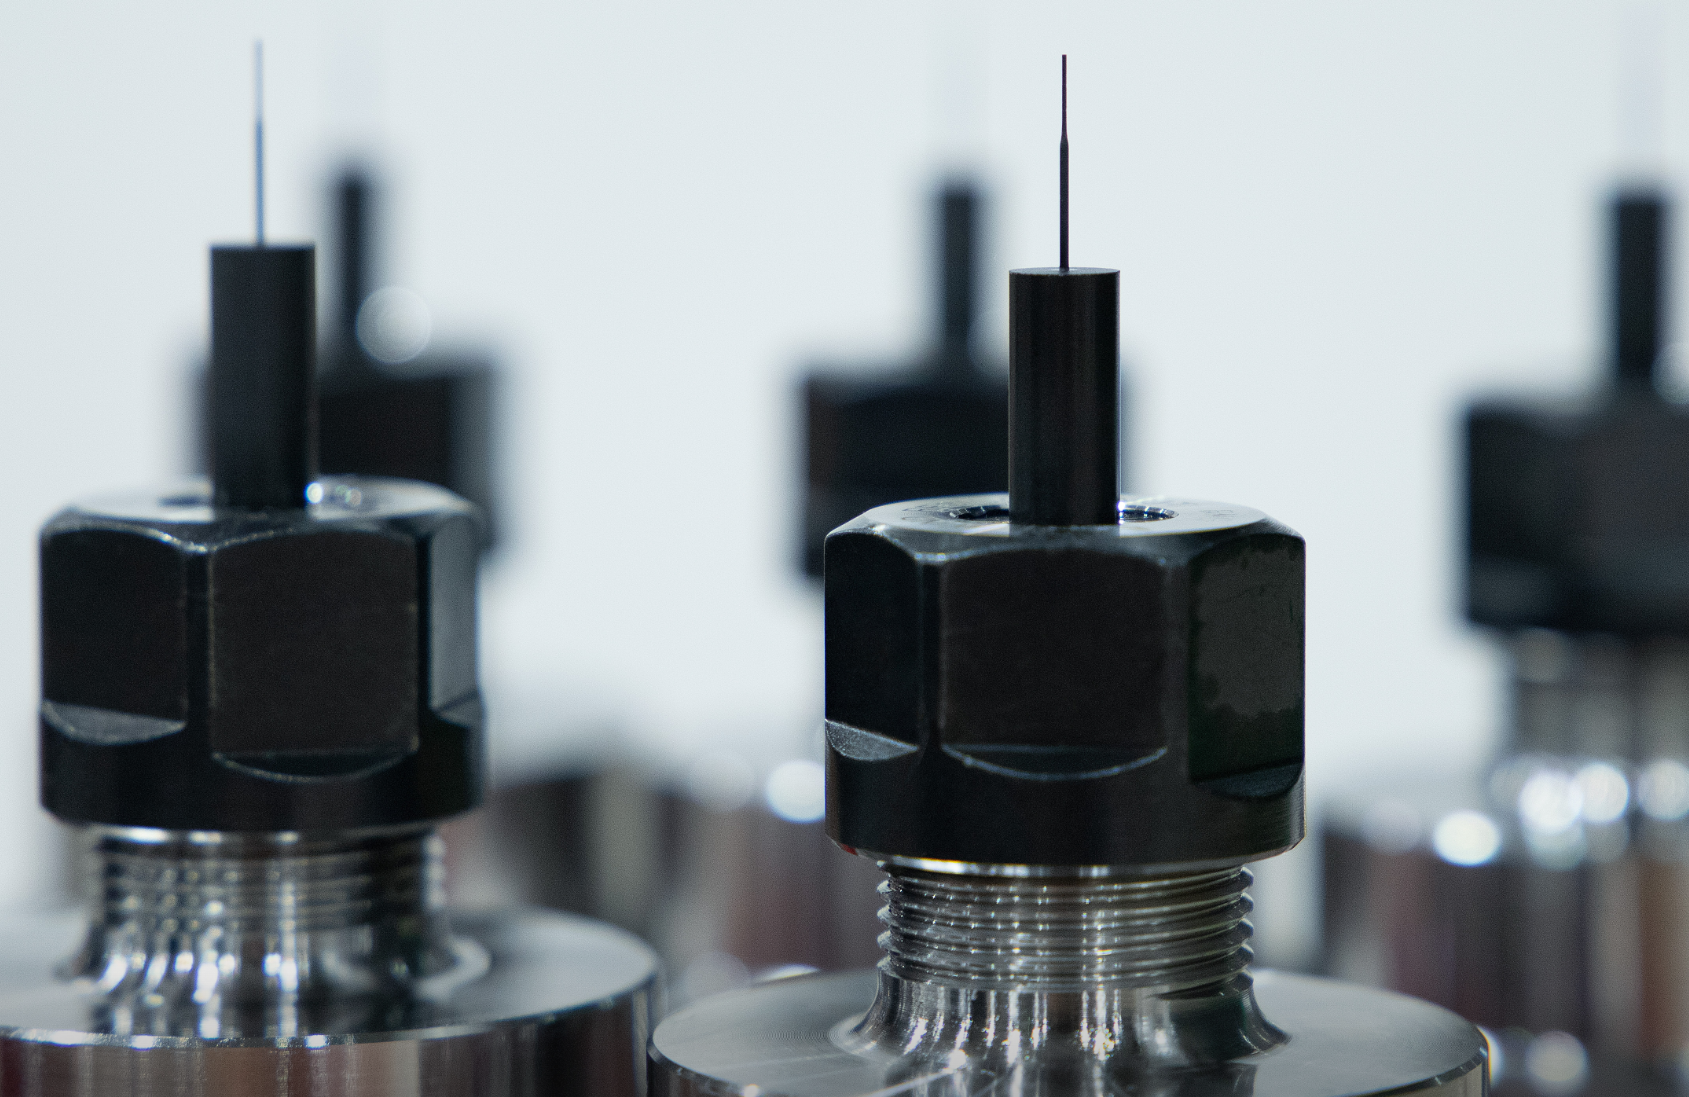
Prepped for the HSM:

-
@plasticfactory A little late, but small update for today. The machining is finished on the new nozzle, and started another one for a proper cross section (quality check that will ultimately make a good photo). I feel confident previous issues are resolved after putting it on our inspection setup. Now that its in my hands I should be able to start doing actual prints! More updates and photos to come throughout the week.
If there are any tests in particular anyone would like me to do, please share!
As for the pictures, the "C" shaped steel is a very simple fixture made to screw a nozzle into and machine from. The black piece is the finishing electrode that reflects the shape of the machined area (the bulbous areas are fluid buildup).


-
@plasticfactory
Jingle tools !!!
-
@plasticfactory, what does it take to generate an electrode that fine that by all rights should disintegrate when you look at it ?
Thanks for that picture! Amazing! -
@jens55 We use a high speed mill designed for cutting graphite. It utilizes high cutting speeds, lower forces and a flushing system specifically for removing graphite dust. A proper graphite setup really is the difference between being able to do general EDM work, and to be able to do something like this (not to say it couldn't be done without).
It's definitely a difficult part to make; the last nozzle came out better but we are running one more through, but breaking the electrodes up into 2 -- one for the major ID, and one for the minor. This should help things out quite a bit. Just part of the development process! Once the process is validated it will be highly repeatable.
-
Quick update -- had some improvement on the last samples, but in doing so identified areas for further improvement. We are breaking the electrode up into 2 pieces and sampling again early next week. I'm optimistic this will be one worth sharing!
EDIT: rather than bumping this thread further I'll use this as an update. Currently, our EDM department is backlogged after receiving a wave of production demand. We have electrodes cut, but no EDM machining will take place for ~3 weeks. To anyone particularly intrigued by this project, do not worry -- it is line one for our AM prototype development.
-
@plasticfactory your thread is so interesting, that I bought a book about micro EDM (from Sidpara/Malayath), please continue, I am curious to see where this goes!
-
@joergs5 Considering the stage this project is in it makes me exceedingly happy it inspired someone to learn more about these machining techniques. Feel free to private message me if you have any questions.
That book is in our small technical library, but I have not personally read it.
Here is another great place to start, because it covers the basics without over simplifying anything:
https://reliableedm.com/handbook.phpEDIT: and so much for me not bumping the thread, lol
-
@plasticfactory said in Advanced nozzle design:
another great place to start, be
thank you, I'll look into it, and thank you for your offer!
-
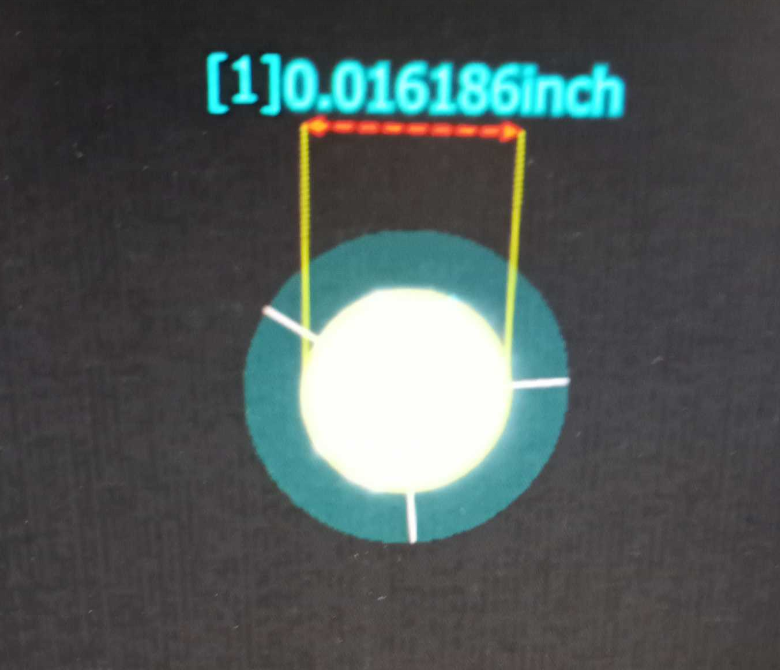
Finally, an update. After finding some machine time, we were able to complete the first nozzle. We inspected the orifice with a Keyence IM inspection system, and compared it to 5 leading brands who also make nozzles (to get an idea of how close to nominal we realistically need to be). We wound up at 0.410mm, which is almost exactly as close to nominal as the best commercially available nozzles inspected. We will definitely make more, as electrode sizing is why we aren't as close to .400 as I'd like. Realistically, +/- .001mm should be achievable. However, testing can finally commence. As an aside, the most "premium" (re. expensive) nozzles inspected were the worst, dipping down as low as .35mm ID.
Attached is a photo of the electrodes used, and inspection of the EDM machined nozzle. Testing is next, then I will cut more cross sections to share. These should be much, much cleaner on the inside than what is in OP.
-
Very cool. We have an IM at our shop, with a rotary axis as well.
-
First, apologies for the lack of updates. I started doing testing today, and have reached out to various content creators hoping for some assistance with this side of things. Time to do testing has just not been on my side.
Today I did some very simple vase mode prints to check two things:
- potential change in surface finish
- ability to take objective measurements of layer width
The prints were done on an E3D toolchanger, using a Hemera extruder and Copper V6 block. Both prints were done with the exact same hardware, only the nozzle being different. I used a hardened steel E3D V6 nozzle as the control. The material was the same spool of Prusament PLA, fed closed loop from a material dryer.
First impression: the ADV nozzle produces a significantly more matte finish. Though "improvement" is completely subjective, it objectively hides layer lines more than the gloss, especially in person. The photo posted was spliced together as both parts were taken under identical lighting conditions.
The next step is to use our IM to take measurements of wall thickness and layer width, to determine if there is any significant difference in extrusion consistency (visually, I'm not expecting much difference).
Anecdotally, the ADV nozzle oozes considerably less than the V6. The next steps will be various retraction prints, sans retraction, to evaluate stringing/oozing.
Finally, I had some mushrooming at the bottom of the V6 print. This is obviously not a fault of the nozzle.
I'm not expecting too much enthusiasm over the initial results, but I'm happy so far and am very excited to get to the retraction tests. My first reaction is that will be the area most improved.
ADV left, E3D right

-
@plasticfactory Last quick update before Monday. From our QE: "the ADV nozzle is more consistent with layer width, but I will do more inspections Monday and generate a proper report".
I will of course share said report, with data, here. This will include how the inspection was conducted. But that was a nice message to cap off the week.
EDIT: This probably doesn't mean much right now as it was a "first guess" way to check this, but here is the image I was provided:
Top is ADV, bottom V6

This is an overall straightness measurement. So it doesn't account for the exact deviation from each layer line, but would indicate that overall it is less "wavy" (ie, more consistent extrusion width).
I'm open to suggestions on what types of measurements to take, or prints to use to take said measurements.
EDIT 2: I was also sent some inspections comparing actual individual layer lines. I will share those images and preliminary findings shortly. Similar conclusion -- ADV is more consistent. Is it an appreciable improvement? Maybe not, but it appears to be an improvement. I hope to have real conclusions by the middle of next week (but if you have kept up with this thread, it could be in 2023...)