Duet3D Logo Duet3D
    • Tags
    • Documentation
    • Order
    • Register
    • Login
    1. Home
    2. MrDui
    3. Best
    • Profile
    • Following 0
    • Followers 0
    • Topics 4
    • Posts 55
    • Best 11
    • Controversial 1
    • Groups 0

    Best posts made by MrDui

    • BOx Large Format DIY Printer

      Hi everyone,

      First post here, I thought I'd present my machine first because I think I might have a few questions about how to use/improve/pimp my duet board later.

      So, basically my goal is to build a big printer. So far the print volume measures 720 x 720 x 600 mm or so. The frame is made out of 4545 aluminum extrusions, it is entirely my design but I did build a MPCNC before, which was my inspiration for making this one, hence the tubes.

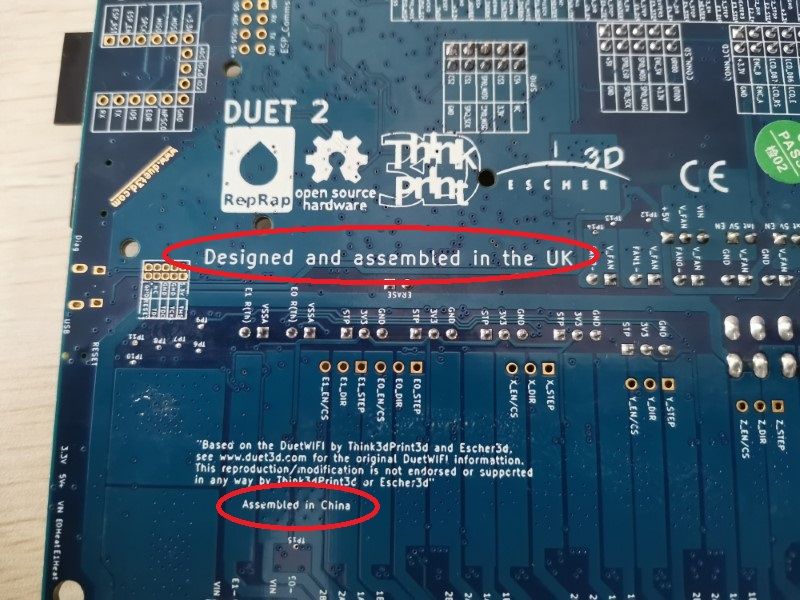
      Anyway, this is my first time using a Duet, my other machines were using the traditional Arduino Mega/Ramps/Marlin, which worked nicely but, well, they did their time. So far I'm pretty pleased with how the Duet board works, it is really convenient to use, though editing the firmware is maybe a bit less intuitive since you use gcode all along instead of commenting/uncommenting stuff in a more understandable language. But I guess I'll get used to it eventually.
      But again, the list of upsides is long enough that I don't really care about that, this board is awesome so kudos to the team who designed it.

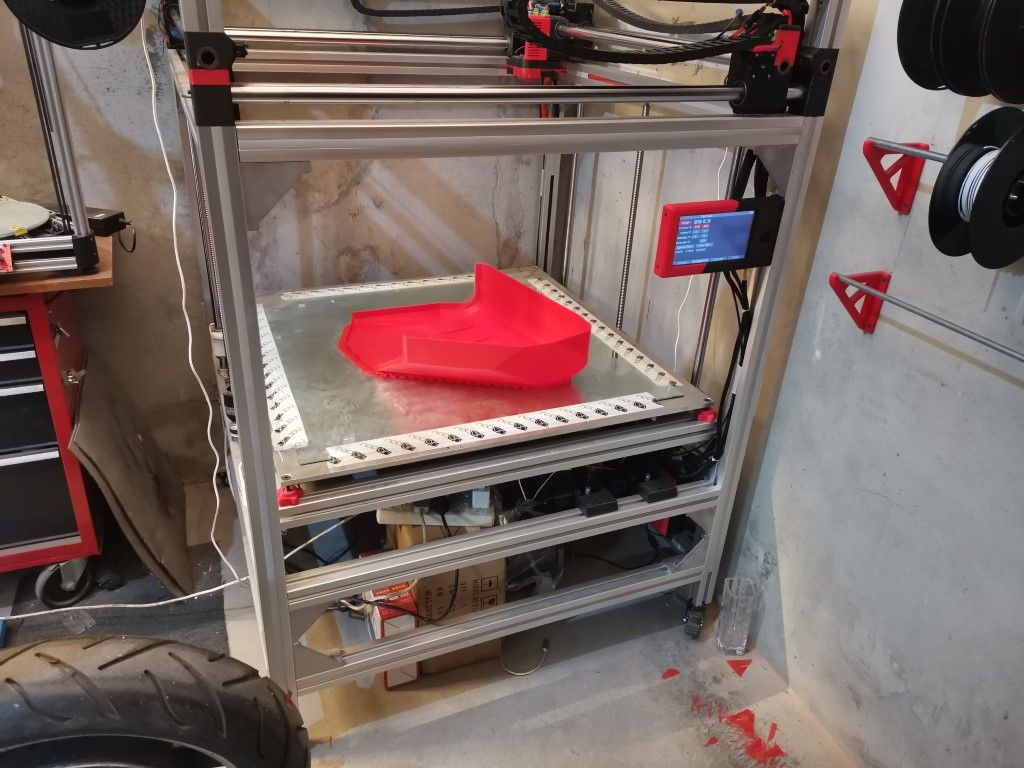
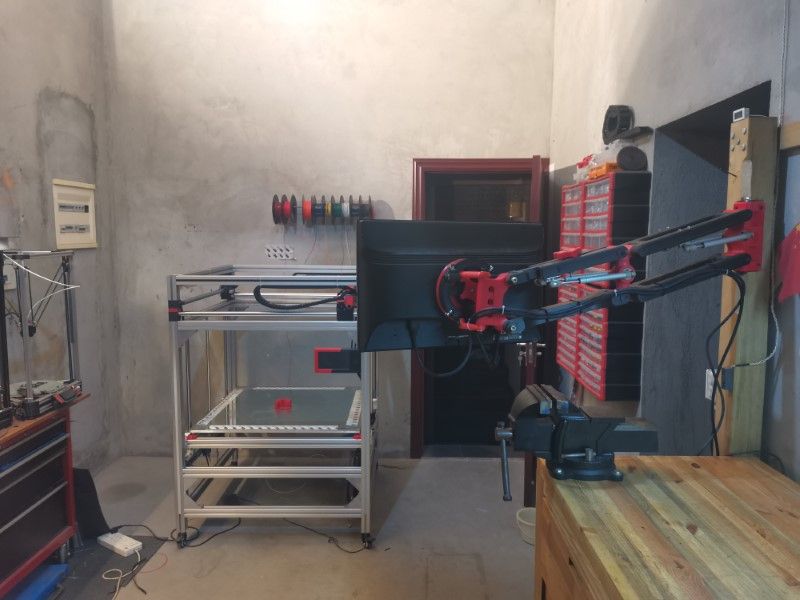
      I started this build 2 months ago and it made its first test print yesterday. Here is how it looks like so far:
      IMG_20200917_222059.jpg

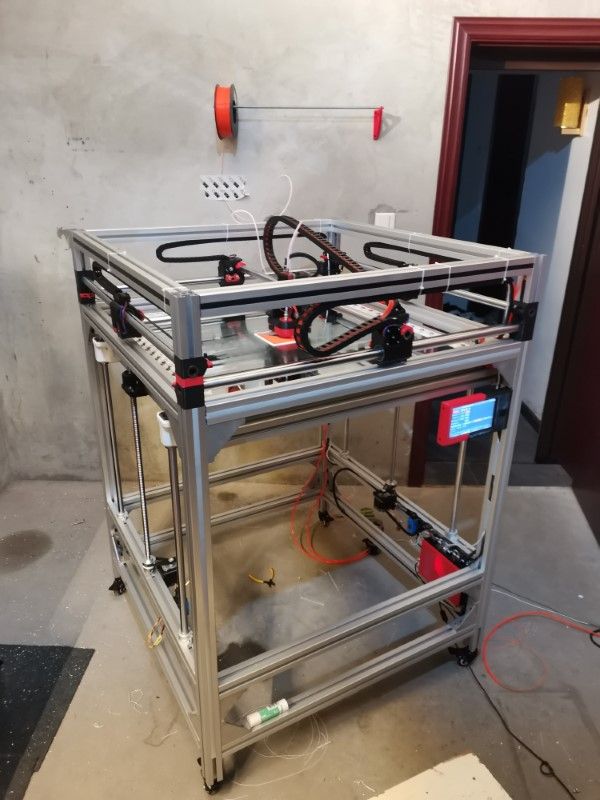
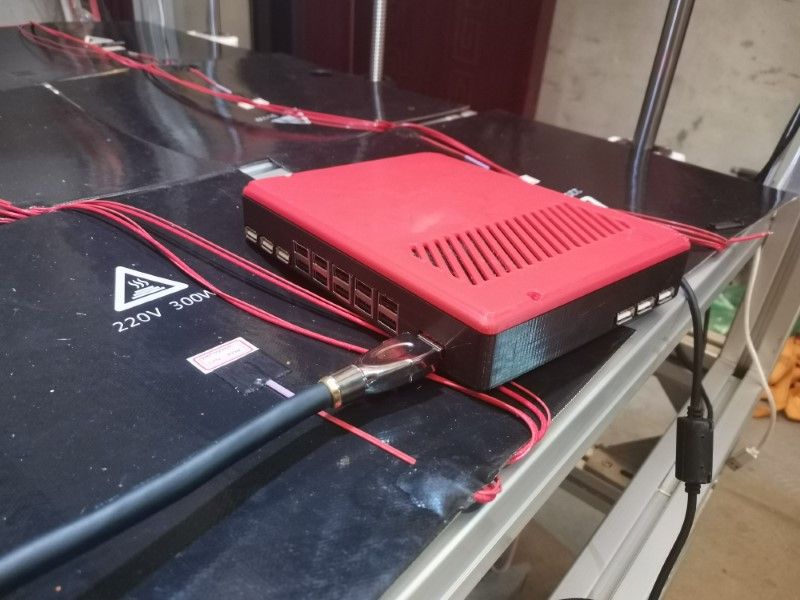
      The machine itself measures 1m x 1m x 1m40 so it takes quite some space in the shop. The bed is made of a big 10 mm plate of cast aluminum. It will be heated by 9 silicon pads of 300W each, so about 2700W of heating power (goal is for the plate to reach the temp quickly). I'm currently using the double Z axis feature, which works well, but I'll probably add the extension board and go for triple Z axis later.

      The bed is very heavy (30kg), but the motor have enough power to lift it pretty quickly, it takes less than 30 seconds to travel the 600+ mm which is actually quite impressive to see IRL since the machine is big. I had to go to 8 microstepping in order to do that reliably, but it doesn't matter in terms of resolution since I'm using a 3:1 belt reduction as well as 4mm per turn pitch ballscrews so in the end that's 1200steps per mm, way more than necessary.

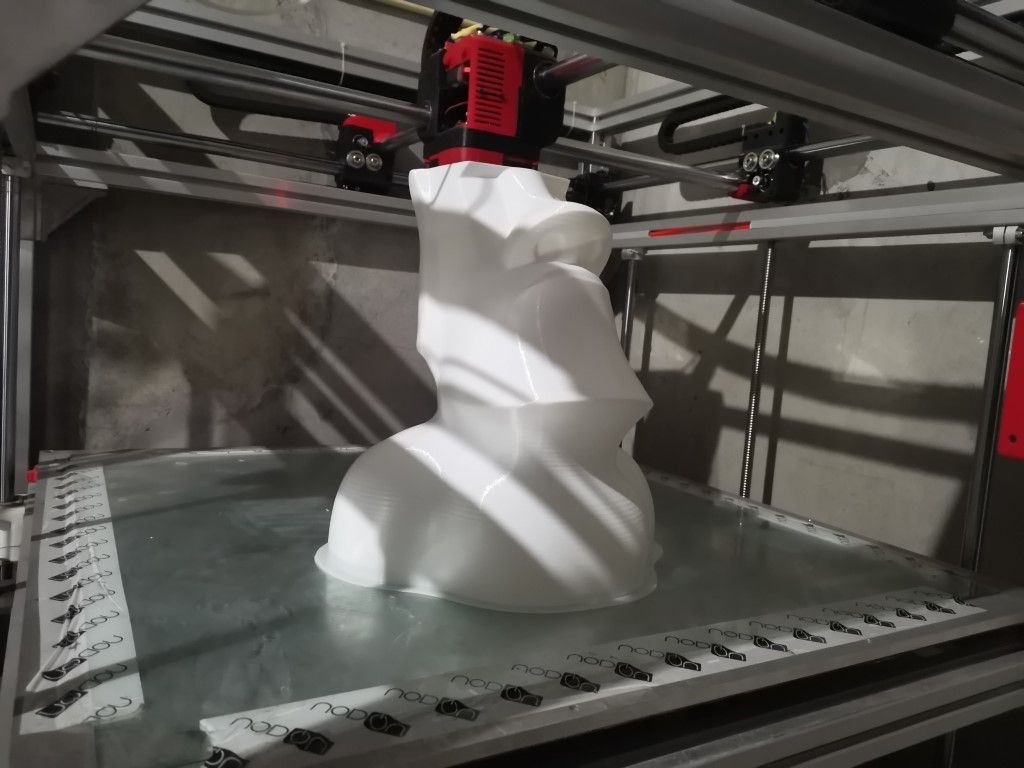
      The print head is water cooled, because from my experience it makes a big difference on large format printers. I've designed a fully 3D printed nozzle system using just a regular E3Dv6 extrusion system. So far it seems to work well. That's not the first watercooling system I designed this way, my previous one lasted a few years without any issue so I know this works well 🙂

      IMG_20200805_214743.jpg

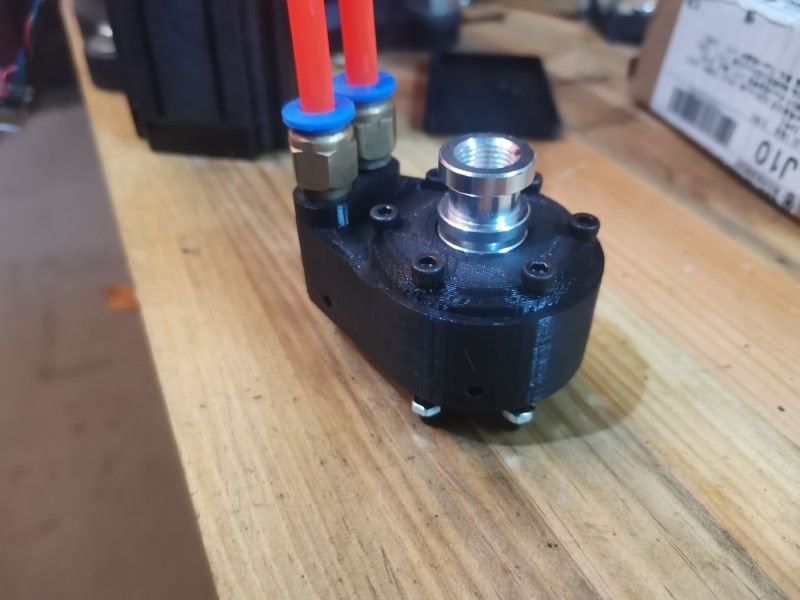
      The heating block is a full copper volcano with a stainless steel nozzle, insulated with aerogel sheets.

      IMG_20200809_181121.jpg

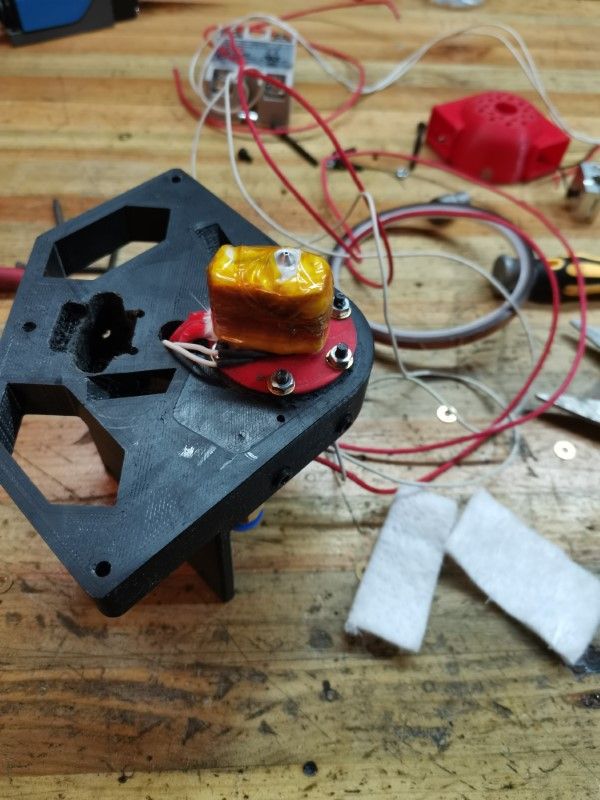
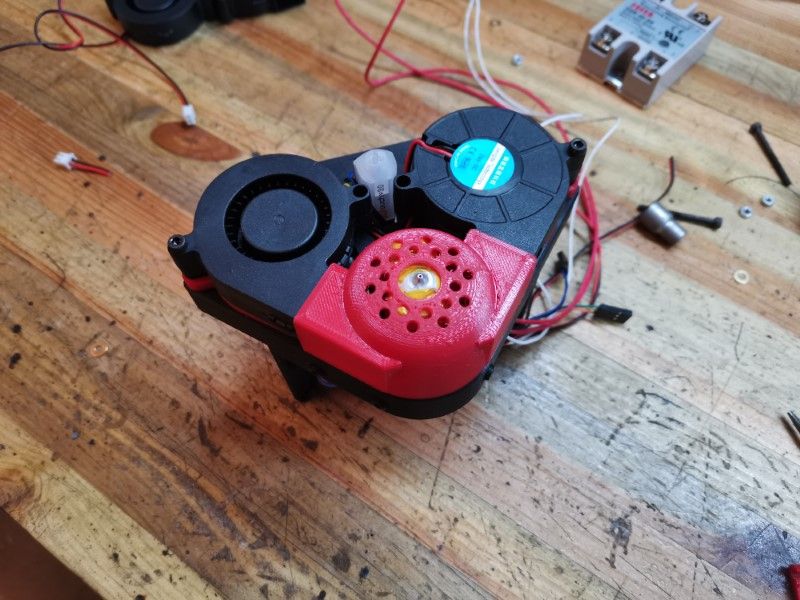
      The part cooling fans are blowing 360 degree around the nozzle to hopefully avoid any blind spot. The aerogel insulation is very useful here because otherwise the fans would cool the hotend, which obviously wouldn't be ideal
      The Z probe is using a BL touch.

      IMG_20200809_183523.jpg

      Also added a LED strip to better see what's going on during printing:
      IMG_20200816_200938.jpg

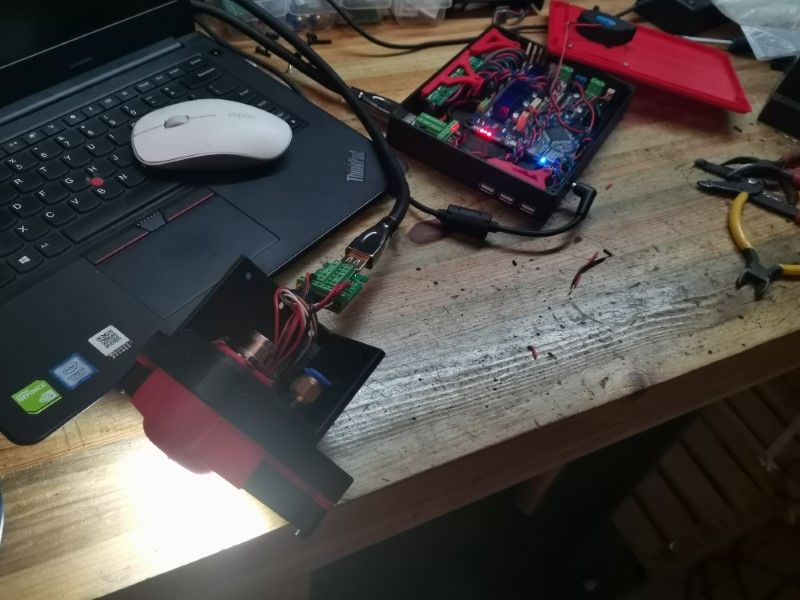
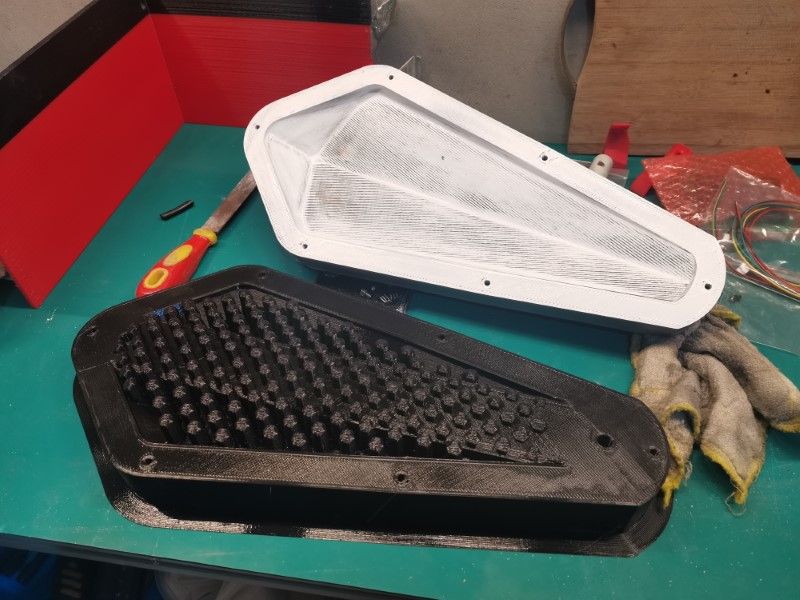
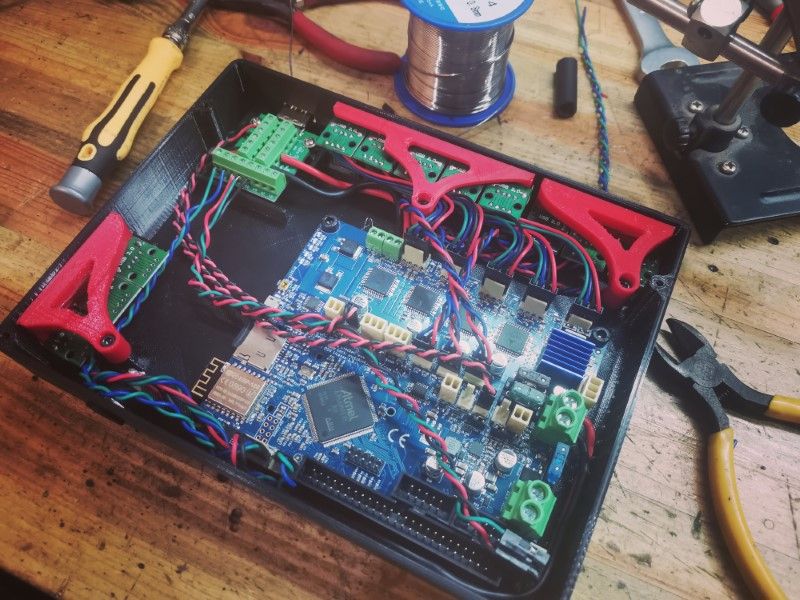
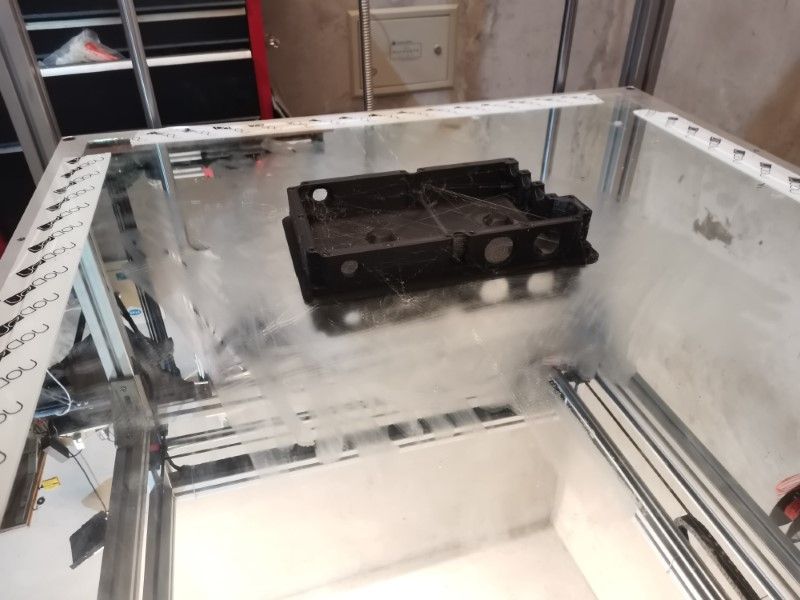
      I took a lot of care designing a nice casing to protect my marvelous Duet board, since it deserved it:
      IMG_20200815_200449.jpg

      It features active cooling with a blower fan placed after a dust filter:
      IMG_20200816_190808.jpg

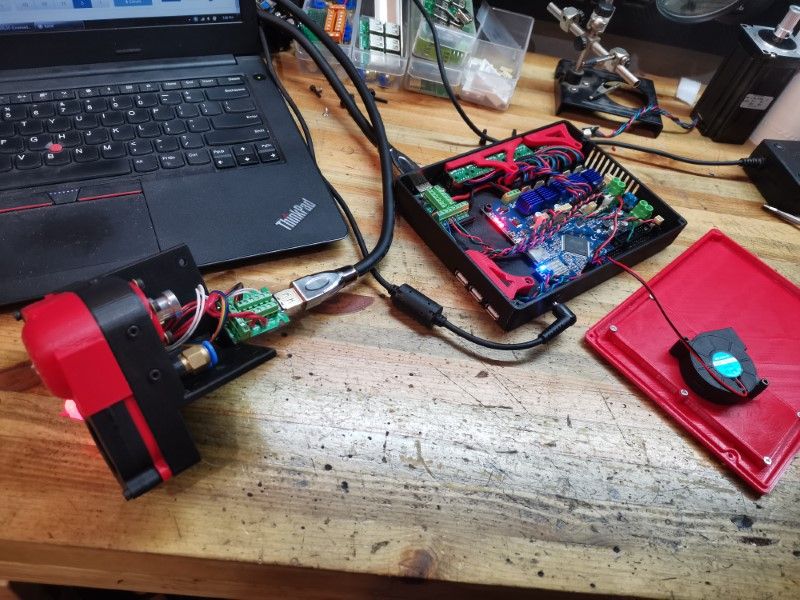
      I needed active cooling because the Z drivers were running too hot, the bed is heavy so I had to push the motor drivers up to 2.4Amps.

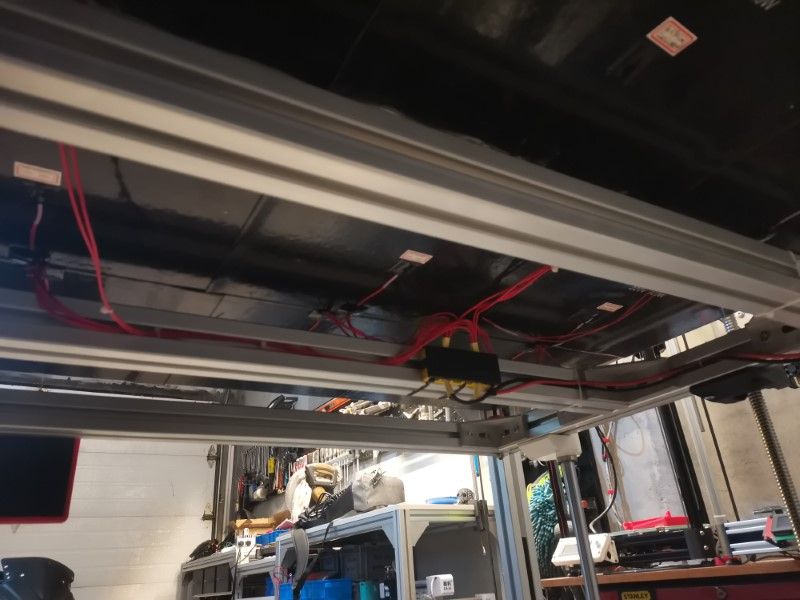
      I tried to be original here and used something unorthodox for wiring: using USB and HDMI cables. USB is used for the motors, the endstops, the paneldue and the heating bed relay control, and HDMI is used for the whole print head (heating element, temp sensor, BLtouch, extruder motor, LED light, fans).

      IMG_20200816_201618.jpg

      It makes wiring extremely easy, and so far it seems to work really well. I'll see in the long run how reliable this is, now is a bit too soon to give a proper feedback.

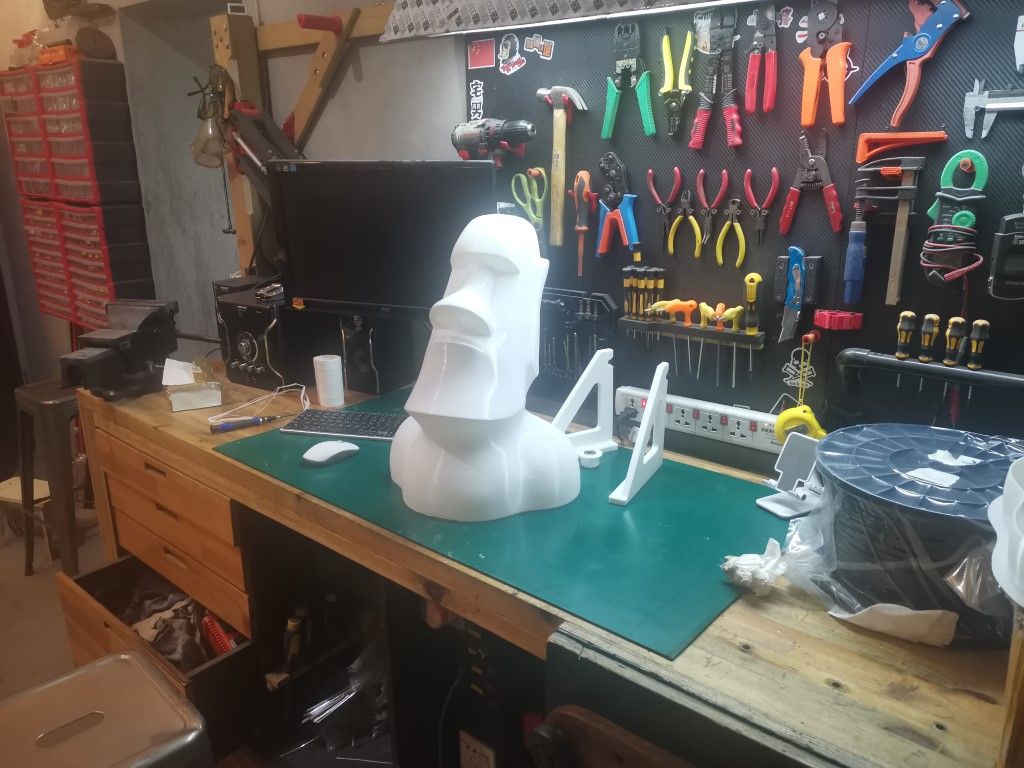
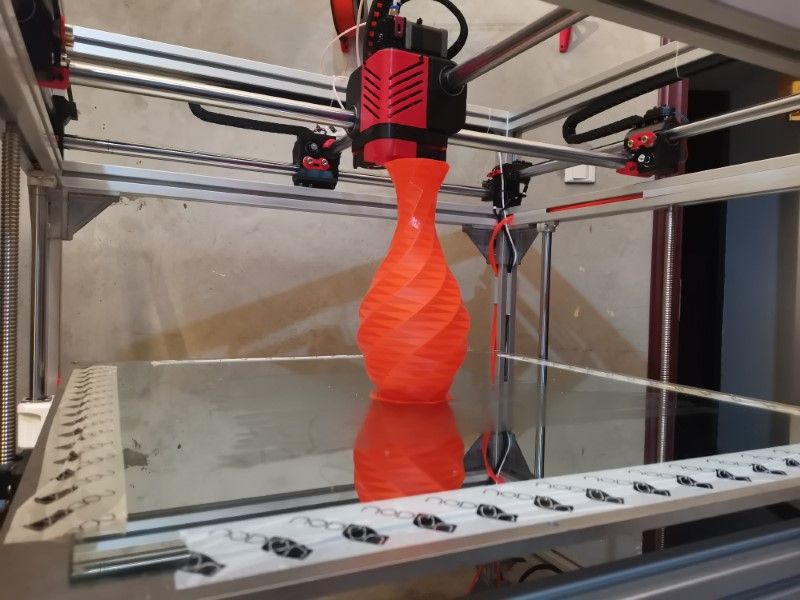
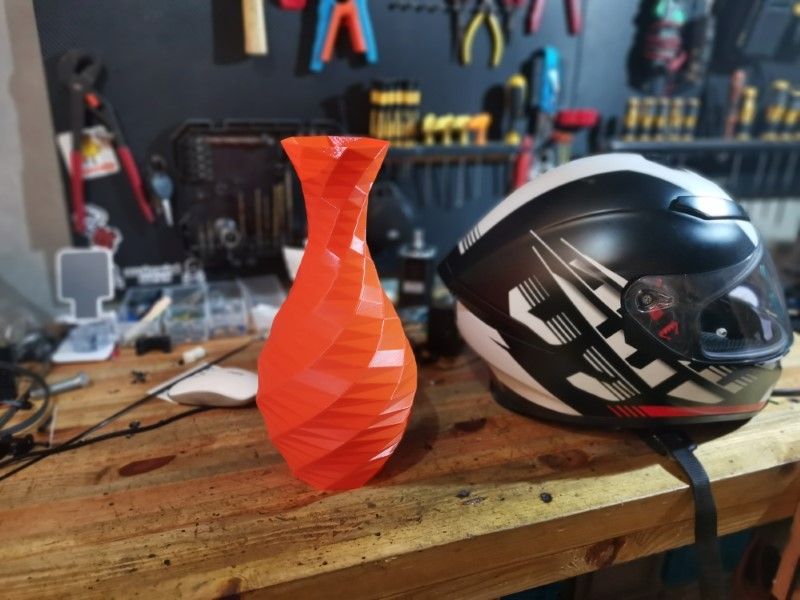
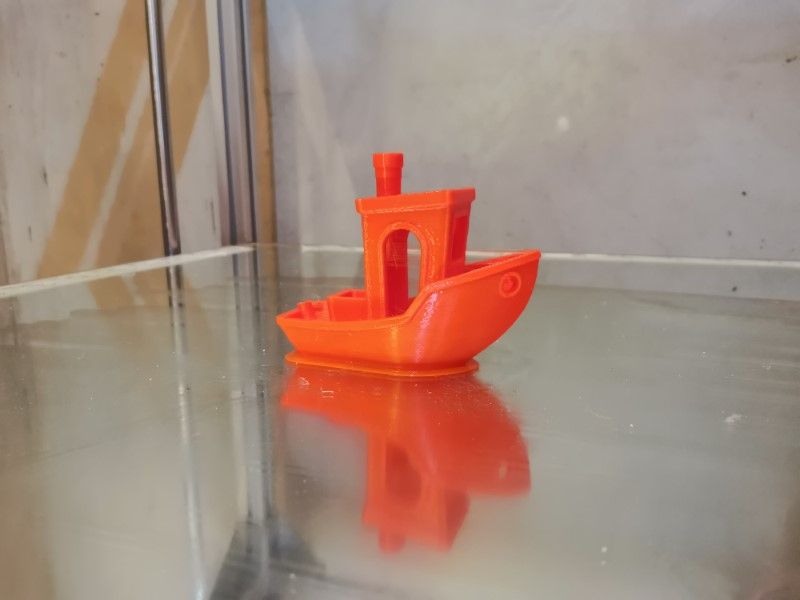
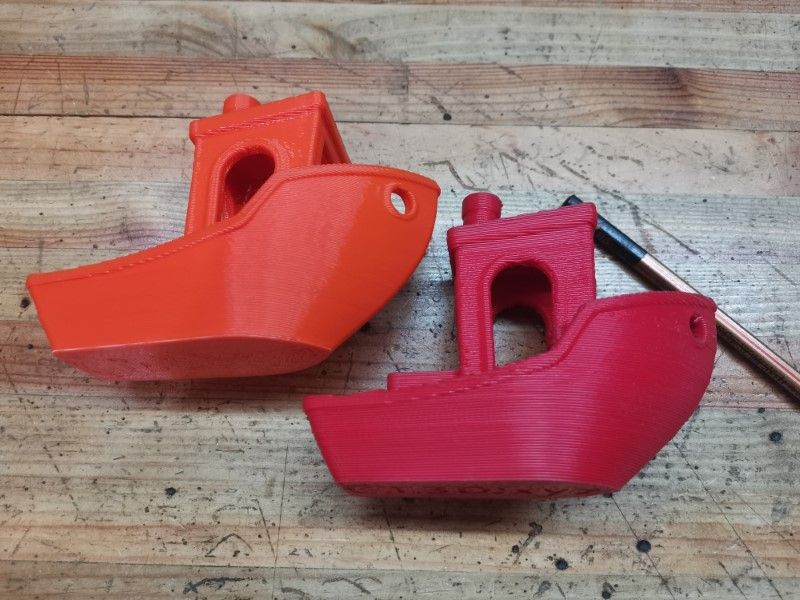
      Anyway, first successful print attempt yesterday and it looks really nice for a first try:
      IMG_20200917_223039.jpg

      Also a short video of the first print:
      https://youtu.be/mw_b87EWHZk

      Here is the build thread, in case anyone wants to follow 🙂
      https://forum.v1engineering.com/t/mpcnc-made-in-china-new-build/19393

      I'm really pleased with my Duet so far, it's a great board!
      Thanks for reading and see you on the forum!

      posted in My Duet controlled machine
      MrDuiundefined
      MrDui
    • RE: BOx Large Format DIY Printer

      OK so new extruder installed and after fixing a few small issues I installed the heat bed:
      it's made of 9 heating pads of 300W each, so that's 2700W in total.

      IMG_20201110_003409.jpg

      It works really well, the bed is able to hit 60 degree in less than 5 minutes. And since then, no warping anymore.

      I've already printed lots of stuff with the printer and so far it works really well. It's getting to the point where it starts being really reliable.

      Some parts for my screen articulated arm:
      IMG_20201107_123220.jpg

      IMG_20201108_154626.jpg

      IMG_20201108_234217.jpg IMG_20201108_234229.jpg

      An enclosure for my motorbike's battery monitoring system:
      IMG_20201112_081706.jpg

      A spool holder system for the printer:
      IMG_20201113_081644.jpg

      Most of the work on this printer is done, now I'll try making it as reliable as possible.

      Also, I received a DueX5 board, so I'll add lots of new functions in the next months, I plan to start ith a 3rd Z axis and then add multi color/multi material capabilities.

      IMG_20201108_234350.jpg

      posted in My Duet controlled machine
      MrDuiundefined
      MrDui
    • RE: Printer actions after filament run out

      @tratoon said in Printer actions after filament run out:

      Hello. I need some help creating a filament-runout.g. When the printer runs out of filament, I would like it to move the bed down my 10mm, then move to X0 Y0 and pause, then wait for filament to be loaded, then home X and Y ONLY, and then when I press the resume print button, it should resume.

      I wouldn't home X and Y because it would be likely to introduce some inaccuracies (limit switches positions aren't totally repeatable).
      Is there a specific reason why you'd want to do that?

      On my printer I just resume the print from wherever the print head was parked during the filament change procedure. Just mke sure the steppers stay energized long enough and at sufficient power so they hold their position and everything should be fine.

      posted in Tuning and tweaking
      MrDuiundefined
      MrDui
    • Pimp my PanelDue

      Hello everyone,

      I was wondering if and how it would be possible to edit the Panel Due screen interface. I saw a few threads where people showed different icon designs or even splash screens, but I have no idea how they managed to do that.
      Is there a thread or a tutorial somewhere? My searches were unfruitful.

      I'd also like to know aside from icons and splashscreen, can we add functions or edit the information displayed?

      Thanks in advance!

      posted in PanelDue
      MrDuiundefined
      MrDui
    • RE: BOx Large Format DIY Printer

      @tgarr said in BOx Large Format DIY Printer:

      @MrDui thanks for the close up. That clarifies quite a bit for me.

      May I ask what drove the decision to package the belts and motors this way? It looks like you essentially made a rack and pinion setup from a belt. Seems pretty cool. And comments on how it performs relative to stationary motors or a metal rack and pinion?

      Well a few years ago I built a MPCNC, which works this way. So I knew it was working just fine. I chose to keep this solution for this printer because I wanted to avoid using giganticly long belts, and I wanted to have everything contained within the limits of the chassis while keeping the smallest non printable/useless footprint.
      Other solutions like leadscrew or rack and pinion were either slower, less precise, more expensive, bulkier and/or more complicated. This was, in my opinion, the best compromize.

      It works great actually, Only downside would be that you get a bit more inertia since you have more moving weight, but you also have two motors on each axis instead of just one so that's more power available too. I think it is better than a rack and pinion because this has virtually no backlash (but in practice belts can stretch very, very slightly). To give you an idea of how good a belt setup can be, the MPCNC which uses a similar belt system, is capable of milling aluminum and even steel... So yeah, works just fine!

      Anyway, I made a few test prints this weekend:

      IMG_20200919_233436.jpg

      IMG_20200919_234125.jpg

      IMG_20200920_215111.jpg

      The Red one has been made with my old machine, and I just printed the orange one withthe printer I just built:
      IMG_20200920_215350.jpg

      The orange one was printed with a 0.8mm nozzle at 0.4mm height per layer.
      Really satisfied with how my printer works so far, and the Duet board works very well.
      I'll need to experiment a little with the linear advance to get better corners and path starts, but aside from this both prints were almost flawless.

      posted in My Duet controlled machine
      MrDuiundefined
      MrDui
    • RE: Advanced nozzle design

      Very interesting and pretty cool tools you got there!
      What about maximum flow comparison between both nozzles?

      posted in 3D Printing General Chat
      MrDuiundefined
      MrDui
    • RE: Controller for my larg format 3D printer

      Hello to you, fellow large format printer maker 😉

      @bernardomattiucci said in Controller for my larg format 3D printer:

      This plan should be calibrated every time the Z axis is zeroed, to do this I thought of controlling the 4 motors independently and using the (optical) limit switches, 1 for each motor, in order to have a fixed reference for each edge of the XY plane.

      Instead of this, I'd suggest you to use only one limit switch at the top of one of your Z axis corner and install a BL touch or any other probe you like somewhere on your tool head.

      The printer will first go to its home position, moving until it hits the endstop. Then it will go down until the Z probe hits the bed. Next step will be to probe each corner, near your leadscrews. After that, the printer will adjust the bed to make it leveled automatically.

      I only have 2 Z axis on my printer but that's how I did it, same principle for you there with 4 axis. It's much easier to do it this way.

      posted in Duet Hardware and wiring
      MrDuiundefined
      MrDui
    • RE: BOx Large Format DIY Printer

      @T3P3Tony said in BOx Large Format DIY Printer:

      @MrDui sorry for going off topic on your thread. the printer looks 👍 and yes, HDMI cables are a surprisingly good way to connect things, did you get the breakout boards off the shelf or make them yourself?

      No problem, and thanks for the kind words 🙂
      I've got the breakout board off the shelf, as it turns out it's easy and cheap to find, these things are used for home cinema application, they put these in wall plugs.

      I don't know in which country you live, I'm in China so I can't recommend you a store, but a quick search on Google shows them available on Adafruit here: https://www.adafruit.com/product/3121

      It is really super convenient to use for a print head since you can just wire everything in a few minutes, only downside being that the HDMI cables are usually pretty thick and not super flexible.

      posted in My Duet controlled machine
      MrDuiundefined
      MrDui
    • RE: BOx Large Format DIY Printer

      @Phaedrux Well it seems to be a cloned one then, I probably could have guessed it earlier if I had paid attention to the silkscreen you mentionned:

      IMG_20201118_095720.jpg

      I don't think that the original ones are both assembled in the UK and assembled in China! 😁

      Sometimes we can find real/non cloned hardware even though there is no authorized resellers here, some people import them and then resell without the creator's consent or knowledge. That's how I got my BL touch for instance, some guy imported it from Korea into China. But it's always a bit of a gamble, even the price isn't always a good indicator...

      Anyway, thanks a ton for the help, and sorry for not having bought the real one. Maybe you should consider having a reseller here, most people here are ok to pay a premium for quality hardware nowadays in China

      posted in My Duet controlled machine
      MrDuiundefined
      MrDui
    • RE: BOx Large Format DIY Printer

      Good news : we can now add a label "repaired in China" to the "Assembled in China" and "assembled in the UK" on the clone board!

      I am lucky to have some very skilled colleagues, this one in particular who repaired the board in less than 5 minutes without breaking a sweat. Amazing guy, really impressive to see!

      IMG_20201120_092813_1.jpg
      IMG_20201120_093506.jpg

      The board now seem to work just fine, the 5V and 3.3V leds indicate that the voltages are back!
      I'll test it later with a SD card, but I'm fairly confident there won't be any problem, it does behave exactly the same as if it were powered up from the USB port. Great success!

      posted in My Duet controlled machine
      MrDuiundefined
      MrDui
    • RE: BOx Large Format DIY Printer

      Lol, it seems like once again I got fooled by a clone.
      So I did a continuity test and found out that the pwm pin number 7 isn't connected to anything. So it'll be easy, I'll just have to solder a wire from it.

      Also, while I'm at it, here are some prints I did with the printer during the past months:

      Some large molds to pour silicone:
      IMG_20210203_193015.jpg

      Fairings for my electric motorbike:
      IMG_20210301_214618.jpg

      IMG_20210301_230103.jpg

      IMG_20201216_115503.jpg

      And also for fun a giant moai head:
      IMG_20210210_081917.jpg

      IMG_20210210_102649.jpg

      Each of those prints took less than 20 hours. As you can see, the printer works very well, I havent' got any issue with it since I repaired the fried motherboard.

      My next print should be much bigger and take around 36 hours, it'll be a really huge mold to make the bike's fairings out of carbon fiber. The mold should make around 3kg of PLA. Got myself a few 5Kg spools fot that job.
      But before doing that, I'd like to test and possibly install the closed loop system, in order to make the printer as realiable as possible.

      posted in My Duet controlled machine
      MrDuiundefined
      MrDui