Duet3D Logo Duet3D
    • Tags
    • Documentation
    • Order
    • Register
    • Login

    Smart Effector issue

    Scheduled Pinned Locked Moved
    Smart effector for delta printers
    10
    87
    4.2k
    Loading More Posts
    • Oldest to Newest
    • Newest to Oldest
    • Most Votes
    Reply
    • Reply as topic
    Log in to reply
    This topic has been deleted. Only users with topic management privileges can see it.
    • tecnoundefined
      tecno @dc42
      last edited by

      @dc42
      M201 X1000.00 Y1000.00 Z400.00 E1000.00

      Slightly worse = more jump over points

      dc42undefined 1 Reply Last reply Reply Quote 0
      • dc42undefined
        dc42 administrators @tecno
        last edited by dc42

        @tecno try even lower, e.g. 100.

        Also, if the green LED flashes at the end of the XY travel move rather than at the start of the probing move, increase the M558 R parameter.

        Duet WiFi hardware designer and firmware engineer
        Please do not ask me for Duet support via PM or email, use the forum
        http://www.escher3d.com, https://miscsolutions.wordpress.com

        tecnoundefined 1 Reply Last reply Reply Quote 0
        • tecnoundefined
          tecno @dc42
          last edited by

          @dc42

          R1 or R2 Still same problem

          tecnoundefined 1 Reply Last reply Reply Quote 0
          • tecnoundefined
            tecno @tecno
            last edited by

            DSC_0115.JPG

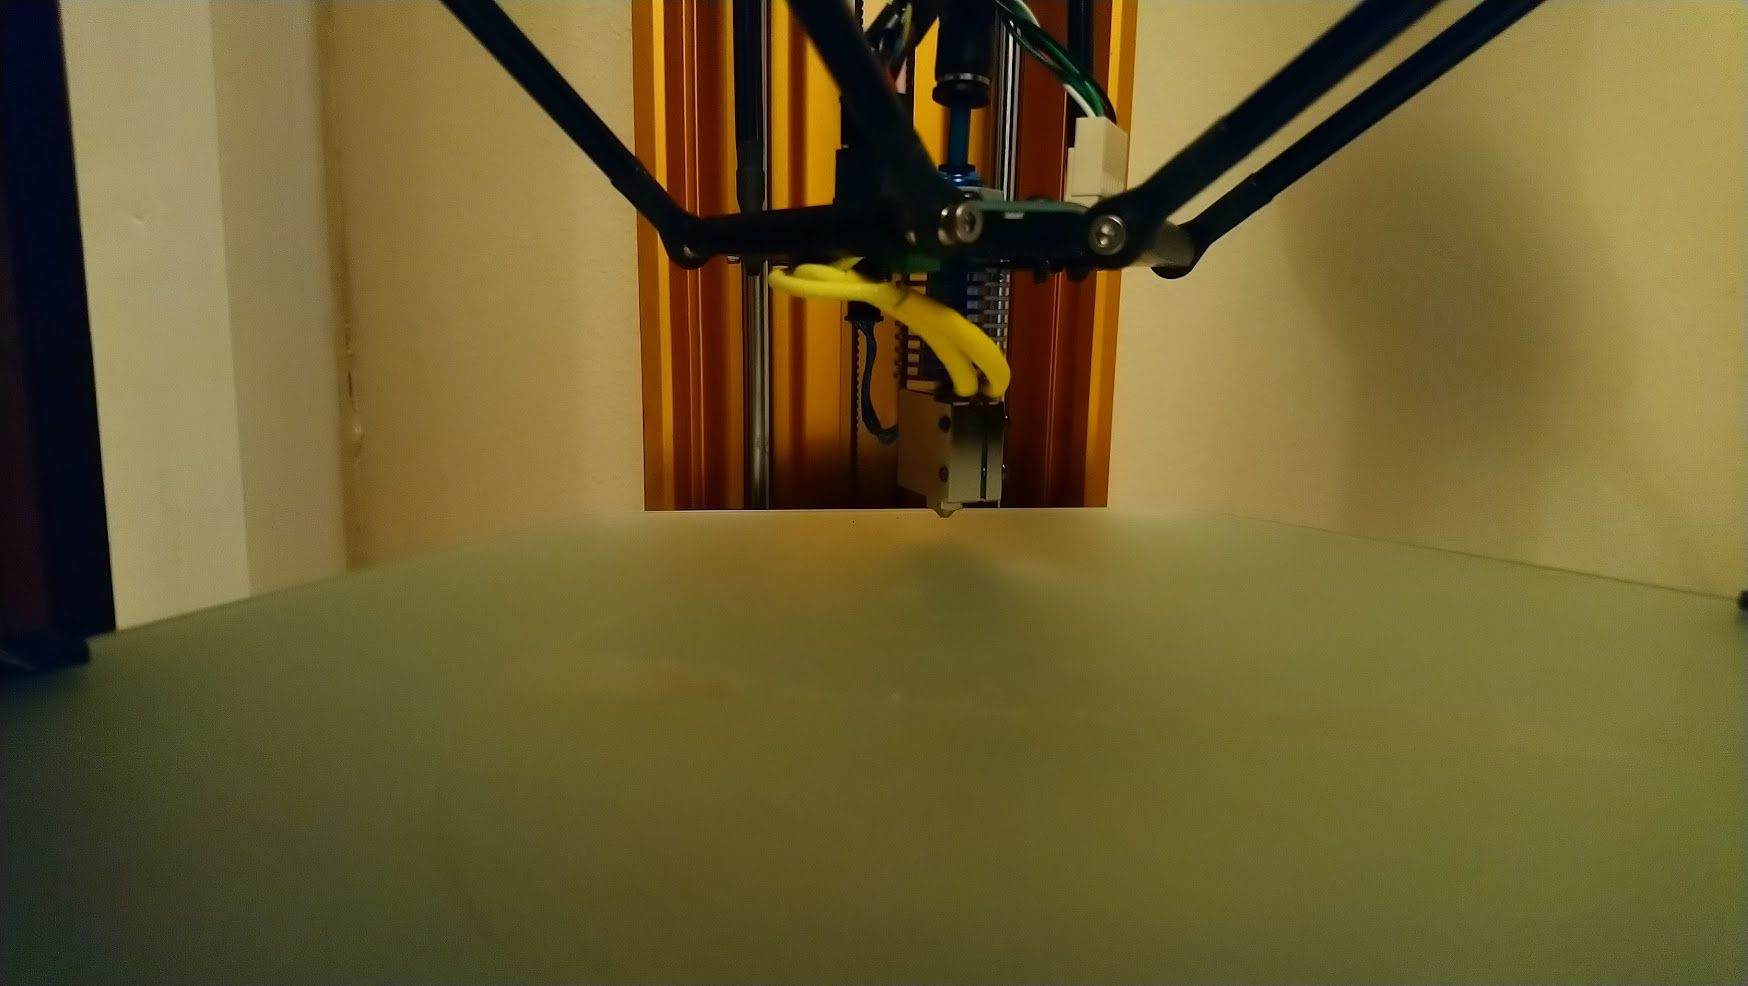
            No problems with fan shroud taken off.

            1 Reply Last reply Reply Quote 0
            • Phaedruxundefined
              Phaedrux Moderator
              last edited by

              What does the fan shroud look like when on?

              Z-Bot CoreXY Build | Thingiverse Profile

              tecnoundefined 1 Reply Last reply Reply Quote 0
              • tecnoundefined
                tecno @Phaedrux
                last edited by

                @phaedrux
                https://youtu.be/6YHxmoWgLI8

                1 Reply Last reply Reply Quote 0
                • Phaedruxundefined
                  Phaedrux Moderator
                  last edited by

                  Ah, so quite large then.

                  Z-Bot CoreXY Build | Thingiverse Profile

                  tecnoundefined 1 Reply Last reply Reply Quote 0
                  • tecnoundefined
                    tecno @Phaedrux
                    last edited by

                    @phaedrux

                    Jay has been using this model without problems, so go figure.

                    1 Reply Last reply Reply Quote 0
                    • Phaedruxundefined
                      Phaedrux Moderator
                      last edited by

                      Interesting. I wonder if it's a sensitivity problem then.

                      I assume it's been disassembled and reassembled already?

                      Z-Bot CoreXY Build | Thingiverse Profile

                      tecnoundefined jay_s_ukundefined 2 Replies Last reply Reply Quote 0
                      • tecnoundefined
                        tecno @Phaedrux
                        last edited by

                        @phaedrux

                        Still as in latest picture = no duct.
                        Total weight is 84grams with 3 fans, printed in PETG.

                        1 Reply Last reply Reply Quote 0
                        • jay_s_ukundefined
                          jay_s_uk @Phaedrux
                          last edited by

                          @phaedrux that duct design (which is mine) works fine for me on my smart effector v3 so i doubt thats the issue. I still think its a mechanical issue with effector tilt

                          Owns various duet boards and is the main wiki maintainer for the Teamgloomy LPC/STM32 port of RRF. Assume I'm running whatever the latest beta/stable build is

                          tecnoundefined 1 Reply Last reply Reply Quote 0
                          • tecnoundefined
                            tecno @jay_s_uk
                            last edited by tecno

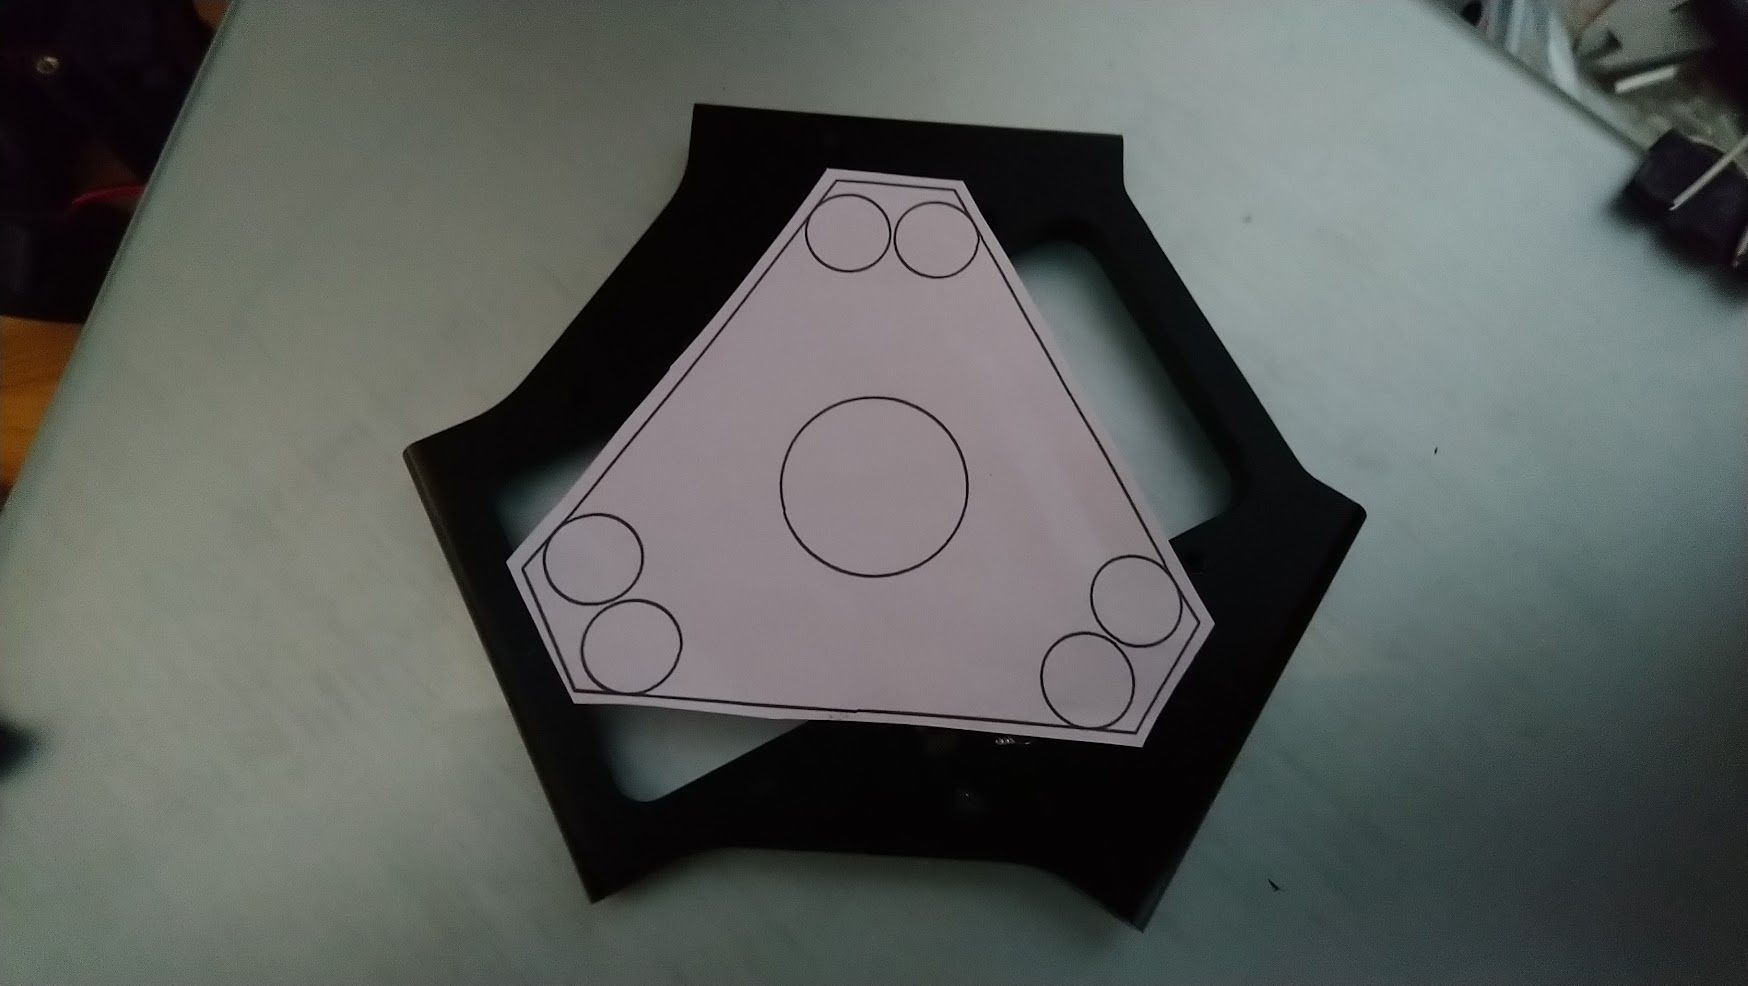
                            Have found my main issue = the printed effector adapter is way too small = too short rods.

                            Back to the drawing board!

                            DSC_0117.JPG DSC_0116.JPG

                            tecnoundefined 1 Reply Last reply Reply Quote 0
                            • tecnoundefined
                              tecno @tecno
                              last edited by

                              DSC_0119.JPG

                              A bit larger adapter 😉

                              tecnoundefined 1 Reply Last reply Reply Quote 1
                              • tecnoundefined
                                tecno @tecno
                                last edited by

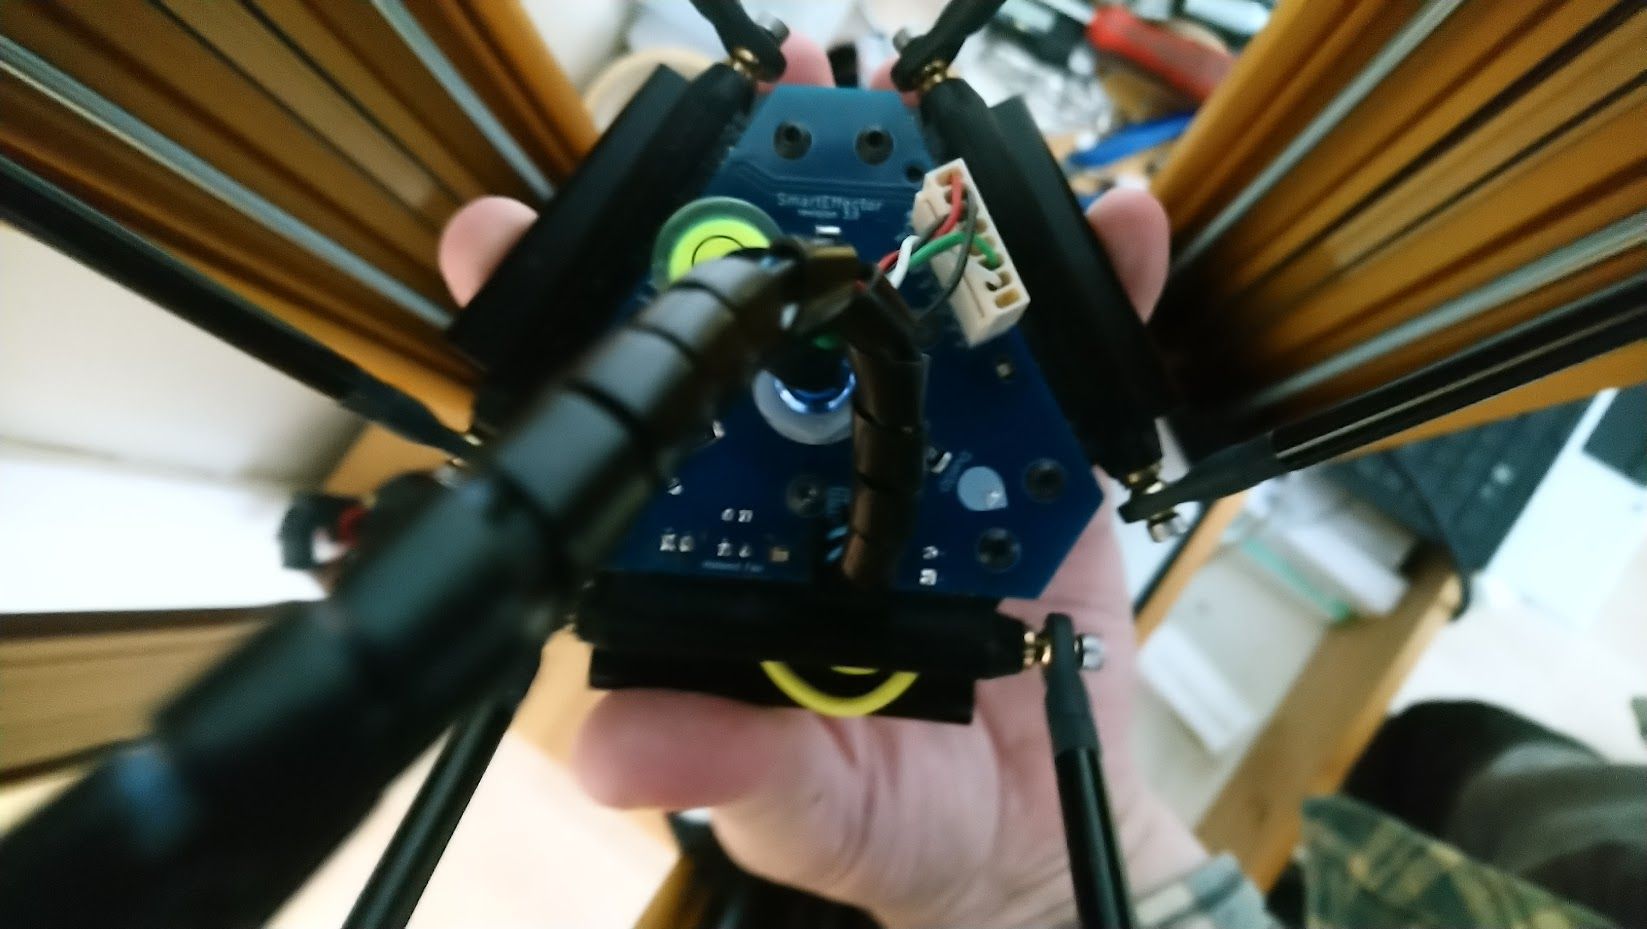
                                One violent move and this is the result.
                                DSC_0120.JPG

                                tecnoundefined 1 Reply Last reply Reply Quote 0
                                • tecnoundefined
                                  tecno @tecno
                                  last edited by

                                  So some days has gone and I am now trying to get the Smart Effector to work = no go!

                                  New non 3D printed effector adapter (original in alu with slight modifications)

                                  Area of bed 9 to 3 down to 6 can be probed G30 and 0,0 towards back about 50mm works
                                  Out of that area the smart effector is not sensitive enough as the effector needs to tilt a lot before it triggers.
                                  I find this a bit odd as the trigger LED on head moves. All set to default values.

                                  bed.g

                                  config.g

                                  1 Reply Last reply Reply Quote 0
                                  • Phaedruxundefined
                                    Phaedrux Moderator
                                    last edited by Phaedrux

                                    Your dive speed seems to be half the recommended value. M558 F600 vs M558 F1200

                                    https://docs.duet3d.com/en/Duet3D_hardware/Accessories/Smart_Effector#configuring-firmware

                                    M558 P8 R0.8 C"probe+servo0" H10 F600 T2000

                                    M558 P8 R0.4 F1200

                                    So perhaps it's not striking with enough force to reliably trigger.

                                    Z-Bot CoreXY Build | Thingiverse Profile

                                    tecnoundefined 1 Reply Last reply Reply Quote 1
                                    • tecnoundefined
                                      tecno @Phaedrux
                                      last edited by

                                      @phaedrux

                                      And looks like that, had to go all way up to 2500 to get reliable trig.

                                      Where do I set hotend offset and where to set effector offset?
                                      Looking from front X0/Y0 effector is to left and the hotend is a bit left too.

                                      Phaedruxundefined tecnoundefined 2 Replies Last reply Reply Quote 0
                                      • Phaedruxundefined
                                        Phaedrux Moderator @tecno
                                        last edited by

                                        @tecno said in Smart Effector issue:

                                        Where do I set hotend offset and where to set effector offset?
                                        Looking from front X0/Y0 effector is to left and the hotend is a bit left too.

                                        I'm not sure what you mean.

                                        Z-Bot CoreXY Build | Thingiverse Profile

                                        dc42undefined tecnoundefined 2 Replies Last reply Reply Quote 0
                                        • dc42undefined
                                          dc42 administrators @Phaedrux
                                          last edited by

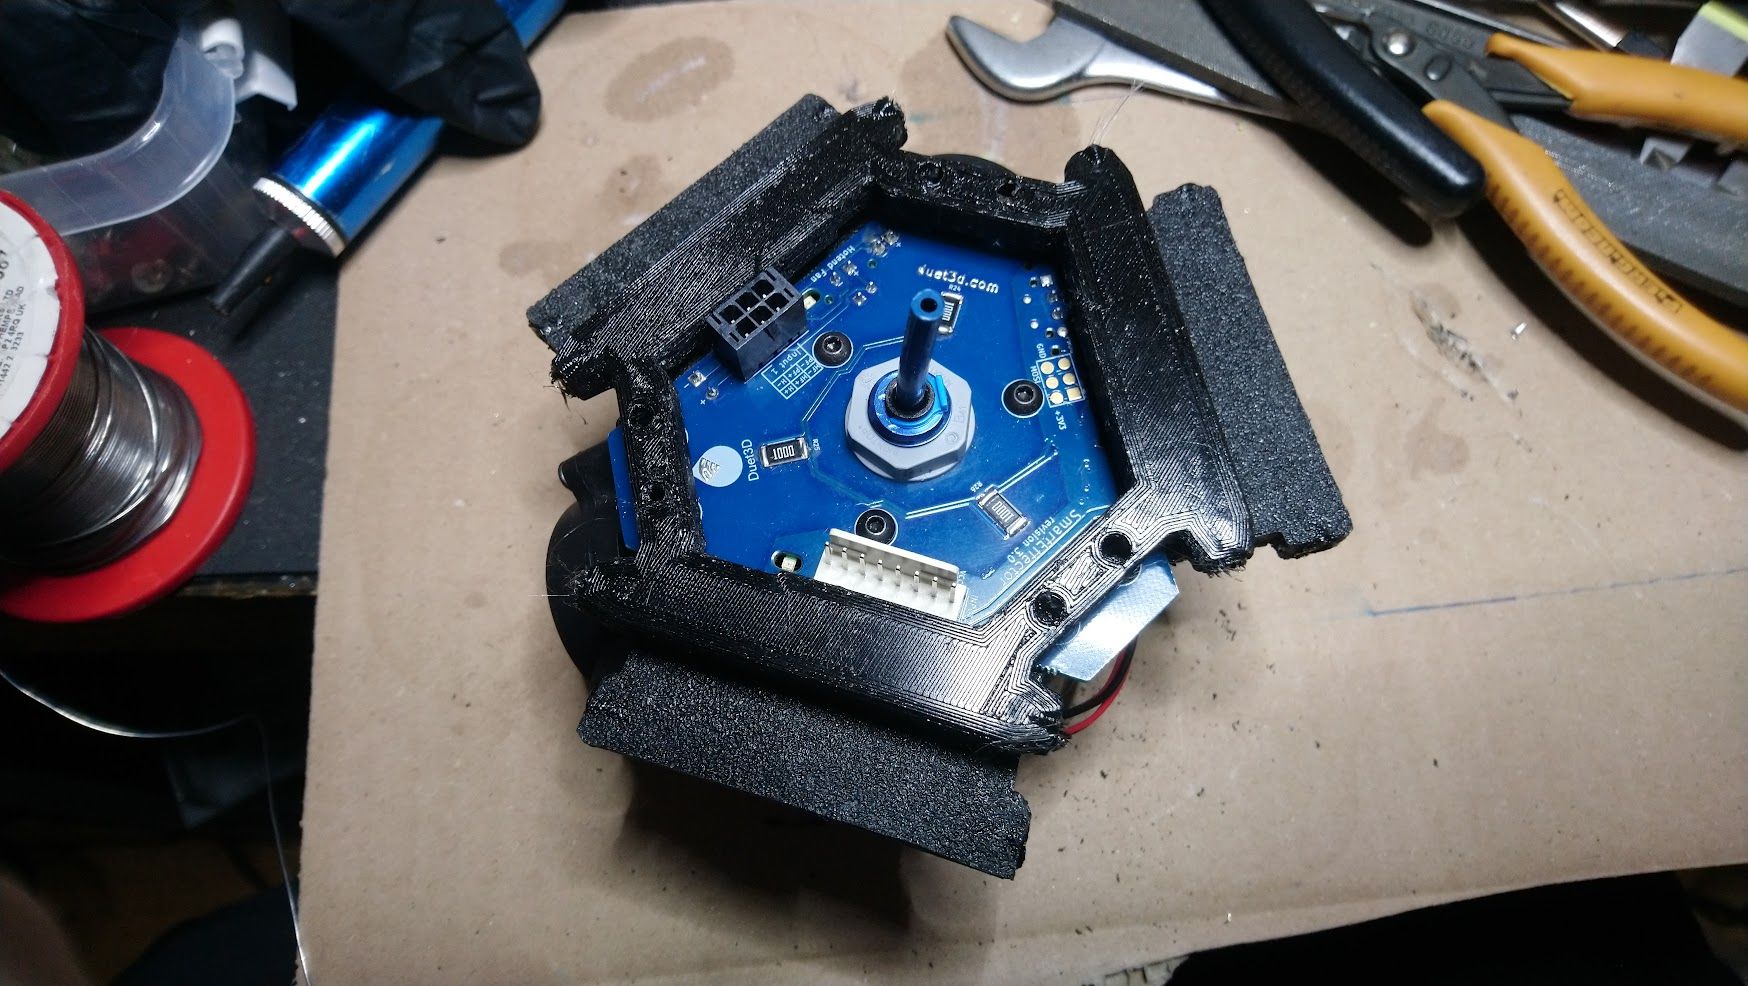
                                          FWIW we've identified a modification to the Smart Effector version 3 that improves the signal-to-noise ratio, which in turn allows you to use a higher sensitivity unless fan noise etc. prevents that. The modification is to remove capacitor C8. This can be done using a soldering iron with a bit large enough to cover both pads. Alternatively, you could use a small twist drill bit to remove a thin sliver of copper around the adjacent via that connects one end of the capacitor to the ground plane.

                                          182b0bde-15dd-4dac-a4d3-573ecf3c3973-image.png

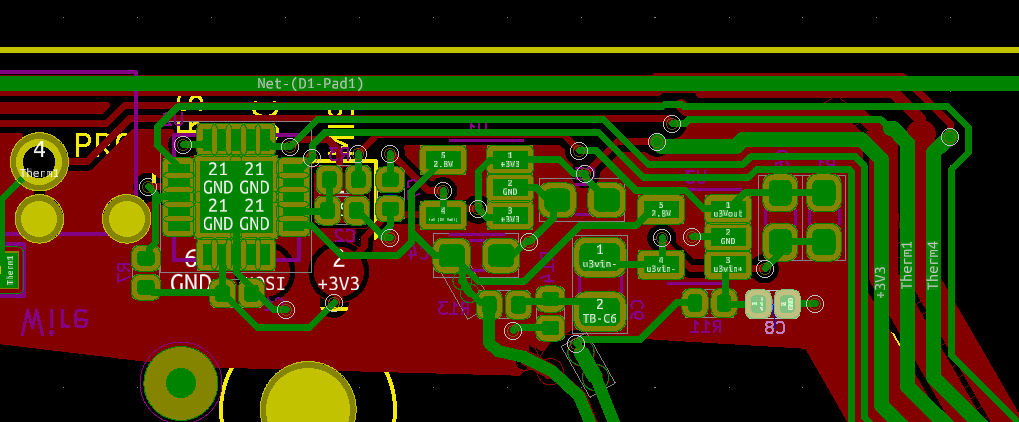
                                          This image is as viewed from the top of the PCB, so you need to invert it when looking at the bottom.

                                          Duet WiFi hardware designer and firmware engineer
                                          Please do not ask me for Duet support via PM or email, use the forum
                                          http://www.escher3d.com, https://miscsolutions.wordpress.com

                                          tecnoundefined 1 Reply Last reply Reply Quote 0
                                          • tecnoundefined
                                            tecno @Phaedrux
                                            last edited by

                                            @phaedrux said in Smart Effector issue:

                                            @tecno said in Smart Effector issue:

                                            Where do I set hotend offset and where to set effector offset?
                                            Looking from front X0/Y0 effector is to left and the hotend is a bit left too.

                                            I'm not sure what you mean.

                                            ; Tools
                                            M563 P0 D0 H1 F0 ; define tool 0
                                            G10 P0 X-4 Y0 Z0 ; set tool 0 axis offsets
                                            G10 P0 R0 S0

                                            Fixed offset issue

                                            1 Reply Last reply Reply Quote 0
                                            • First post
                                              Last post
                                            Unless otherwise noted, all forum content is licensed under CC-BY-SA