Duet3D Logo Duet3D
    • Tags
    • Documentation
    • Order
    • Register
    • Login
    1. Home
    2. HebigT
    • Profile
    • Following 83
    • Followers 1
    • Topics 38
    • Posts 152
    • Best 27
    • Controversial 0
    • Groups 0

    HebigT

    @HebigT

    34
    Reputation
    61
    Profile views
    152
    Posts
    1
    Followers
    83
    Following
    Joined Last Online

    HebigT Unfollow Follow

    Best posts made by HebigT

    • RE: Syringes printer, adjust different offset

      @fj3d

      Yes, you can create a macro to do it. Here is a potential procedure, and probably not the only, or best way to do it.

      This is mostly from memory so it will need tweaking.

      Also be sure to update to the latest stable firmware version first, if possible. In the gcode examples below, i'm assuming at least RRF v3.0

      1. Mount a switch somewhere on the build plate where every tool can reach.

      2. Define an additional Z-endstop in the console. Add this line to the beginning of your macro, later on, as well.
        (e.g. M574 Z0 P"pin_name" S1)

      • Before proceeding, you need to measure the height at which your z-offset probing switch actuates (e.g. "z_switch_actuation_height")
      • Pickup any tool with a syringe tip and clear the existing Z-offset
      • move the tip above the switch
      Tx ; Pick up a tool with syringe tip
      G10 Px Z0 ; clear z-offset for active tool
      G1 Xx Yx ; move syringe tip over z-offset switch
      
      
      • manually jog the bed upward until the switch actuates (use M119 in the console to determine the endstop state and note at which height it changes. Always use M114 in the console to check axes positions, the positions in the DWC dashboard are rounded numbers)

      • write down the current z-position (for instance 40mm)

      • move off the switch and manually jog the buildplate up to the syringe tip (use a sheet of paper, if needed, to feel when the tip is close to touching the build plate).

      • write down the current z-position (for instance, 25mm)

      • Initiate a global variable for the actuation height. This will always be the same unless you change something about your z-switch mount.

      global z_switch_actuation_height = 40 - 25 ; minus the thickness of the sheet of paper, too , if needed
      
      
      • Put this global variable at the end of your config.g

      The Automatic offset macro:

      1. Write some gcode to pick up a tool (with newly installed syringe tip), move the syringe tip over the switch and probe the switch
      Tx ; pick up a tool
      G1 Z10 ; Move the bed down (probably taken care of by your tpostx.g macros already, just need to more the bed to a safe position to prevent crashes)
      G10 Px Z0 ; clear the previous Z-offset for the active tool
      G1 Xx Yx ; move over the switch
      G91 ; set to relative positioning
      G1 Z-10 H4 ; Syringe tip probes the switch and stops when the switch actuates (that's what the H4 does)
      G90 ; set to absolute positioning
      

      Query the object model for the current position of the Z-axis and initiate a variable. An if statement checks if the variable already exists, and will overwrite it if so, or initiate it if not. This is useful if you are running the macro multiple times; otherwise RRF will give you an error that a variable already exists.

      if exists (var.current_z_pos)
          set var.current_z_pos = move.axes[2].machinePosition 
      else
          var current_z_pos = move.axes[2].machinePosition
      
      1. Take the measured z-position and subtract your pre-determined z-switch 'actuation height'
      var Tx_z_offset = var.current_z_pos - global.z_switch_actuation_height
      
      
      1. The difference calculated in step 4 should be your new z-offset for the active tool. Add this to the active tool's G10 command, ENSURE IS IT NEGATIVE, and save with M500 to the config-override.g
      G10 Px Z{var.Tx_z_offset} ; set new z-offset
      M500 ; save the offset (will appear in config-override.g)
      
      T-x ; return the tool to the dock
      
      posted in Firmware installation
      HebigTundefined
      HebigT
    • RE: Automatic Tool Offset (XYZ) for Syringe Printer?

      I think I can close out this thread now

      Both the Automatic Z and XY offset are working.

      For XY offsets (using the optical endstops) I had to probe each side of the syringe tip - i.e. probe the tip on both sides in the x direction, probe both sides in the y-direction... I think this is how some dual extruder FDM printers set the XY offsets.

      I used gcode meta commands to query current machine positions and then referenced those values later on. Every now and then I used an IF statement to check whether a variable already exists.

      I used a USB microscope to check the syringe tip alignment across tools and it looks good.

      For anyone coming across this in the future, I used Fisnar tapered tips and blunt-end steel tips. I found that some plastic tapered tips didn't work well with the optical endstops. (Blue, pink, orange colored tips might be more transparent to gallium-arsenide LED?). The steel, blunt-end tips work great.

      posted in Using Duet Controllers
      HebigTundefined
      HebigT
    • RE: Trying to understand coordinate systems...Add + Sub

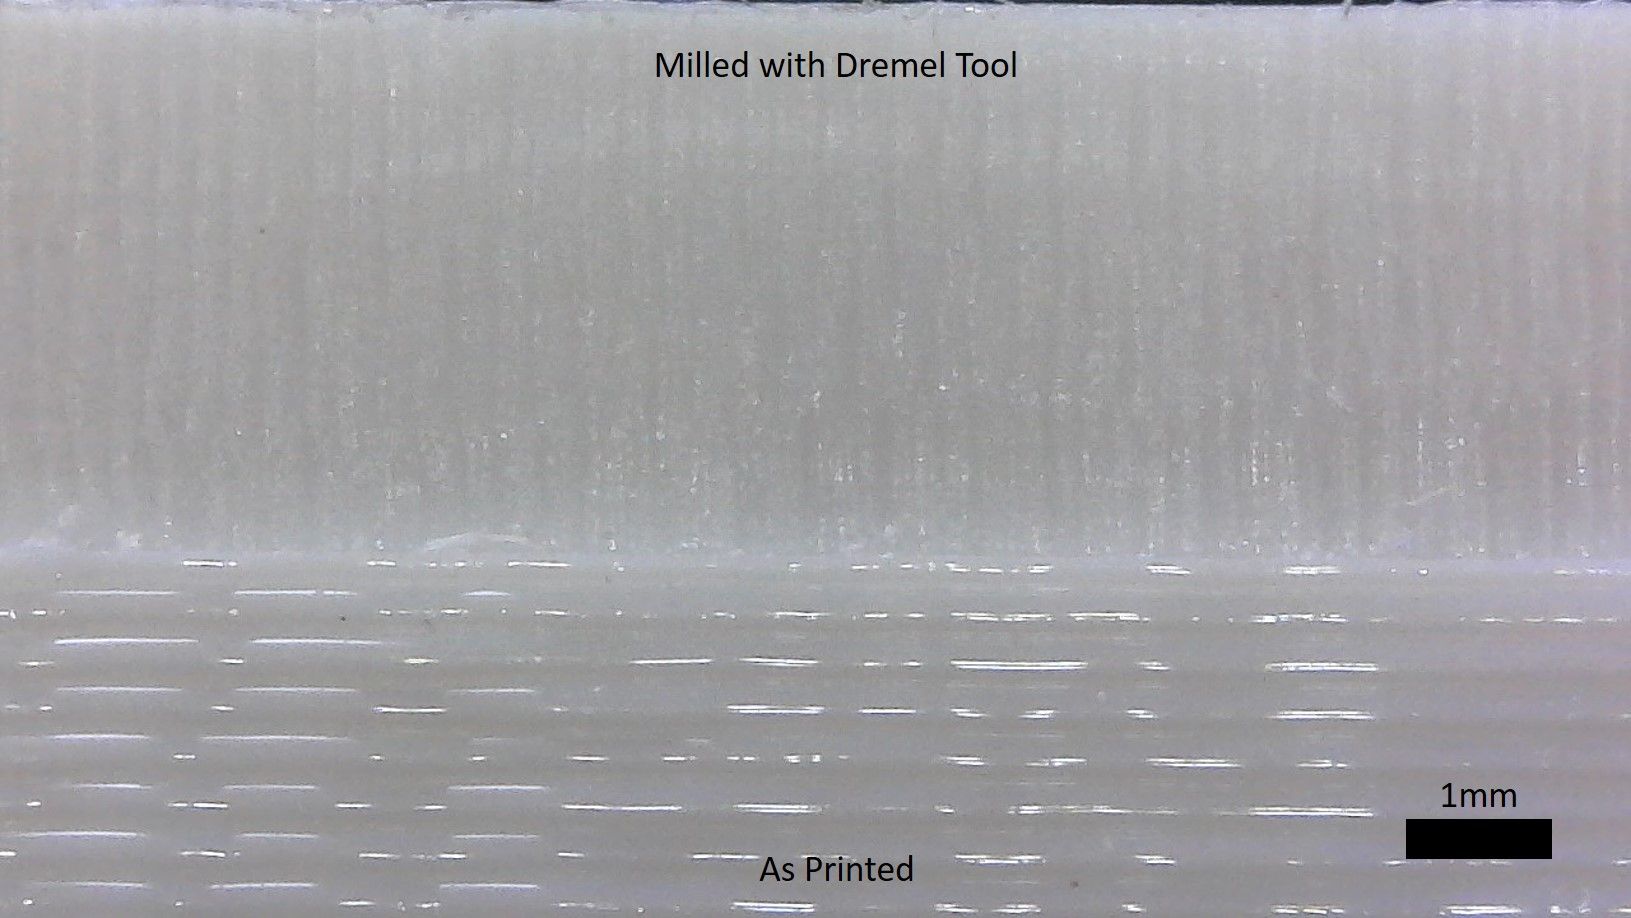
      @Jacotheron Finally had a chance to test this with Fusion 360 and it is working for milling. Thank you!Dremel_Test.jpg

      posted in CNC
      HebigTundefined
      HebigT
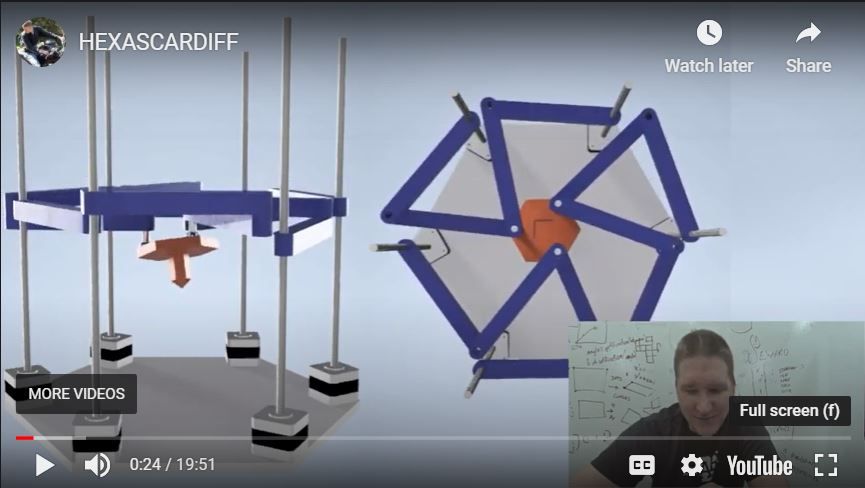
    • Hexascardiff Printer Kinematic - Nicholas Seward

      Saw this posted on reddit and wanted to share:

      YouTube link

      NS.JPG

      posted in General Discussion
      HebigTundefined
      HebigT
    • Real-time gcode stream (window) for current job?

      Many commercial CNC software have a dedicated window that shows a real-time stream of gcode commands.

      I'd like to create a plugin to do the same - but have no idea how realistic it is or where to start.

      I think Sandarius's gcode viewer offers some similar functionality in that it loads the current job and gives a visual preview of commands to come.

      Would it be sufficient to simulate the active job in parallel, provided that they both start (and remain) synchronized?

      Any thoughts are appreciated!

      posted in CNC
      HebigTundefined
      HebigT
    • Rubedo - PA calibration via line laser

      https://github.com/furrysalamander/rubedo

      Not my project, just wanted to share.

      posted in General Discussion
      HebigTundefined
      HebigT
    • RE: New printer purchase suggestions

      @paralepsis

      If you're not in a rush, the upcoming oozebot "elevate" could be a good option.

      https://forum.duet3d.com/topic/18485/oozebot-elevate/85

      https://www.instagram.com/oozebot/

      It uses the Duet 3 + toolboards, it's enclosed, and has a build volume of ~300mm^3.

      Someone from oozebot is very active around the forum, and seeing their posts gives me a lot of confidence the printer will be well tested before release.

      Biggest hangup is that it has not yet been released, and I reckon it may end up being above your budget, but hopefully we'll find out soon.

      posted in 3D Printing General Chat
      HebigTundefined
      HebigT
    • RE: M571 Proper Use + Question

      @alankilian

      Thank you all for the help.

      I used M571 "e0heat" Qxx Sxx and it's working now. Also upgraded to 3.3 as @Phaedrux recommended.

      @dc42 I'll admit, I have a specific use case that requires multiple components to turn on when extrusion (syringe) is active. No idea if it's feasible, but I would love to see multiple M571 commands supported so that each external component can have a dedicated output.

      For now, my workaround is to define a M571 in tpreX.g for each tool. All my external components use 24v input, so I'll just connect all of them to the needed output and turn them on simultaneously.

      posted in Firmware wishlist
      HebigTundefined
      HebigT
    • RE: New to CNC with duet3d

      Hey, exactly what @Jacotheron said. Here are a couple of post processors found on the forum, but you can search for others too. You'll have to try some out and see what works best for you. If you find one that works, you may also need to manually edit the Gcode to add or remove commands as needed (I have to do this).

      I've used this with success:

      https://github.com/mwinterm/fusion_post/tree/master/DuetCNC

      I tried this but it didn't quite work for me:

      https://github.com/guffy1234/mpcnc_posts_processor

      Search google for how to import a post-processor into Fusion360

      posted in CNC
      HebigTundefined
      HebigT
    • RE: Linear motors: Day Dreaming about future printers.

      @JoergS5 There may be hope... I contacted the author of that topic in March and they said the linear rails had been sent off to be EDM'd.

      @bot I too have been dreaming about using linear motors in a build. I've heard they can sometimes be salvaged from old electric typewriters from the 80's like the Daisy Wheel or Brother EM series. But I don't know if those are suitable for a printer.

      posted in General Discussion
      HebigTundefined
      HebigT

    Latest posts made by HebigT

    • RE: Automatic Three-Coordinate Measuring Instrument

      @ander

      This project sounds similar. Measuring the surface of a coin using a duet-controlled machine:

      https://forum.duet3d.com/topic/8685/3d-scanning-a-2-coin-with-3d-printer-and-diy-touch-probe?_=1724764890311

      posted in General Discussion
      HebigTundefined
      HebigT
    • RE: Optimizing Multi-Extruder 3D Printing by Preheating

      @SanderLPFRG

      If you use PrusaSlicer this might be an option for you.

      https://github.com/mkudzia84/toolchanger-pspp

      It’s an older project, and may not work out of the box, or at all, but could be worth a try.

      Beyond that, I wonder if Prusa has already implemented something like this for the Prusa XL?

      posted in Gcode meta commands
      HebigTundefined
      HebigT
    • RE: Cleaning Brush

      @james1010

      You can put those purge and brush macros into your TPost_.g and run them as sub-programs using the M98 command.

      TPost_.g occurs AFTER the tool is picked up.

      posted in Tuning and tweaking
      HebigTundefined
      HebigT
    • RE: waterjet cutter and duet

      @Aurimas said in waterjet cutter and duet:

      Just thinking aloud - I don't it is much different from CNC and/or laser. M3 and M5 will turn the flow and off
      rest of it is per normal.
      what is needed is the postprocessor definition for the Fusion360 or alike.

      I imagine you’ve done some research since you originally posted this topic-

      In principle, yes you could use those M codes to open and close a valve. You should probably start with M453 (CNC more) and figure out what I/O to define.

      For a post processor, I recommend you search the duet forum via Google search. “Duet3d cnc fusion360 post processor”

      There should be one or two options to test. I’ve used one successfully in the past but can’t remember which. Without a doubt, you’ll need to either modify the post processor or at least review the generated gcode to remove or add codes that are needed for your specific application.

      Also look into the ooznest cnc to see if anyone has a post process for rep rap firmware

      @o_lampe ‘s comment about motors is relevant. If you haven’t already, you’ll need to decide on the platform and how the motion will work. Will it use steppers or servos? If steppers, what size? Will they have encoders for feedback? Etc.

      But sure, as far as motion control the duet can do it. You’ll just need to define the system details and work out the integration.

      Do you have any specific components you’re trying to use in the build?

      posted in General Discussion
      HebigTundefined
      HebigT
    • RE: How do I change to a new sd card?

      @wbrokow1

      This should be a good resource for you in the process:

      https://docs.duet3d.com/User_manual/RepRapFirmware/SD_card

      The specific file structure is necessary. Also make sure to backup any critical files before you do this. Config.g, gcode for prints, etc.

      posted in General Discussion
      HebigTundefined
      HebigT
    • RE: Printing directly onto aluminum plate

      @Surgikill

      You can also consider a 3-4mm thick PEI (Ultem 1000) plate. If high temp is needed find a plate without adhesive backing then use binder clips or Swiss clips to secure it to your heater - attaching rigidly with fasteners will lead to stress cracks in the Ultem, eventually.

      With Ultem you may not need to use adhesive or as high of build plate temperature. Hopefully you could flex the parts off the surface and not have to use a spatula because it’s a polymer and even softer than aluminum!

      posted in General Discussion
      HebigTundefined
      HebigT
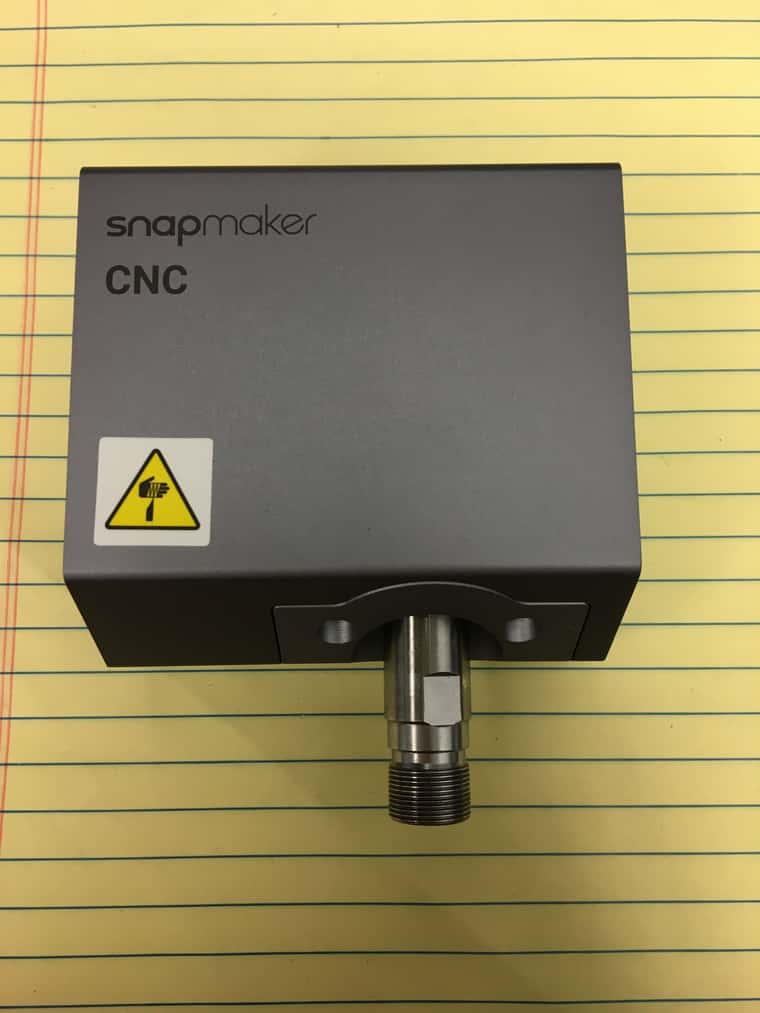
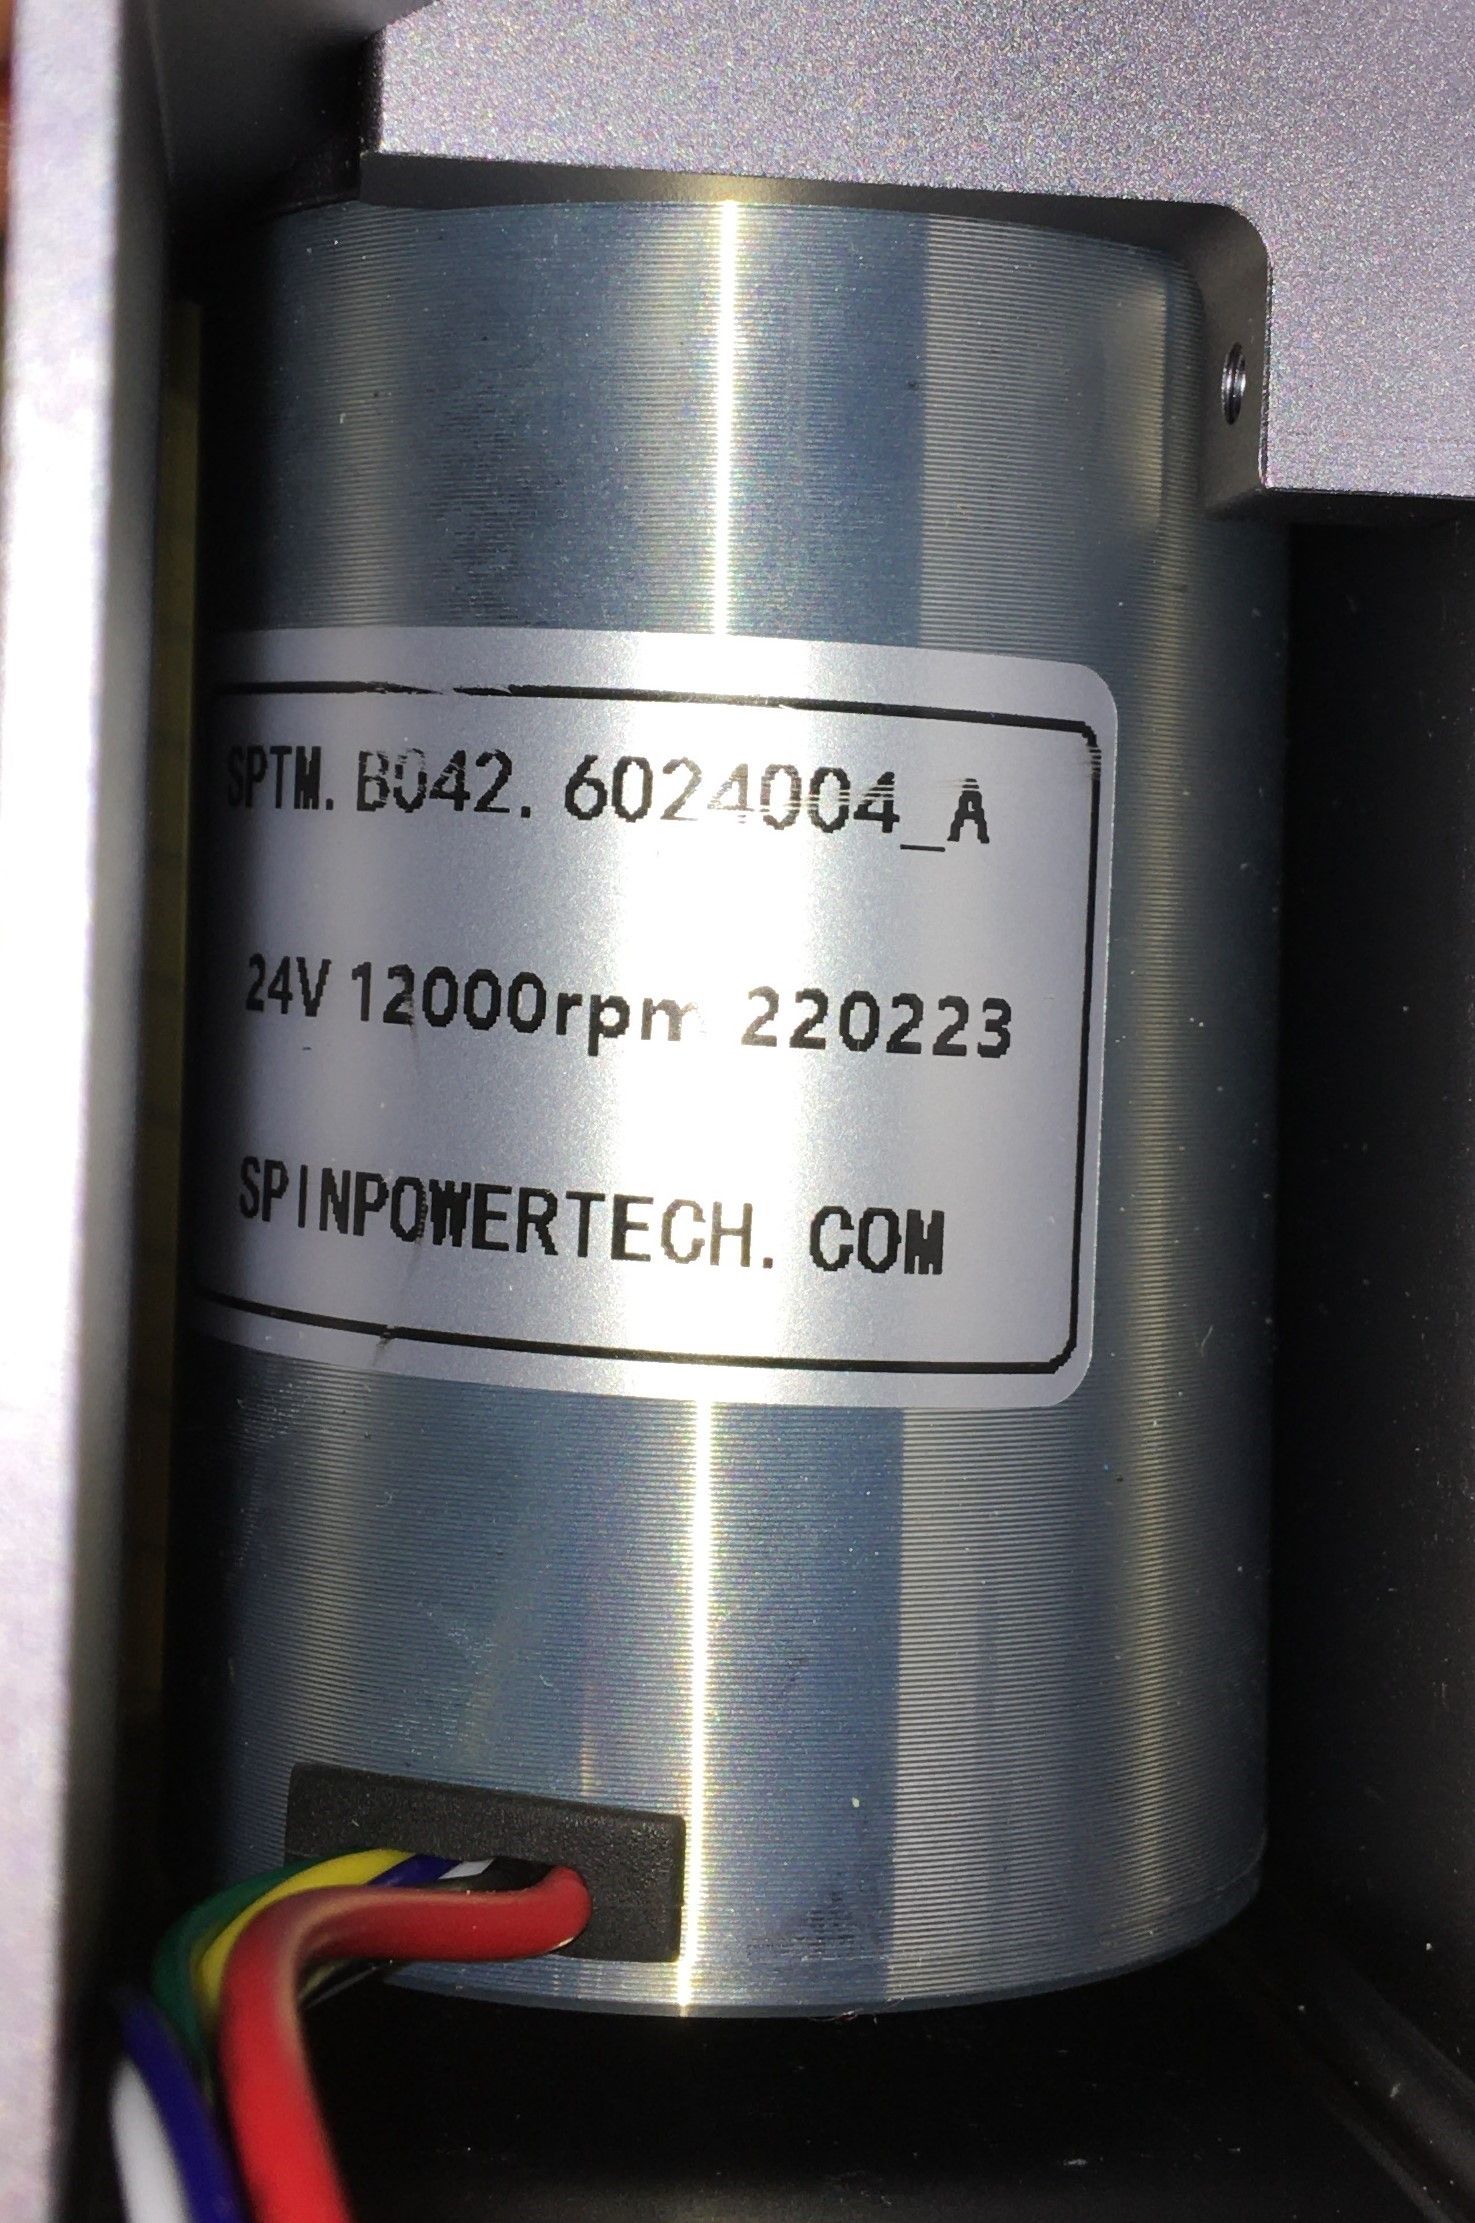
    • Duet 3 DC motor control & Tacho Feedback?

      Hello,

      I found this snapmaker CNC tool 2nd hand and I want to use it on a small CNC mill.

      I'll be using a Duet 3.

      The motor itself is supposedly 50W at 24v, and I cannot find any more details online, so far.

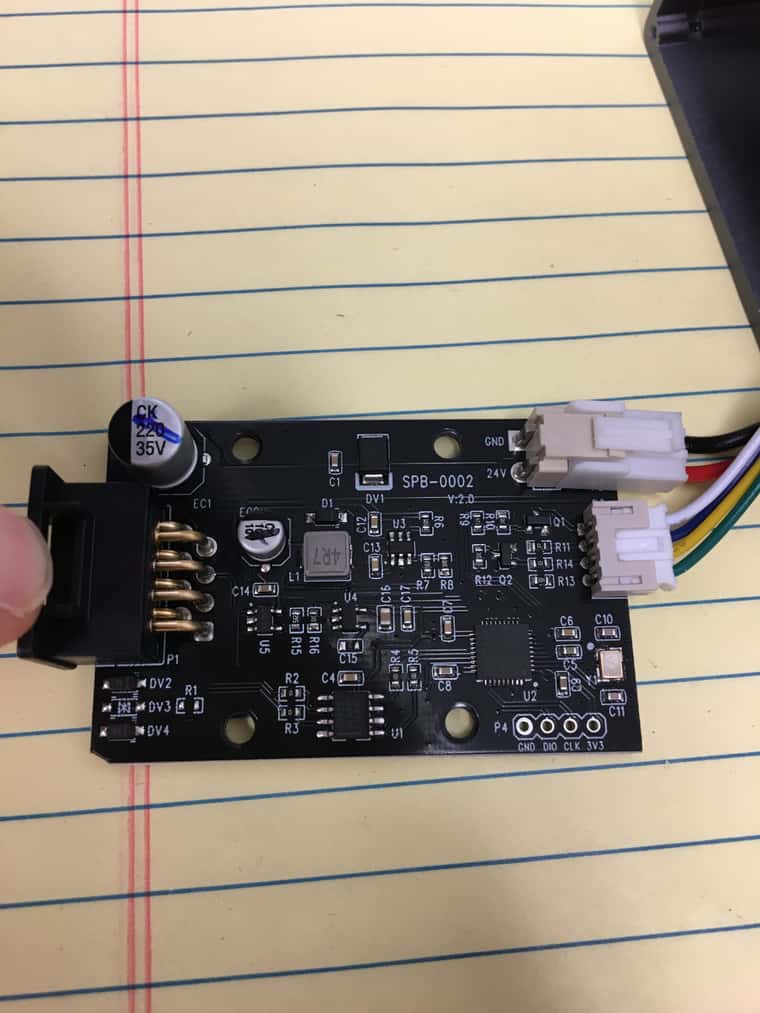
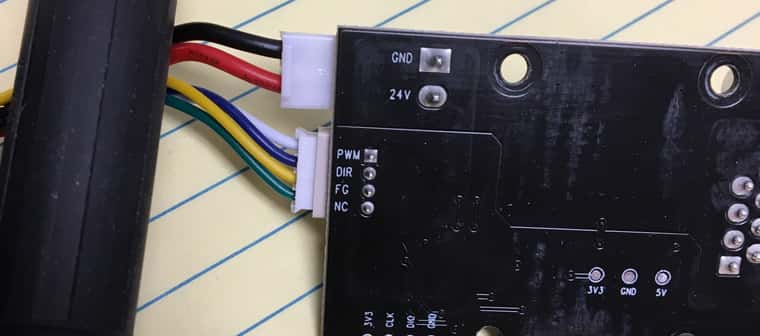
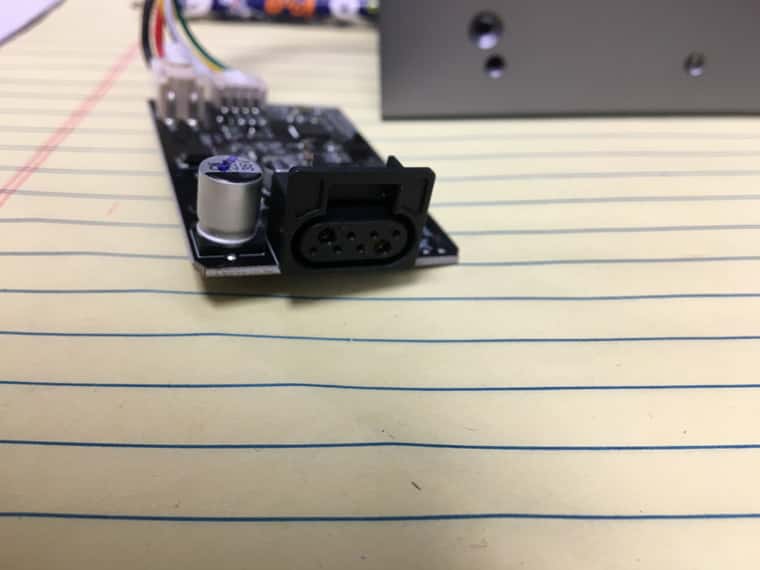
      There's a daughter board nearby with the power and other connections (possibly CAN-based?):

      • PWM (guessing speed control)
      • DIR (not sure how this would be handled by duet..)
      • FG (Frequency Generation - possibly a hall sensor?)
      • NC (I'm assuming "no connection" on this one)

      In principle, do you think I can control this motor directly from the board (power, speed control and feedback?)

      I see some docs which recommend using a flyback diode.

      Some also recommend a not sharing ground connection between duet and the motor.

      Any advice is appreciated!

      Spindle.jpeg

      Motor.jpeg

      Daughter_Board.jpeg

      Signals.jpeg

      Connector.jpeg

      posted in CNC
      HebigTundefined
      HebigT
    • Rubedo - PA calibration via line laser

      https://github.com/furrysalamander/rubedo

      Not my project, just wanted to share.

      posted in General Discussion
      HebigTundefined
      HebigT
    • ChatGPT & duet

      Question for all interested:
      How do you plan to integrate AI into your 3DP workflow/development?

      posted in General Discussion
      HebigTundefined
      HebigT
    • RE: Surfacing Macro

      @nikki-m

      With 3.3 you should still be able to pass a parameter in the macro call. You’ll just have to modify the macro (hopefully only once!) to assign that parameter to the DOC variable (e.g. var DepthOfCut= {param.y} )
      It’ll still be a manual process of entering the parameter each time you start the macro, but it should save you the trouble of having to change the DOC variable within the macro each time.

      See the macro parameter section at this link:

      https://docs.duet3d.com/User_manual/Reference/Gcode_meta_commands

      posted in CNC
      HebigTundefined
      HebigT