Duet3D Logo Duet3D
    • Tags
    • Documentation
    • Order
    • Register
    • Login
    1. Home
    2. HebigT
    3. Best
    • Profile
    • Following 83
    • Followers 1
    • Topics 38
    • Posts 152
    • Best 27
    • Controversial 0
    • Groups 0

    Best posts made by HebigT

    • RE: Syringes printer, adjust different offset

      @fj3d

      Yes, you can create a macro to do it. Here is a potential procedure, and probably not the only, or best way to do it.

      This is mostly from memory so it will need tweaking.

      Also be sure to update to the latest stable firmware version first, if possible. In the gcode examples below, i'm assuming at least RRF v3.0

      1. Mount a switch somewhere on the build plate where every tool can reach.

      2. Define an additional Z-endstop in the console. Add this line to the beginning of your macro, later on, as well.
        (e.g. M574 Z0 P"pin_name" S1)

      • Before proceeding, you need to measure the height at which your z-offset probing switch actuates (e.g. "z_switch_actuation_height")
      • Pickup any tool with a syringe tip and clear the existing Z-offset
      • move the tip above the switch
      Tx ; Pick up a tool with syringe tip
      G10 Px Z0 ; clear z-offset for active tool
      G1 Xx Yx ; move syringe tip over z-offset switch
      
      
      • manually jog the bed upward until the switch actuates (use M119 in the console to determine the endstop state and note at which height it changes. Always use M114 in the console to check axes positions, the positions in the DWC dashboard are rounded numbers)

      • write down the current z-position (for instance 40mm)

      • move off the switch and manually jog the buildplate up to the syringe tip (use a sheet of paper, if needed, to feel when the tip is close to touching the build plate).

      • write down the current z-position (for instance, 25mm)

      • Initiate a global variable for the actuation height. This will always be the same unless you change something about your z-switch mount.

      global z_switch_actuation_height = 40 - 25 ; minus the thickness of the sheet of paper, too , if needed
      
      
      • Put this global variable at the end of your config.g

      The Automatic offset macro:

      1. Write some gcode to pick up a tool (with newly installed syringe tip), move the syringe tip over the switch and probe the switch
      Tx ; pick up a tool
      G1 Z10 ; Move the bed down (probably taken care of by your tpostx.g macros already, just need to more the bed to a safe position to prevent crashes)
      G10 Px Z0 ; clear the previous Z-offset for the active tool
      G1 Xx Yx ; move over the switch
      G91 ; set to relative positioning
      G1 Z-10 H4 ; Syringe tip probes the switch and stops when the switch actuates (that's what the H4 does)
      G90 ; set to absolute positioning
      

      Query the object model for the current position of the Z-axis and initiate a variable. An if statement checks if the variable already exists, and will overwrite it if so, or initiate it if not. This is useful if you are running the macro multiple times; otherwise RRF will give you an error that a variable already exists.

      if exists (var.current_z_pos)
          set var.current_z_pos = move.axes[2].machinePosition 
      else
          var current_z_pos = move.axes[2].machinePosition
      
      1. Take the measured z-position and subtract your pre-determined z-switch 'actuation height'
      var Tx_z_offset = var.current_z_pos - global.z_switch_actuation_height
      
      
      1. The difference calculated in step 4 should be your new z-offset for the active tool. Add this to the active tool's G10 command, ENSURE IS IT NEGATIVE, and save with M500 to the config-override.g
      G10 Px Z{var.Tx_z_offset} ; set new z-offset
      M500 ; save the offset (will appear in config-override.g)
      
      T-x ; return the tool to the dock
      
      posted in Firmware installation
      HebigTundefined
      HebigT
    • RE: Automatic Tool Offset (XYZ) for Syringe Printer?

      I think I can close out this thread now

      Both the Automatic Z and XY offset are working.

      For XY offsets (using the optical endstops) I had to probe each side of the syringe tip - i.e. probe the tip on both sides in the x direction, probe both sides in the y-direction... I think this is how some dual extruder FDM printers set the XY offsets.

      I used gcode meta commands to query current machine positions and then referenced those values later on. Every now and then I used an IF statement to check whether a variable already exists.

      I used a USB microscope to check the syringe tip alignment across tools and it looks good.

      For anyone coming across this in the future, I used Fisnar tapered tips and blunt-end steel tips. I found that some plastic tapered tips didn't work well with the optical endstops. (Blue, pink, orange colored tips might be more transparent to gallium-arsenide LED?). The steel, blunt-end tips work great.

      posted in Using Duet Controllers
      HebigTundefined
      HebigT
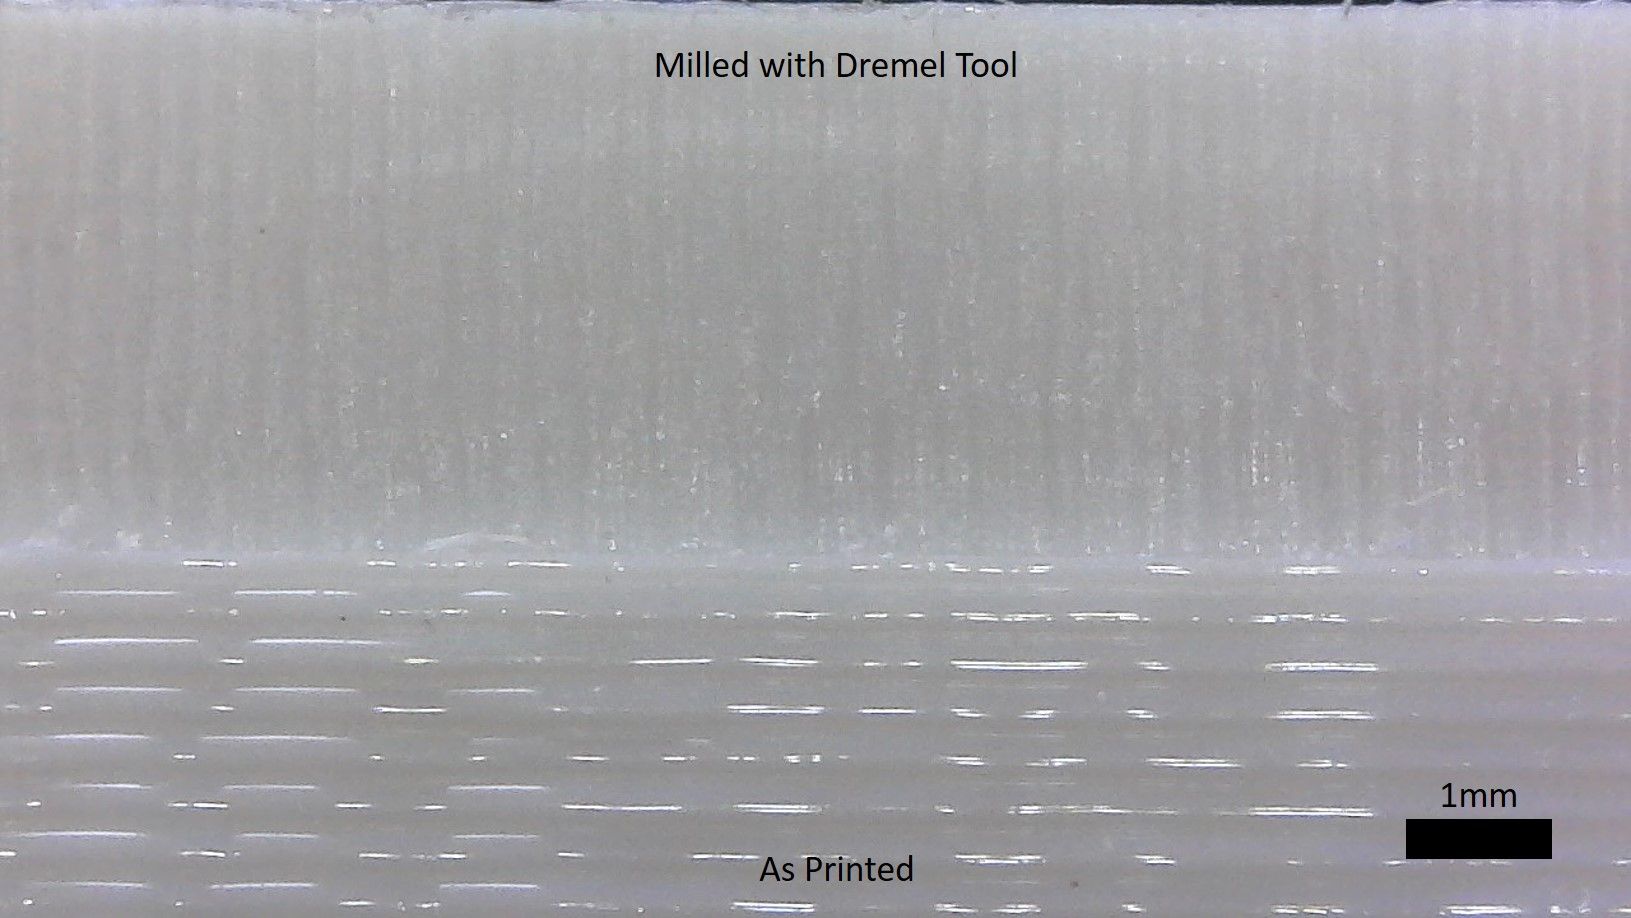
    • RE: Trying to understand coordinate systems...Add + Sub

      @Jacotheron Finally had a chance to test this with Fusion 360 and it is working for milling. Thank you!Dremel_Test.jpg

      posted in CNC
      HebigTundefined
      HebigT
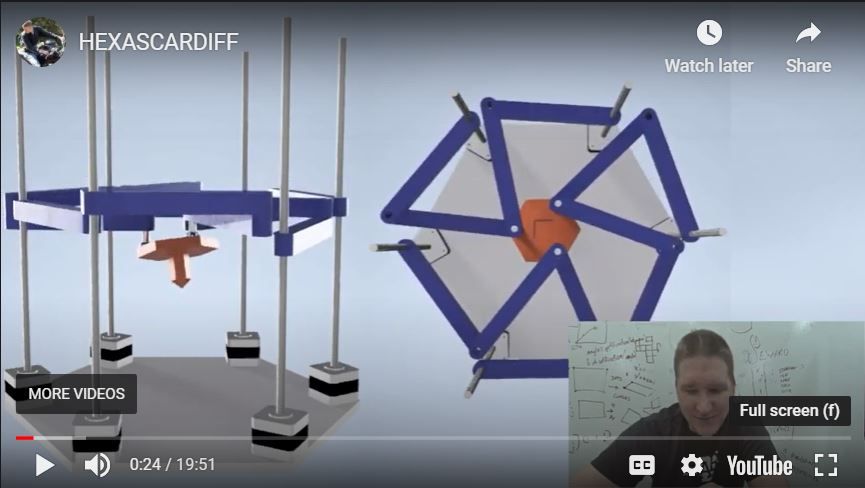
    • Hexascardiff Printer Kinematic - Nicholas Seward

      Saw this posted on reddit and wanted to share:

      YouTube link

      NS.JPG

      posted in General Discussion
      HebigTundefined
      HebigT
    • Real-time gcode stream (window) for current job?

      Many commercial CNC software have a dedicated window that shows a real-time stream of gcode commands.

      I'd like to create a plugin to do the same - but have no idea how realistic it is or where to start.

      I think Sandarius's gcode viewer offers some similar functionality in that it loads the current job and gives a visual preview of commands to come.

      Would it be sufficient to simulate the active job in parallel, provided that they both start (and remain) synchronized?

      Any thoughts are appreciated!

      posted in CNC
      HebigTundefined
      HebigT
    • Rubedo - PA calibration via line laser

      https://github.com/furrysalamander/rubedo

      Not my project, just wanted to share.

      posted in General Discussion
      HebigTundefined
      HebigT
    • RE: New printer purchase suggestions

      @paralepsis

      If you're not in a rush, the upcoming oozebot "elevate" could be a good option.

      https://forum.duet3d.com/topic/18485/oozebot-elevate/85

      https://www.instagram.com/oozebot/

      It uses the Duet 3 + toolboards, it's enclosed, and has a build volume of ~300mm^3.

      Someone from oozebot is very active around the forum, and seeing their posts gives me a lot of confidence the printer will be well tested before release.

      Biggest hangup is that it has not yet been released, and I reckon it may end up being above your budget, but hopefully we'll find out soon.

      posted in 3D Printing General Chat
      HebigTundefined
      HebigT
    • RE: M571 Proper Use + Question

      @alankilian

      Thank you all for the help.

      I used M571 "e0heat" Qxx Sxx and it's working now. Also upgraded to 3.3 as @Phaedrux recommended.

      @dc42 I'll admit, I have a specific use case that requires multiple components to turn on when extrusion (syringe) is active. No idea if it's feasible, but I would love to see multiple M571 commands supported so that each external component can have a dedicated output.

      For now, my workaround is to define a M571 in tpreX.g for each tool. All my external components use 24v input, so I'll just connect all of them to the needed output and turn them on simultaneously.

      posted in Firmware wishlist
      HebigTundefined
      HebigT
    • RE: New to CNC with duet3d

      Hey, exactly what @Jacotheron said. Here are a couple of post processors found on the forum, but you can search for others too. You'll have to try some out and see what works best for you. If you find one that works, you may also need to manually edit the Gcode to add or remove commands as needed (I have to do this).

      I've used this with success:

      https://github.com/mwinterm/fusion_post/tree/master/DuetCNC

      I tried this but it didn't quite work for me:

      https://github.com/guffy1234/mpcnc_posts_processor

      Search google for how to import a post-processor into Fusion360

      posted in CNC
      HebigTundefined
      HebigT
    • RE: Linear motors: Day Dreaming about future printers.

      @JoergS5 There may be hope... I contacted the author of that topic in March and they said the linear rails had been sent off to be EDM'd.

      @bot I too have been dreaming about using linear motors in a build. I've heard they can sometimes be salvaged from old electric typewriters from the 80's like the Daisy Wheel or Brother EM series. But I don't know if those are suitable for a printer.

      posted in General Discussion
      HebigTundefined
      HebigT
    • Bambu Lab Printer (for discussion, not promotion)

      I'm not associated with the company, but I found the (alleged) features on this printer interesting enough to share.

      https://bambulab.com/

      A few notes:

      1. 'high-speed' printing, apparently inspired by MirageC's HevORT.
        https://www.youtube.com/watch?v=NFdfYn0DTUk&t=130s&ab_channel=BambuLab

      2. 3 force sensors + "mini" Lidar module for z-axis compensation

      3. Lidar also used for pre-print flow-calibration and first-layer adhesion checks (they claim 7um resolution and say this data feeds into the linear advance parameters)
        https://www.youtube.com/watch?v=asXf7KNCerQ

      4. Input shaping - vague on the details but mentions sampling frequencies for compensation
        https://www.youtube.com/watch?v=21RZwC-MD-I&ab_channel=Maker'sMuse

      They posted to Reddit and drew a lot of skepticism.
      https://www.reddit.com/r/3Dprinting/comments/udry4b/we_have_been_working_on_this_lovely_monster_for/

      Lingering questions:

      Open-source firmware (my guess is no)

      Software details - only seen screenshots but they say it will accept gcode from other slicers.

      Consumables - this video seems to show a bespoke nozzle design
      https://www.youtube.com/watch?v=ujR5moz5hHk&ab_channel=BambuLab

      Here's their FAQ

      https://blog.bambulab.com/faq/

      The promo is very flashy, but I think the printer itself looks quite nice. We'll see...

      posted in 3D Printing General Chat
      HebigTundefined
      HebigT
    • Printer with Two Independent Z-Axes - How to synchronize?

      I'm building a tool-changing printer with two independent z-axes (one for each tool).

      The Duet thinks there is only 1 z-axis at any given time, so I use M584 to switch stepper outputs during tool changes.

      (dc42 suggested this method here: https://forum.duet3d.com/topic/16609/multiple-z-axis-and-complex-tools-possible)

      Is there a way to get each Z axis to move in sync during a print?

      For example:

      Printer homes and both axes home to their endstops. T0 & T1 Z-height are both at 0

      T0 starts the print and completes Layer 1 & 2

      Tool-change to T1

      T1 Never moved from its homed position (Z=0) so it will crash into the print.

      Does anyone have insight to ensure that both T0 & T1 move upward as the print progresses?

      Ideally, each tool would move to some intermediate position defined in Tfree, and the return to the correct z-height for printing when it becomes active again.

      Thanks!

      In the photo, T0 is on the left, T1 is on the right.

      IMG_3654.JPG

      posted in Duet Hardware and wiring
      HebigTundefined
      HebigT
    • RE: Start-up macro

      @fcwilt @Alex-cr

      Points well taken, thanks.

      posted in Firmware wishlist
      HebigTundefined
      HebigT
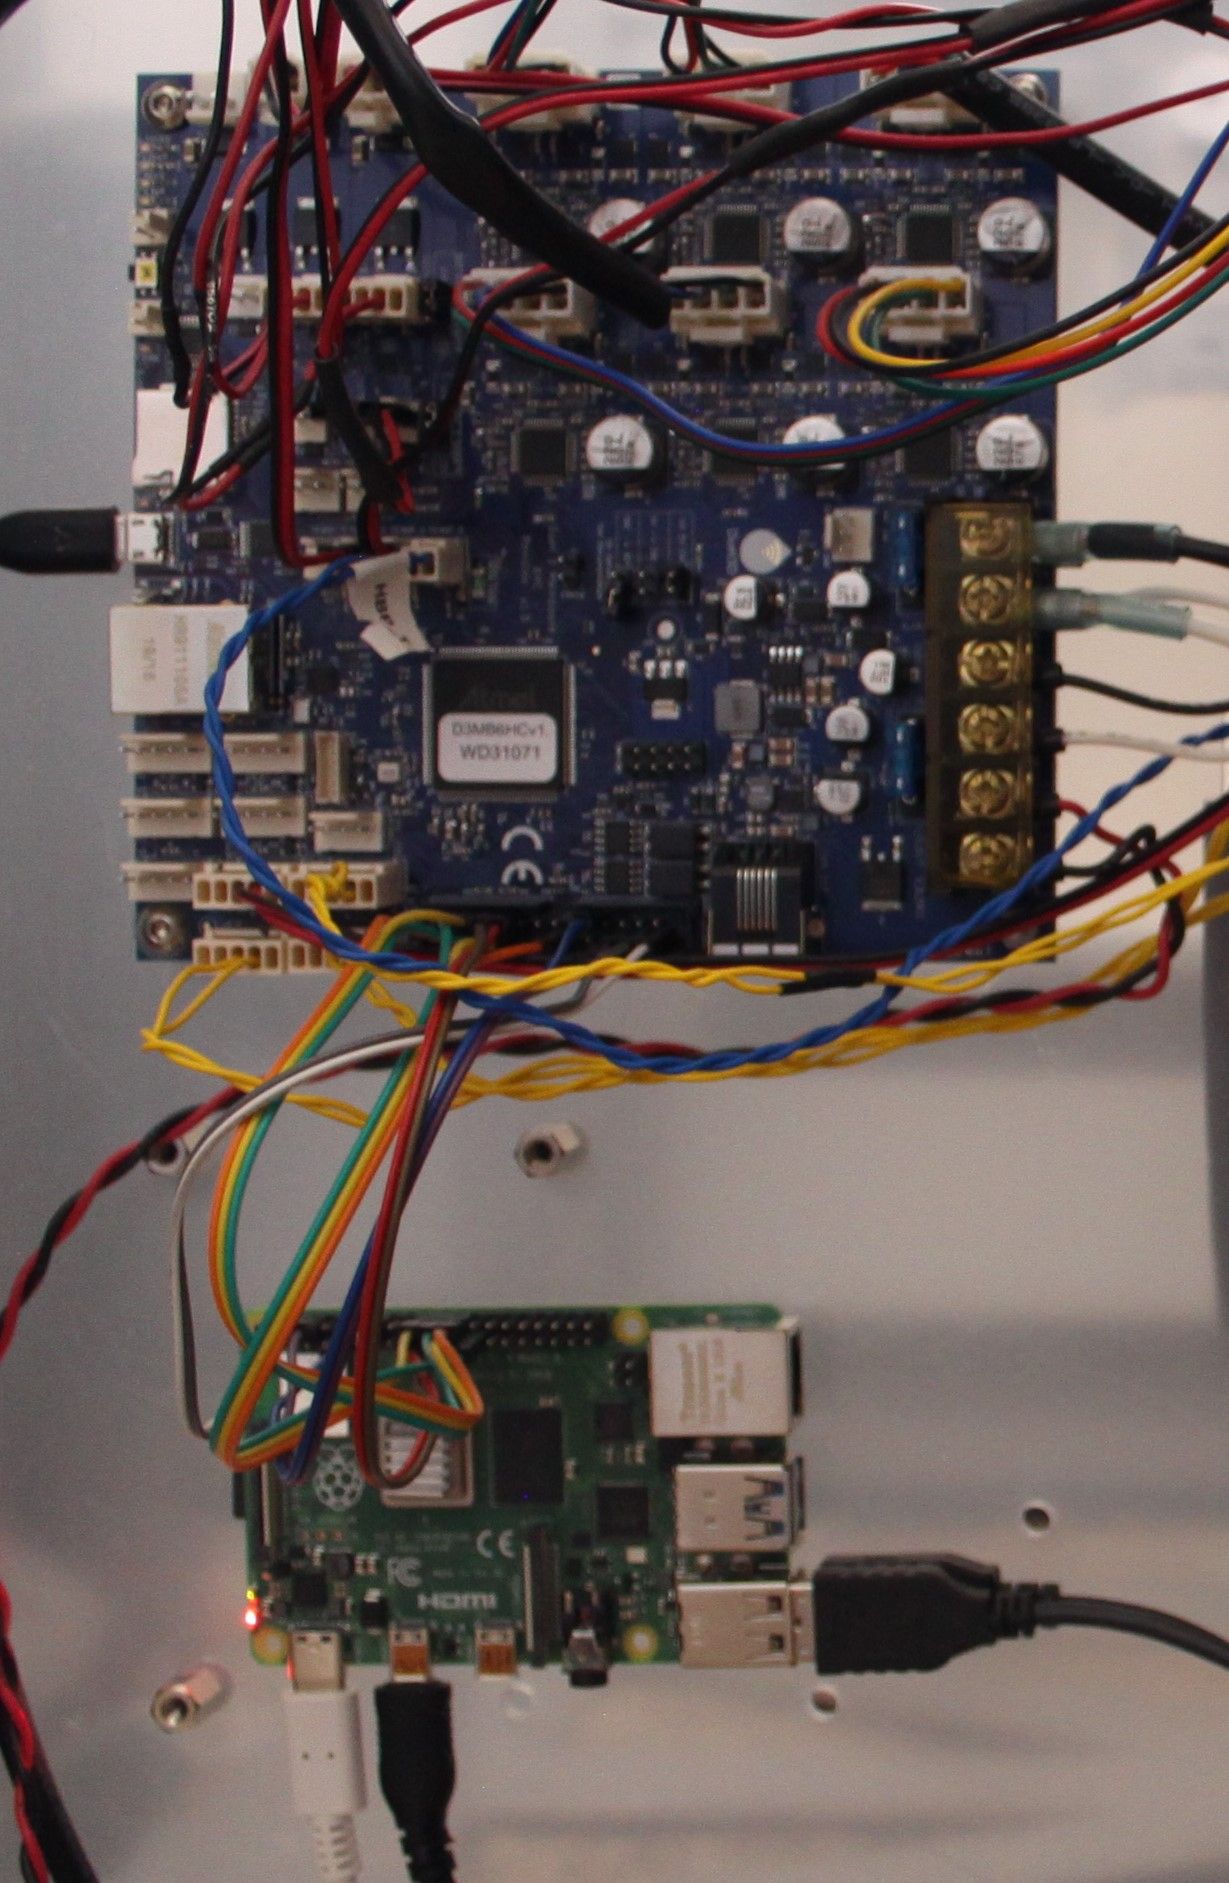
    • RE: Duet3+SBC print stops - DWC unresponsive -

      I had an issue like this that was caused by a poor ribbon cable connection between the Duet and Pi. It usually required that I reseat the cable before DWC would work again, but It was also somewhat unpredictable.

      I replaced the ribbon cable with some jumper wires and the issue hasn't returned.
      IMG_7832.JPG

      posted in General Discussion
      HebigTundefined
      HebigT
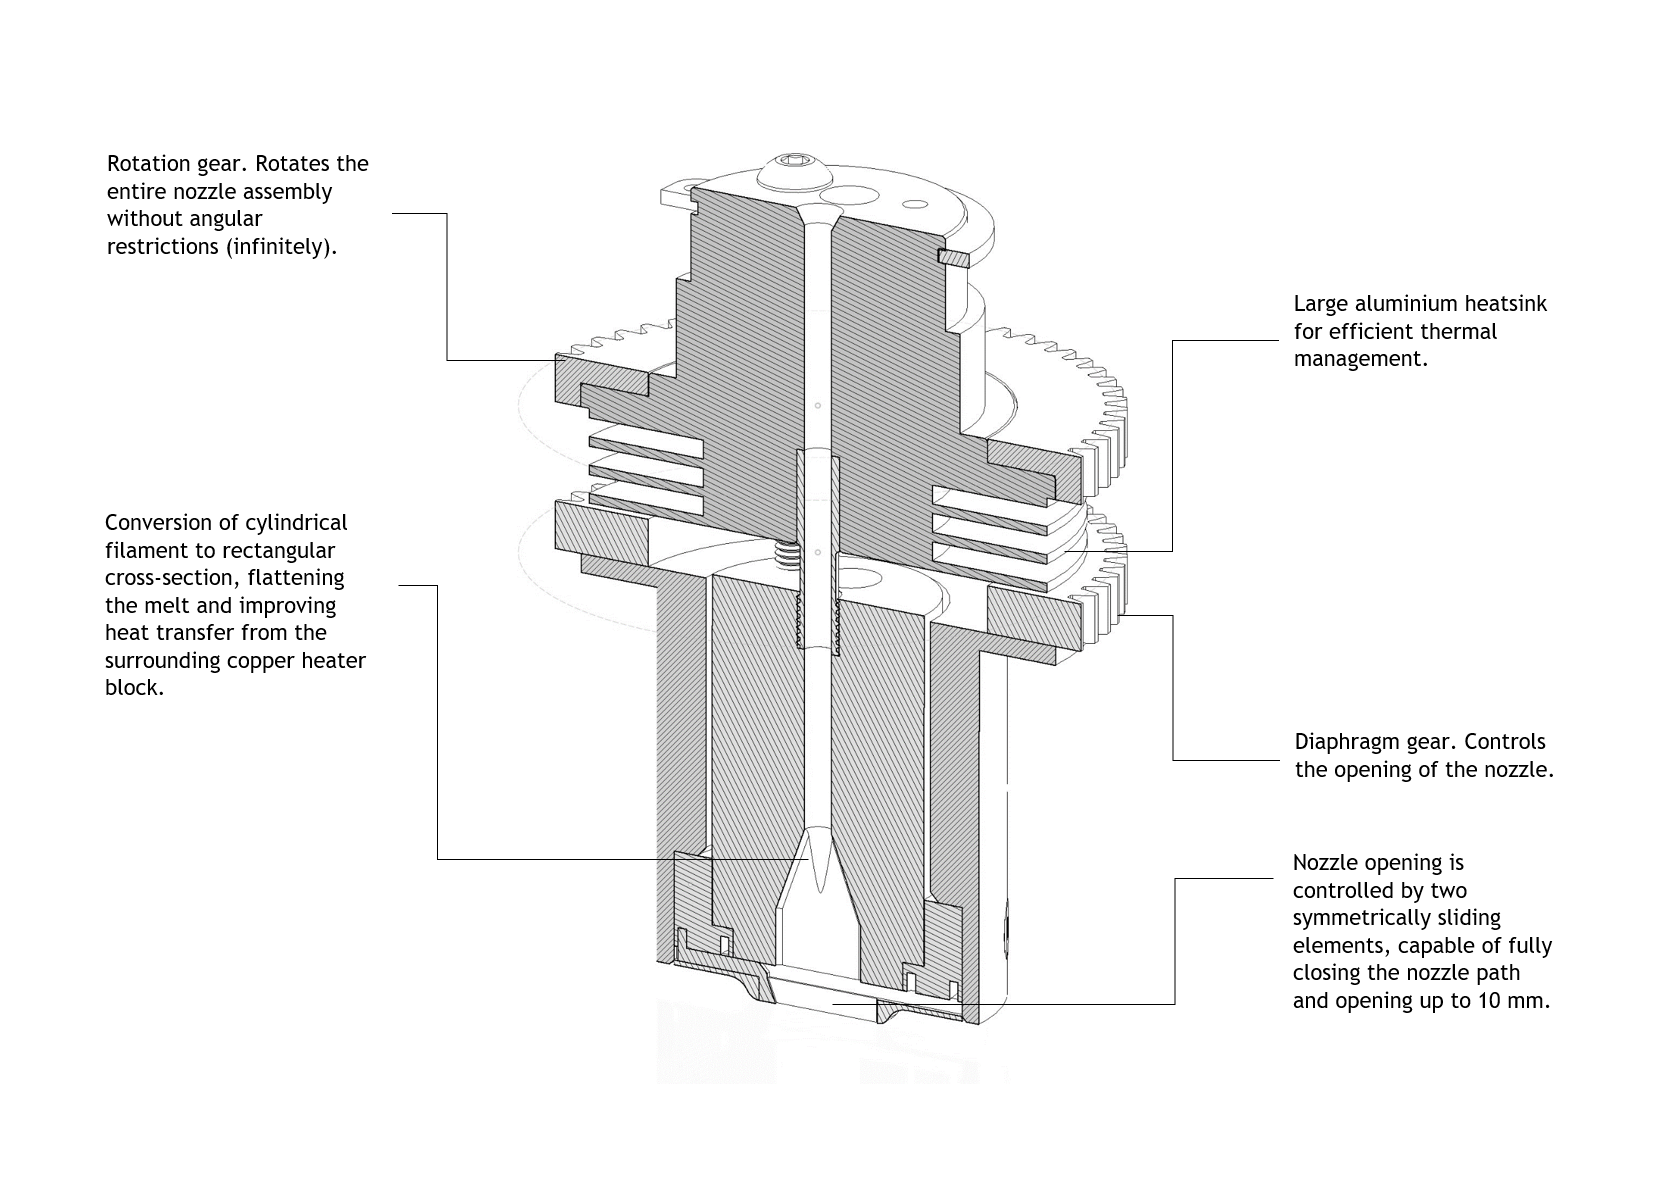
    • RE: Advanced nozzle design

      @mrdui I'm curious about this too. I wonder if the longer orifice creates significantly more pressure loss due to friction compared to a standard V6.

      posted in 3D Printing General Chat
      HebigTundefined
      HebigT
    • RE: Setting up a pressure sensor with Duet3

      @garth_42 According to this IO table, IO 3 thru 7 support analog input.

      https://docs.duet3d.com/Duet3D_hardware/Duet_3_family/Duet_3_Mainboard_6HC_Hardware_Overview#io-headers

      I asked a similar question regarding a Z-probe-type device:
      https://forum.duet3d.com/topic/29917/reading-analog-values-from-laser-range-finder-6hc/2

      My device also outputs 0-5v, so I will try one of those '5v to 3.3v logic level shifters.

      The way I read the documentation for M308, it seems to me you can set B and C to 0 and 150 PSI. Someone else should check me on this, but i think RRF takes the input voltage (0-3.3v after level-shifting from 0-5v) and 'maps' that analog value to the B to C (0-150PSI) range of values. So when you query that sensor, you should get an output between 0-150, provided you're actually using the full range of the sensor.

      Arduino has a funcction called map( ) that does this exactly.

      posted in Duet Hardware and wiring
      HebigTundefined
      HebigT
    • RE: Mesh Leveling Results

      @oozeBot

      My deviations show -0.117/0.315mm and I get ok results.

      Somewhere on the forum I read that larger deviations may require a higher Z-axis acceleration setting so that the printer can move up or down fast enough between probed points while printing. If that's true, then I'd guess that it shouldn't be a problem unless your Z-axis mechanics aren't suited for big velocity changes because of backlash in the z-carriage, etc.

      posted in General Discussion
      HebigTundefined
      HebigT
    • Variable Width Nozzle (Sculpman)

      Thought this was cool:

      https://sculpman.com/technology

      https://sculpman.com/product

      alt text

      posted in 3D Printing General Chat
      HebigTundefined
      HebigT
    • RE: Syringes printer, adjust different offset

      @fj3d Ah, sorry you ran into issues! Thanks, @jay_s_uk for your insight.

      I think that's exactly right - you won't need to check whether that variable exists because I believe that variable (var.curr_z_pos) is lost when the macro ends. But I might be wrong.

      You would need an 'if' statement if you set up a macro to probe multiple tools in the same macro, or maybe better, just define variables specific to each tool (curr_z_pos_T0). There may be better ways to do this, though!

      posted in Firmware installation
      HebigTundefined
      HebigT
    • RE: Does RRF have "look ahead"? Or will it?

      @3DPMicro Hey, I don't think so, but that would be a nice feature for tool-changers/Dual extruders.

      Here's a post-processor someone made for the E3D TC that adds that functionality:

      https://github.com/mkudzia84/toolchanger-pspp

      posted in General Discussion
      HebigTundefined
      HebigT