@droftarts and @jay_s_uk
Thanks for the answers!
The sum of the 2 suggestions solved my problem.
I think the translation of the documentation into Portuguese by Google made me misspell the D parameter of the M563 command.
I had really forgotten to activate T0.
I used RRF for a few years, since v2.03 and migrated in 2022 to klipper on all machines. Now I'm going back to RRF and I'm trying to remember everything.
Thanks to both of you!
Best posts made by RodrigoRMaraujo
-
RE: [SOLVED] Help setting up hotend heaterposted in Duet Hardware and wiring
-
Mesh bed leveling only in printing area using orca slicerposted in Tuning and tweaking
I've been researching how I could define the mesh for the print area using the orca slicer.
I'd like to record here how I did it, after reading some old posts here on the forum, which helped me a lot. Who knows, maybe it will be useful to someone else.
My start gcode in the orca slicer:
set global.varNozzleTemp = [nozzle_temperature_initial_layer]
set global.varBedTemp = [bed_temperature_initial_layer_single]

M557 X{first_layer_print_min[0]}:{first_layer_print_max[0]} Y{first_layer_print_min[1]}:{first_layer_print_max[1]} P3:3

M98 P"0:/macros/Print/start_print.g"
Macro start_print.g:
T0
M104 S150
M190 S{global.varBedTemp}                                                        ; aquece mesa e espera
G28
G32
M104 S{global.varNozzleTemp}                                                     ; aquece bico na temperatura de primeira camada e segue;
G29
M109 S{global.varNozzleTemp}                                                     ; aquece bico na temperatura de primeira camada e espera

;Purge line
G1 X115 Y-3 Z0.24 F6000
G1 E3
G1 X190 E30 F360
G1 X205 Z0.04 E-0.2 F180
G1 Z1 F360
G92 E0
Macro load_variables.g (loaded in config.g by M98):
global varNozzleTemp = 0
global varBedTemp = 0
It's a very simple process but it works well for me.
-
RE: Help with sensorless in duet 3 mini 5+posted in General Discussion
@fcwilt said in Help with sensorless in duet 3 mini 5+:
I didn't think it would make a difference and it didn't.
So why are you using H4 instead of H1?I just haven't changed it yet.
-
RE: How to make a temperature sensor appear on the main dwc tab?posted in Tuning and tweaking
Hi @jumpedwithbothfeet , thanks for replying.
It's just that the M308 command is not enough for it to appear on the main tab. I already have the sensor set up and working.
For it to appear on the main tab, it must be connected to a heater, just like the hotend and table sensors.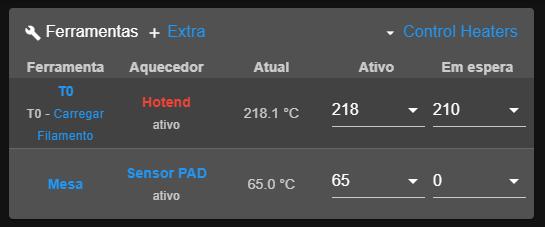
See the "Sensor borda" in the second tab (extras). I would like this to appear in the tools tab.
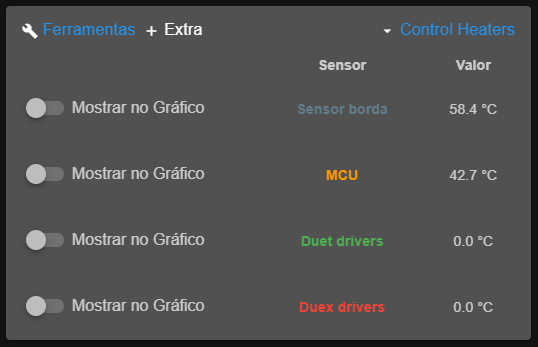
As I understand it, I need to create a virtual heater and connect this sensor to this heater, so that it appears in the tools tab.
-
RE: Duet maestro - Diag led does not turn offposted in Firmware installation
@oliof thanks for replying.
I ended up finding the problem.
Since I've already installed a dozen Duet 2 WiFis, and I installed a Maestro over 4 years ago, I didn't remember that the Maestro has a separate binary, specific to it. My mistake!
I uploaded the correct binary, left the card with the correct firmware and it worked 100%! I already have v3.5.4 working.
Returning to AliExpress is practically impossible here in Brazil lol.
I've been buying Duets on AliExpress since 2019, luckily I haven't received a bad one yet.
Problem solved, thank you very much.
-
RE: CanBus model for octopus pro f429posted in STM
@gloomyandy and @jay_s_uk
First of all, thanks for answering.I don't have enough knowledge to start a challenge like this, I have no idea how it would be done lol.
Using canbus would be ideal, because I'm currently converting a machine running klipper, which has an ebb42 board in the car.
Because of the difficulty, I think I'll opt to run all the wiring for the car's accessories (without canbus).I'm leaving klipper and converting my printers back to RRF because of the complexity of klipper (for me). I want to go back to the simplicity of RRF and not depend on an SBC running linux.
Sorry for the bad English, translated by google.
-
RE: Activate fan by driver movementposted in Tuning and tweaking
@oliof thank you!
You reminded me of this detail about using the MCU temperature. I've been away from RRF for 2 or 3 years and just got back to it, and I ended up forgetting several details like this.
Thank you very much, problem solved.M308 S2 Y"mcu-temp" A"MCU" ; configure sensor 2 as on-chip MCU temperature sensor M950 F2 C"out6" ; create fan #2 - Big Dipper fysect board M106 P2 C"5015_Drivers" H2 L0.15 X1 B0.3 T40 ; configure fan #2 -
RE: Mesh bed leveling only in printing area using orca slicerposted in Tuning and tweaking
@jay_s_uk
Yes, it's an interesting approach too, because it doesn't use memory by creating global variables.
Thanks for commenting.
Latest posts made by RodrigoRMaraujo
-
RE: Mesh bed leveling only in printing area using orca slicerposted in Tuning and tweaking
@jay_s_uk
Yes, it's an interesting approach too, because it doesn't use memory by creating global variables.
Thanks for commenting. -
Mesh bed leveling only in printing area using orca slicerposted in Tuning and tweaking
I've been researching how I could define the mesh for the print area using the orca slicer.
I'd like to record here how I did it, after reading some old posts here on the forum, which helped me a lot. Who knows, maybe it will be useful to someone else.
My start gcode in the orca slicer:
set global.varNozzleTemp = [nozzle_temperature_initial_layer]
set global.varBedTemp = [bed_temperature_initial_layer_single]

M557 X{first_layer_print_min[0]}:{first_layer_print_max[0]} Y{first_layer_print_min[1]}:{first_layer_print_max[1]} P3:3

M98 P"0:/macros/Print/start_print.g"
Macro start_print.g:
T0
M104 S150
M190 S{global.varBedTemp}                                                        ; aquece mesa e espera
G28
G32
M104 S{global.varNozzleTemp}                                                     ; aquece bico na temperatura de primeira camada e segue;
G29
M109 S{global.varNozzleTemp}                                                     ; aquece bico na temperatura de primeira camada e espera

;Purge line
G1 X115 Y-3 Z0.24 F6000
G1 E3
G1 X190 E30 F360
G1 X205 Z0.04 E-0.2 F180
G1 Z1 F360
G92 E0
Macro load_variables.g (loaded in config.g by M98):
global varNozzleTemp = 0
global varBedTemp = 0
It's a very simple process but it works well for me.
-
RE: CanBus model for octopus pro f429posted in STM
@gloomyandy and @jay_s_uk
First of all, thanks for answering.I don't have enough knowledge to start a challenge like this, I have no idea how it would be done lol.
Using canbus would be ideal, because I'm currently converting a machine running klipper, which has an ebb42 board in the car.
Because of the difficulty, I think I'll opt to run all the wiring for the car's accessories (without canbus).I'm leaving klipper and converting my printers back to RRF because of the complexity of klipper (for me). I want to go back to the simplicity of RRF and not depend on an SBC running linux.
Sorry for the bad English, translated by google.
-
RE: CanBus model for octopus pro f429posted in STM
Please, another question.
If I install the CAN-FD EFD version, will I be unable to use a fysect mini 12864 display that I have?
Thanks. -
RE: CanBus model for octopus pro f429posted in STM
@jay_s_uk said in CanBus model for octopus pro f429:
@RodrigoRMaraujo https://teamgloomy.github.io/btt_octopus_pro_1.0_f429_spi2canfd_3_5.html
You can add CAN-FD as described here. However it's been suggested to use the EFD version and use the SPI on J74.
Then you can use any toolboard we support with itThank you!
-
CanBus model for octopus pro f429posted in STM
Hello everyone.
Is there a model of canbus board that is more suitable to work with MTB Octopus Pro F429?
-
RE: Octopus Pro F429 with wifi module, does it run RRF?posted in STM
@gloomyandy
I managed to install and update to version 3.5.4.
I'm confused whether I need to update the wifi firmware or should I keep it as it is working. Can you clarify this doubt for me?
Thank you.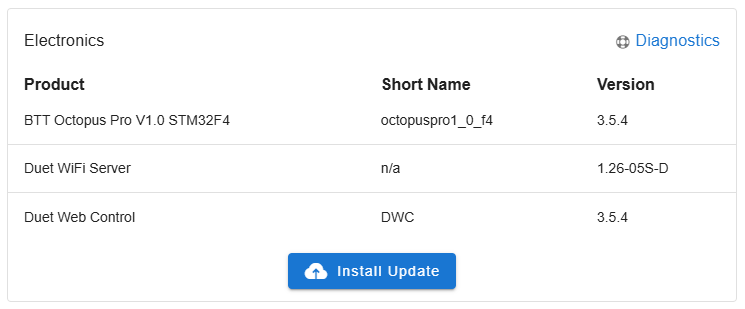
-
RE: Octopus Pro F429 with wifi module, does it run RRF?posted in STM
@gloomyandy thank you.
I will read everything! -
Octopus Pro F429 with wifi module, does it run RRF?posted in STM
Hello everyone.
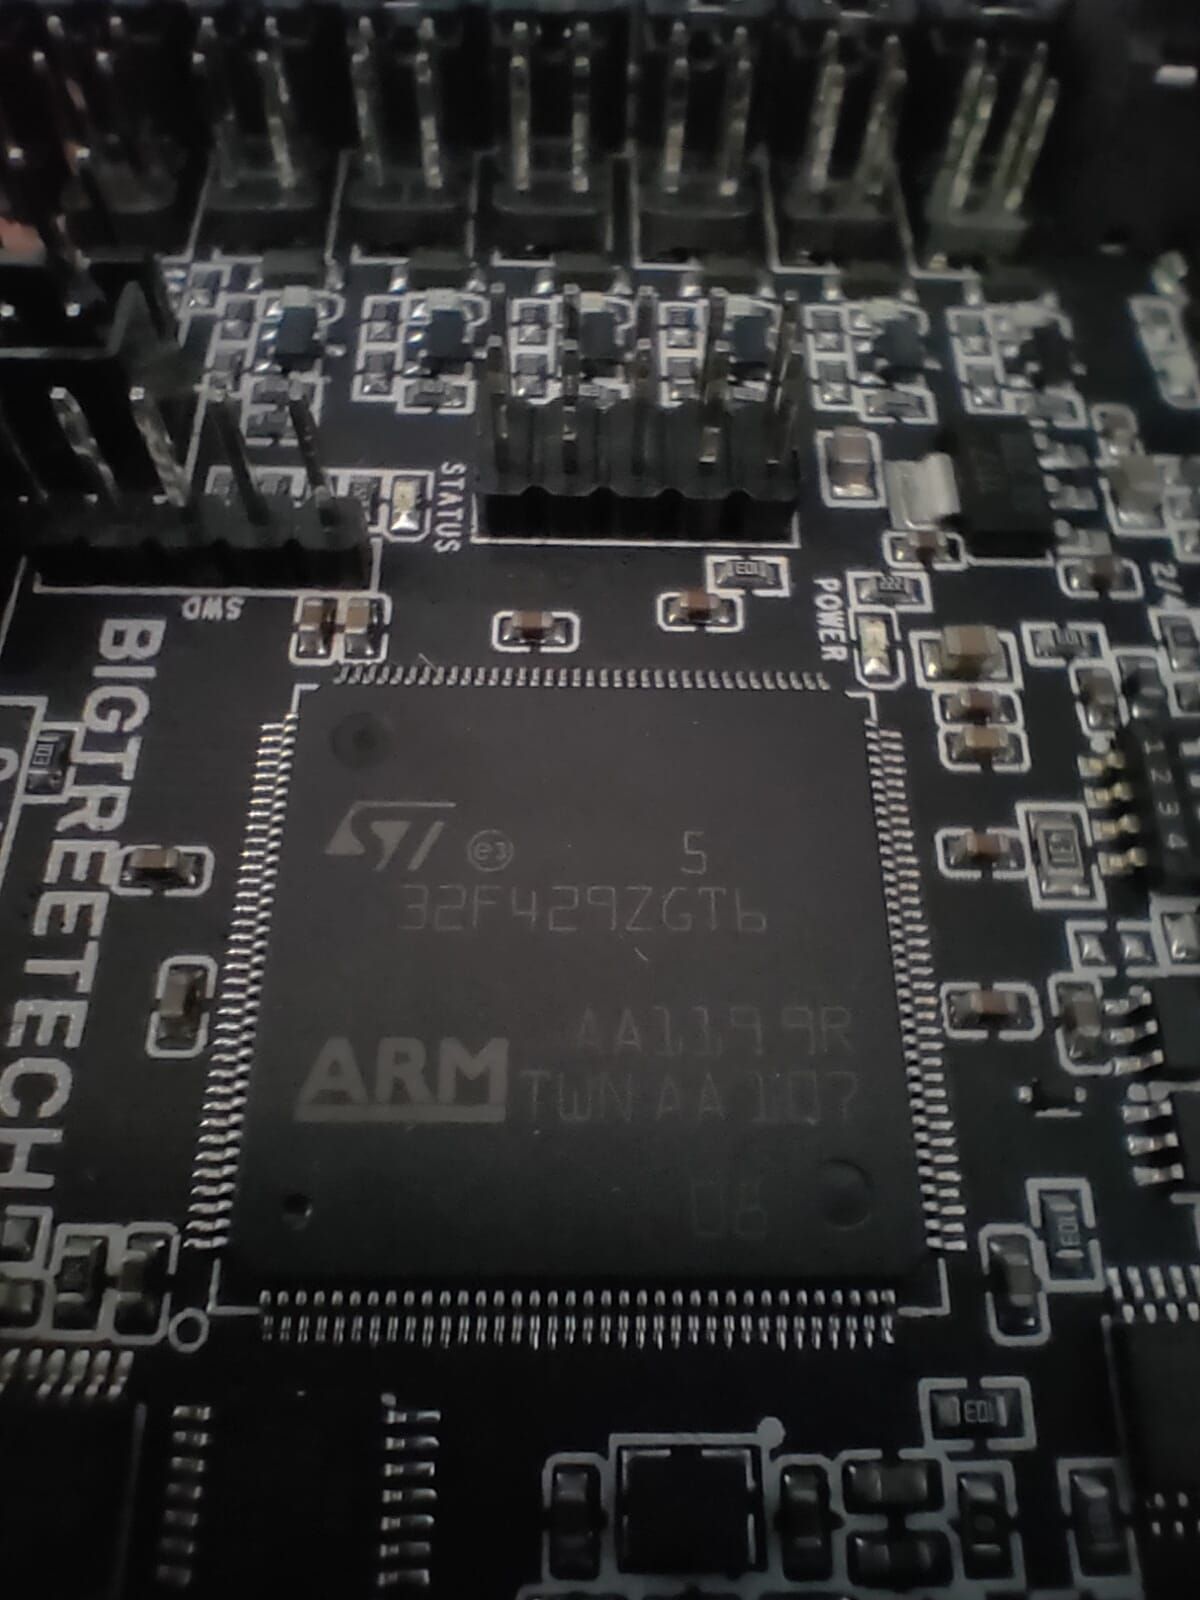
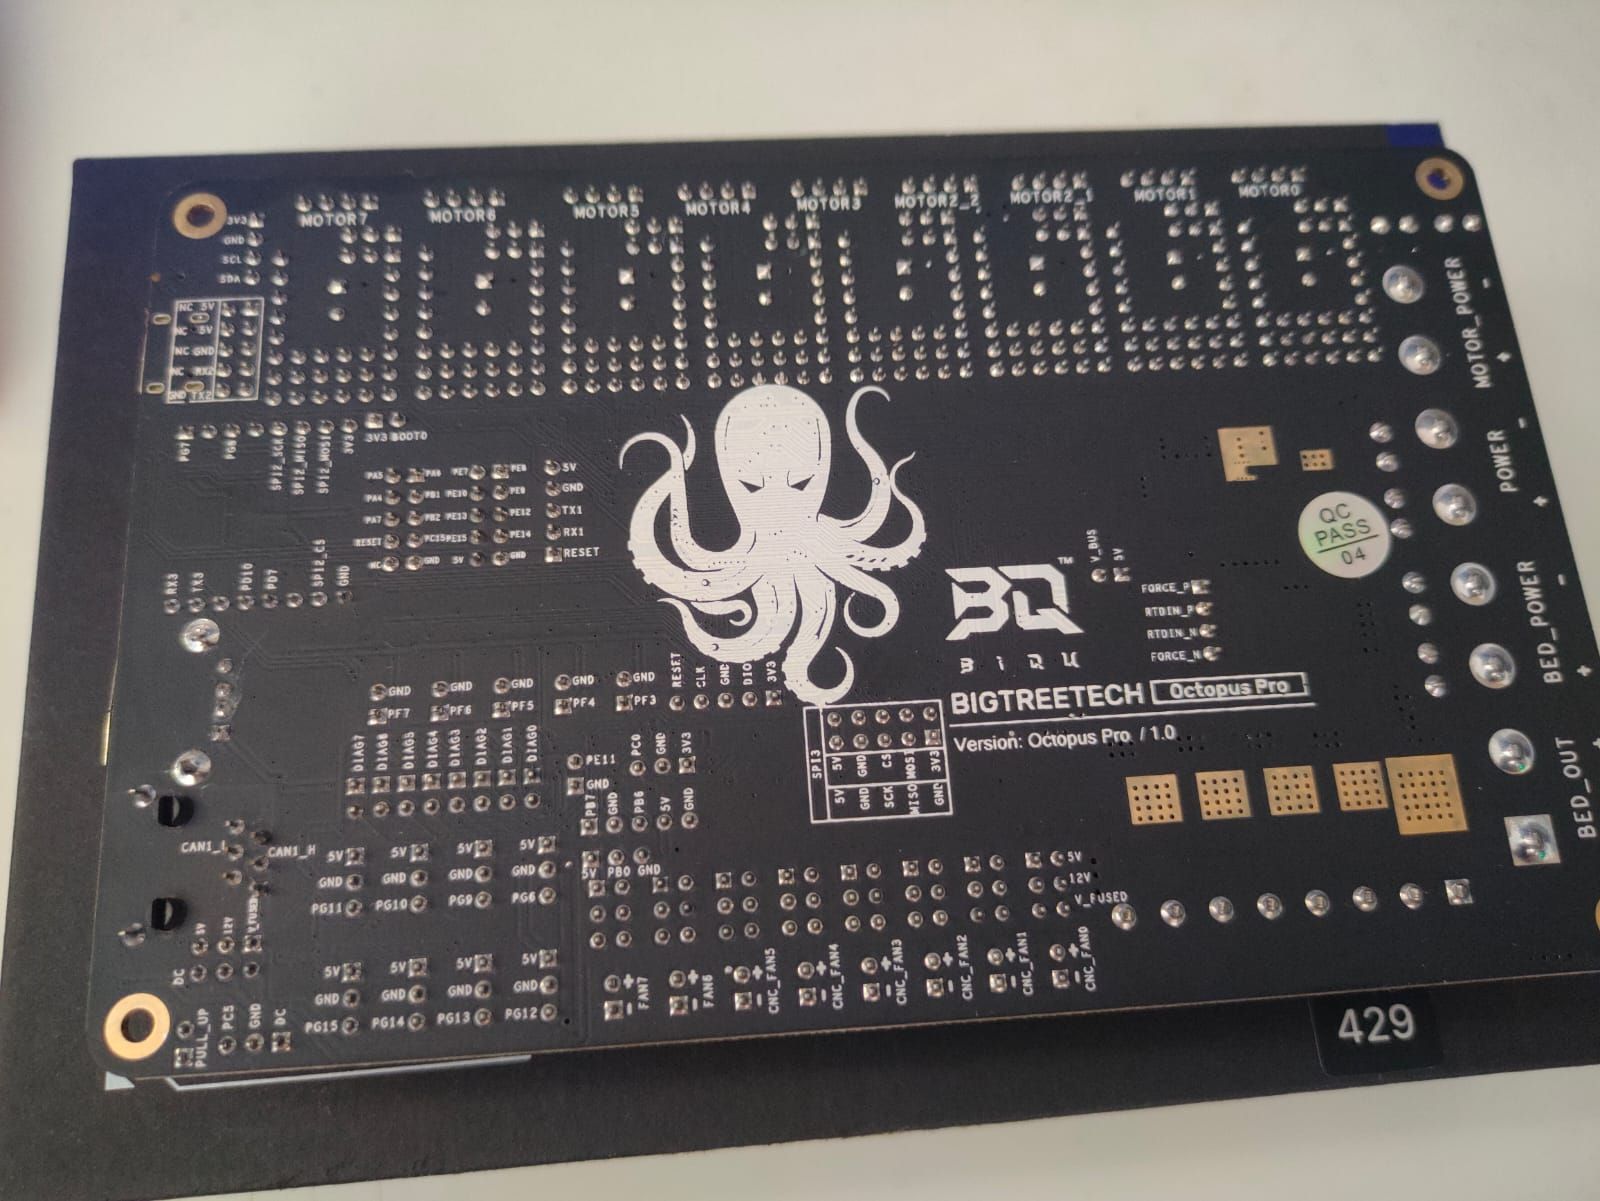
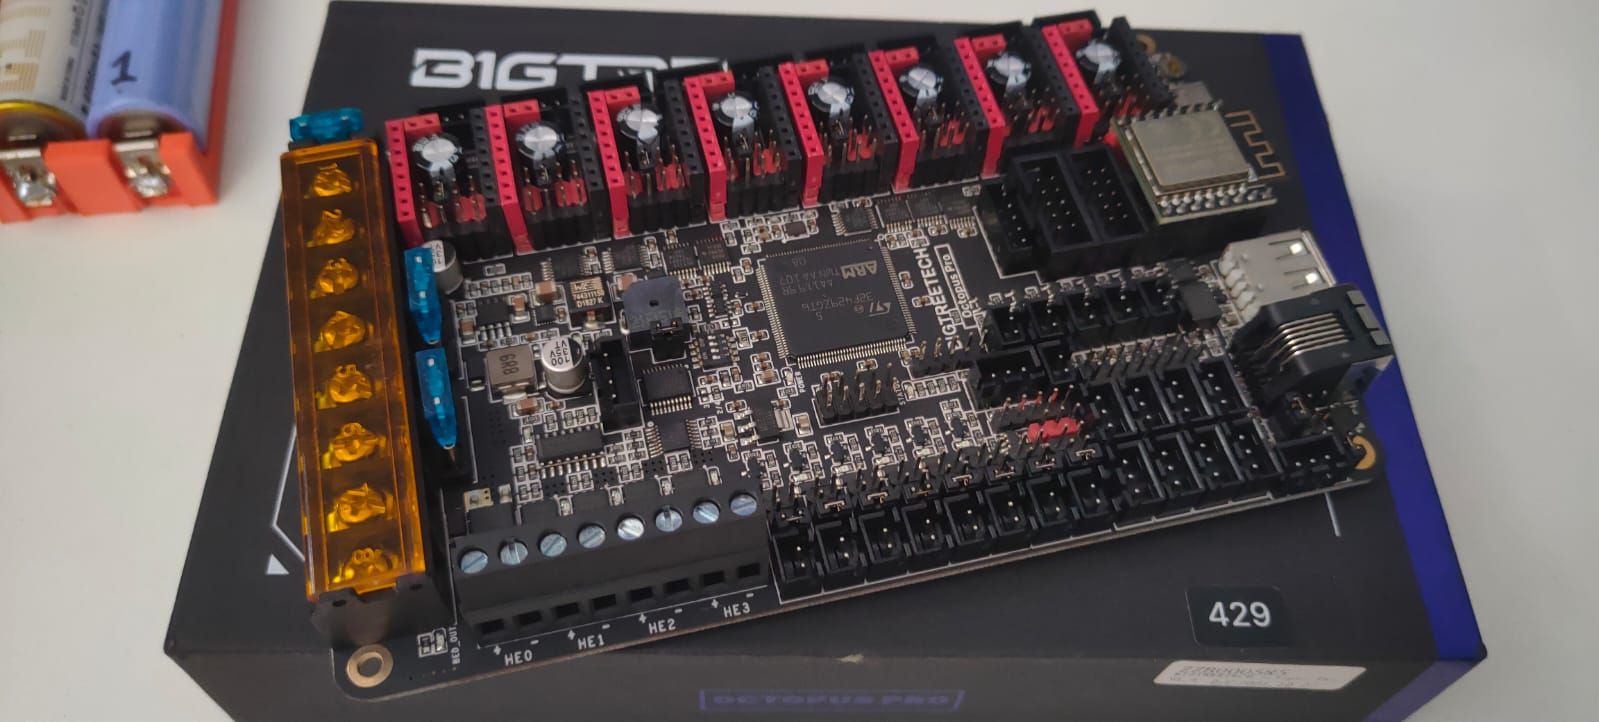
I bought this Octopus Pro F429 with a Wi-Fi module esp32.
Could you tell me if RRF runs on this board?I haven't learned anything about this RRF variant yet, even though I've been using Duet boards since 2019. I have a Corexy with an Octopus board running Klipper, and I want to replace it with this one with RRF and stop using Klipper.
